Posted on Leave a comment

Fancy new togs!

#thestruggle

There’s no way around it. Shopping as a big girl is an exercise in depression management.

​Finding decent swimming togs is hard, in general, and finding nice togs that flatter, fit, and still allow you to actually swim? The STRUGGLE. Add in being a larger person, and it becomes a complete nightmare. 
So I decided to find someone who could make me the perfect pair of togs, using my own fabric designs.
That’s how I came across Swanwear again – in October last year – at the Underground Markets. I had seen the stall before, but just assumed it wasn’t going to have anything that fit. It’s a protective mechanism – if I assume nothing will fit, I won’t be hurt when yet another place considers a NZ size 14 “plus size”. And I am NOT a size 14.
I had a quick chat with Annemiek, and she said that she could help, and then, things being busy and money being tight, it went on the backburner for a few months, as tends to happen with our personal projects at Copper Catkin HQ.

A design is born

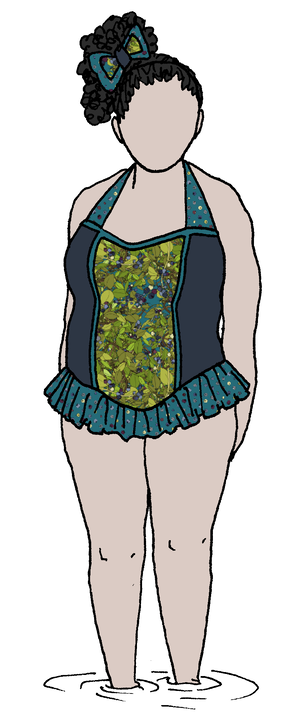
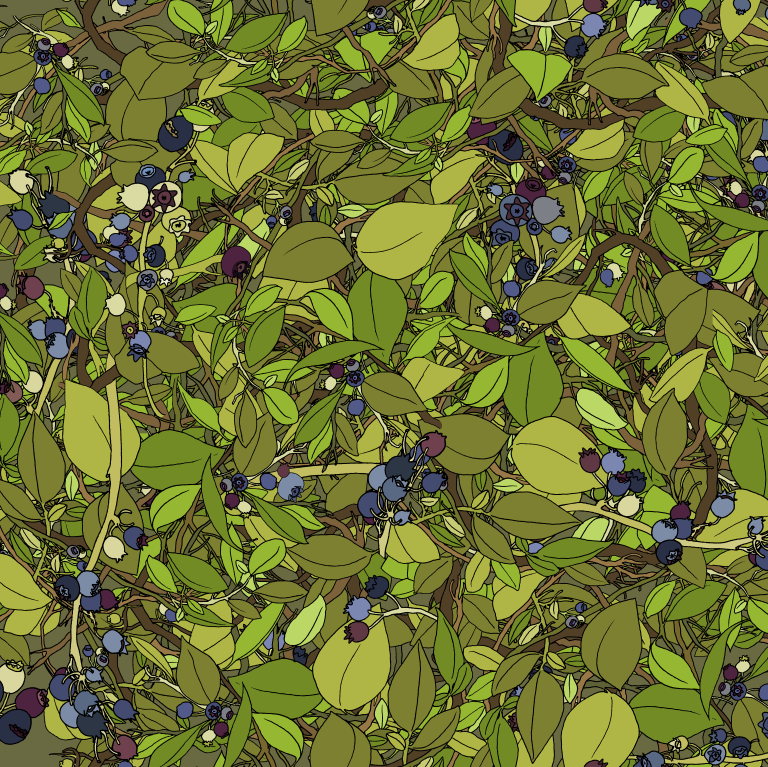
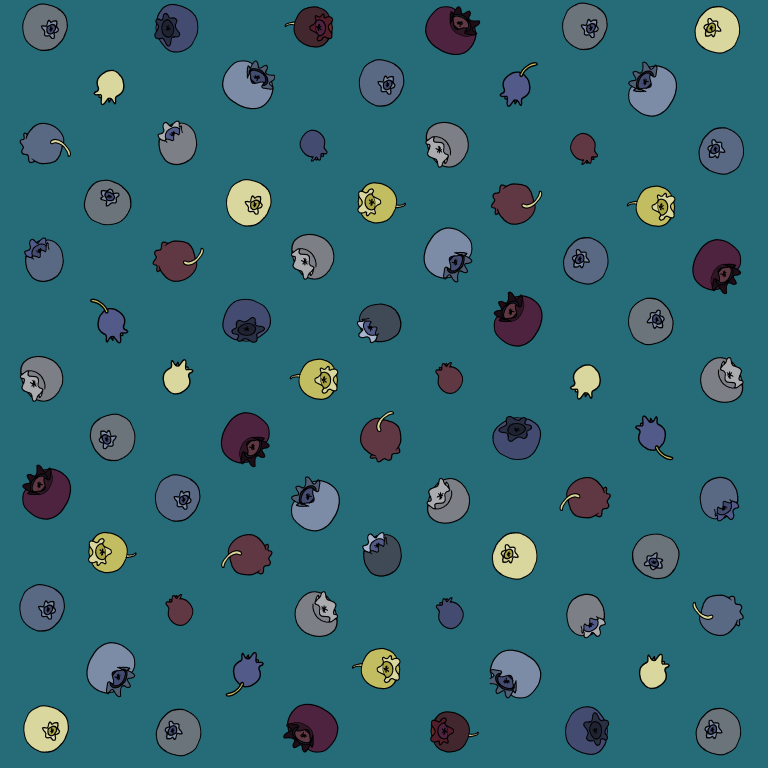
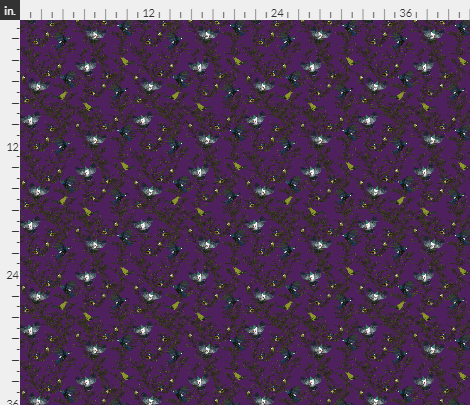
In January, we went blueberry picking for the first time, and it inspired me to make one of my favourite designs so far – my “Blueberry Bushes” design. Finally, I had the impetus to design the togs themselves. 
Picture

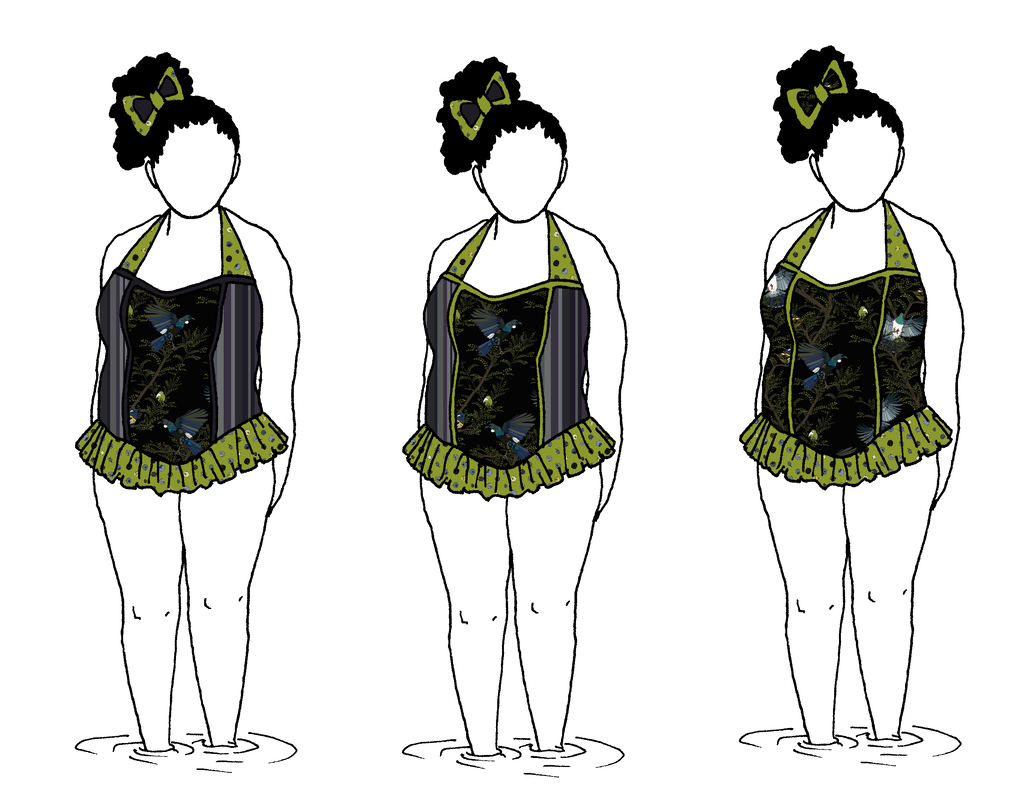
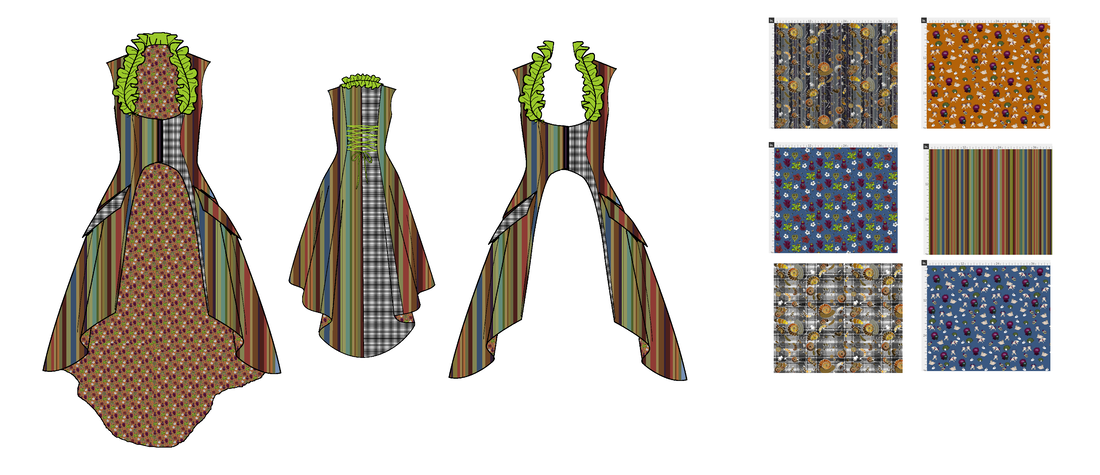
Design 1 – plain side panels

Picture

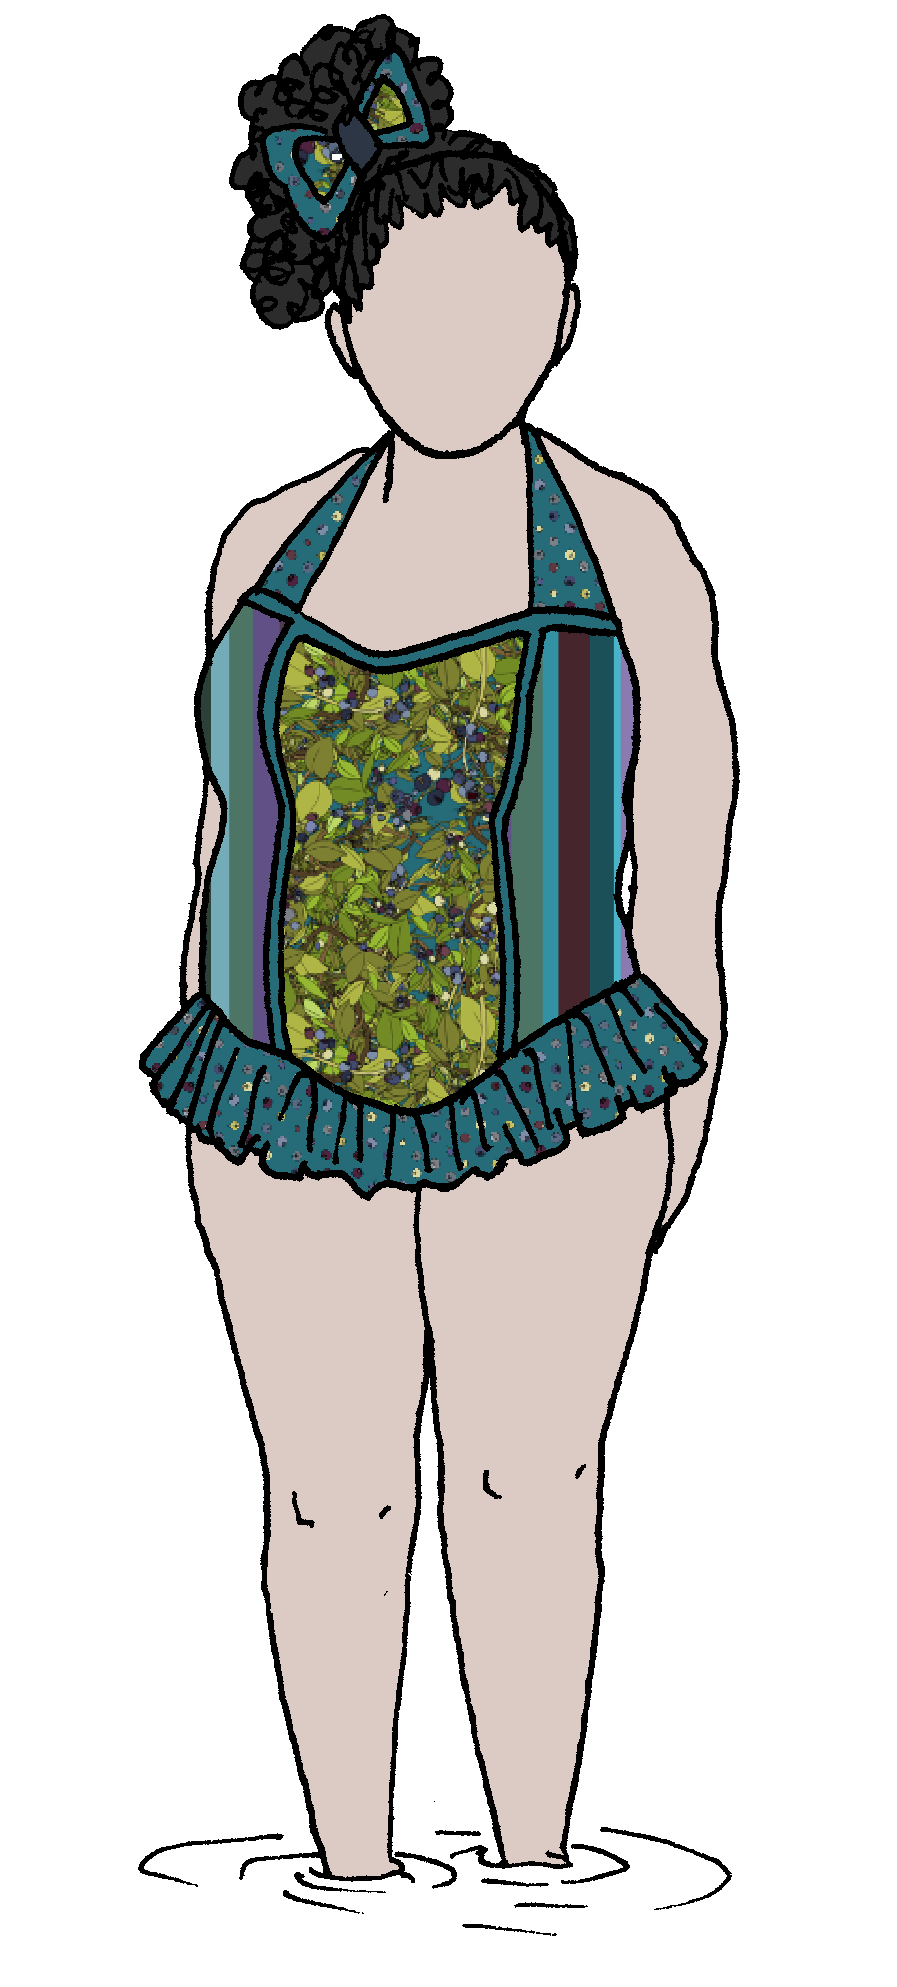
Design 2 – striped side panels

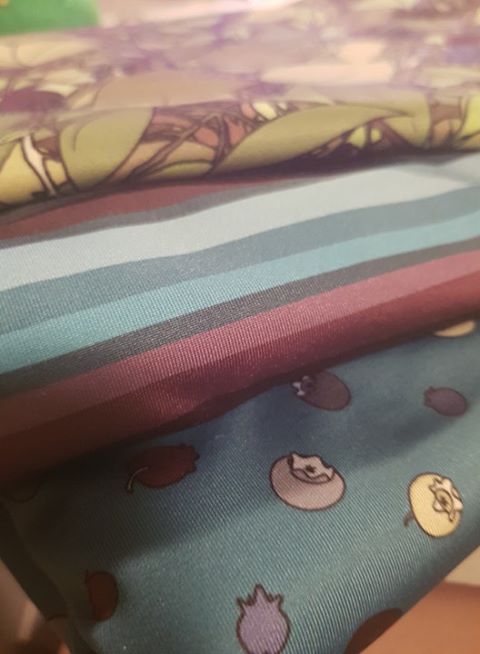
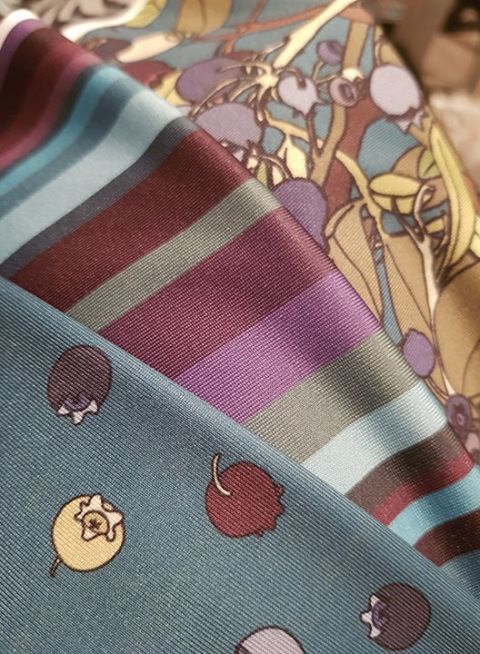
​I decided on the fabrics required, and mocked up my designs, then Annemiek made a mock-up of the costume, and I ordered fabric samples so we could see if the Spoonflower Sport Lycra fabric that I wanted to use was going to be suitable. 
(Spoiler alert – it was!)

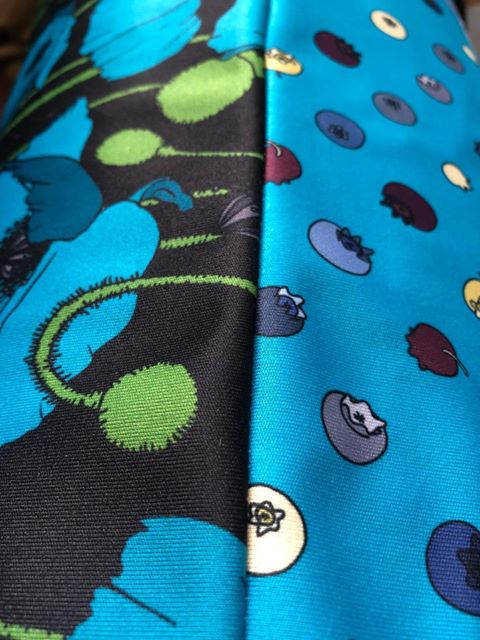
The fabric designs I chose

Once the samples were approved, we ordered the fabric. As they are a print-to-order service, Spoonflower don’t offer partial yards, so I had to order more than I needed – but it will be used!
Be sure to consult with Swanwear before making your order, as the quantities may be different for your design choices!
Picture

1 yard of Sport Lycra

Picture

2 yards of Sports Lycra

Picture

2 yards of Sports Lycra

What with one thing and another, it actually took quite a while to get the togs themselves made – we were renovating bathrooms, and it wasn’t really swimming weather – but they finally came together in time for me to wear them for the first time in public on our trip to Portland, and for my very cool photoshoot with A La Mojo (more to come about that soon!).

Where to from here?

Well, I regularly get asked where I got my togs, and I tell people that they are printed from my own designs and made by Swanwear, which is met with interest. 
The new pattern that we developed for my togs is available for purchase, either in some of the fabrics that Annemiek has on hand, or in any of my designs!
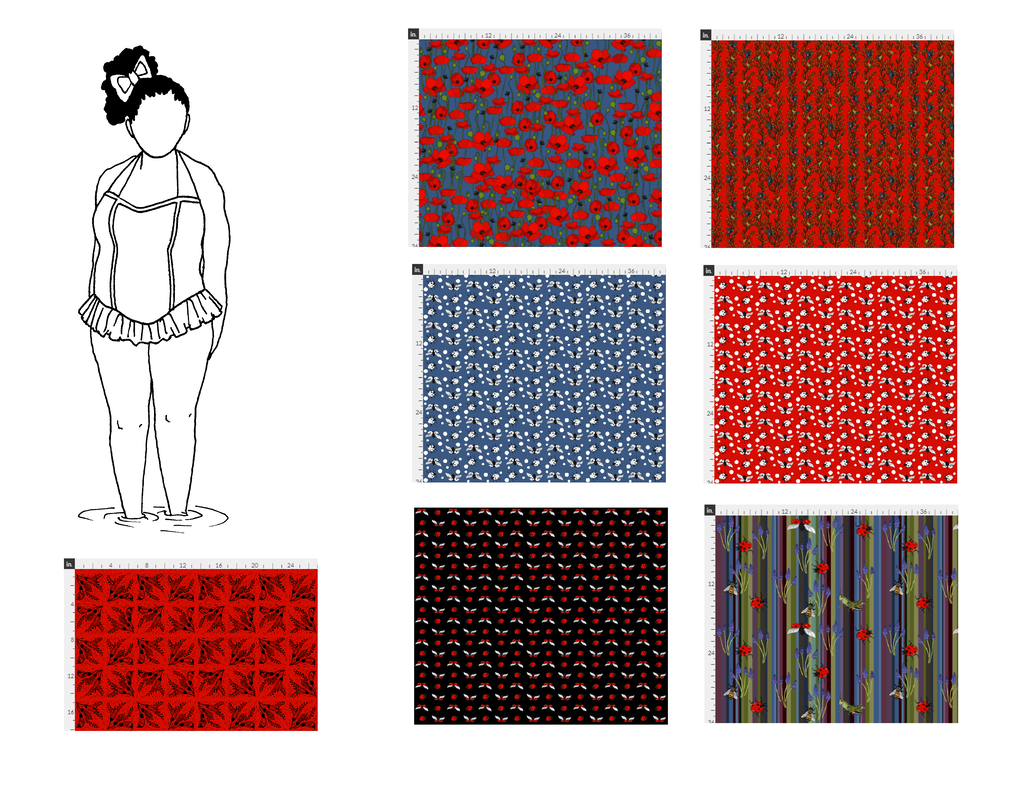
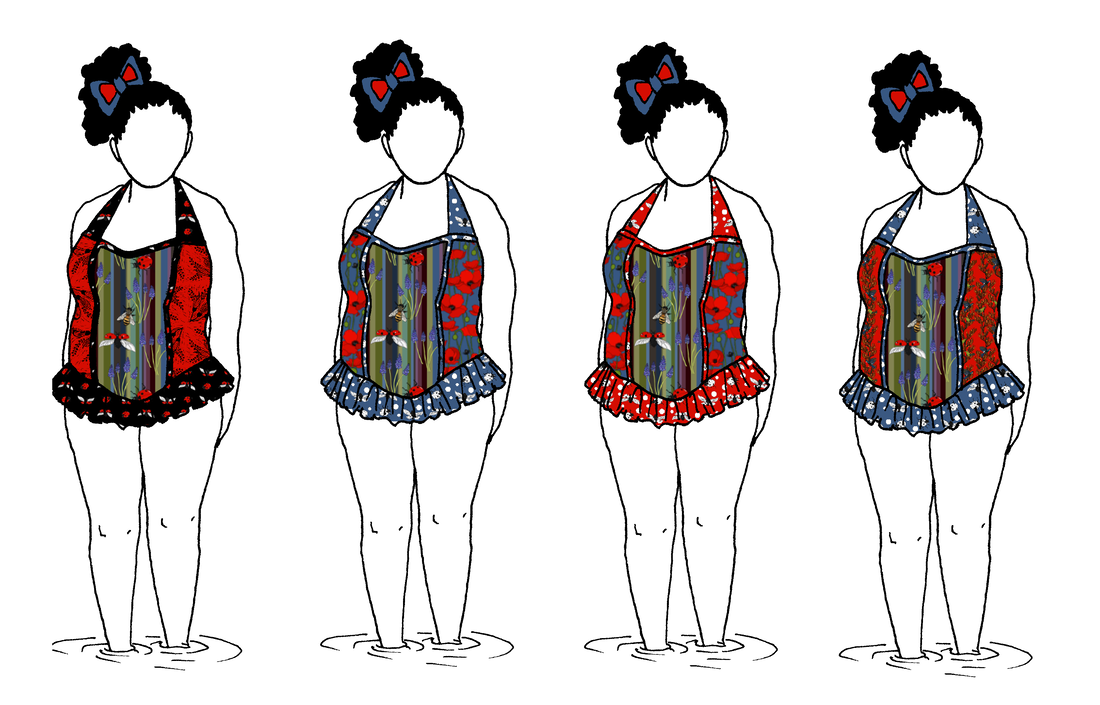
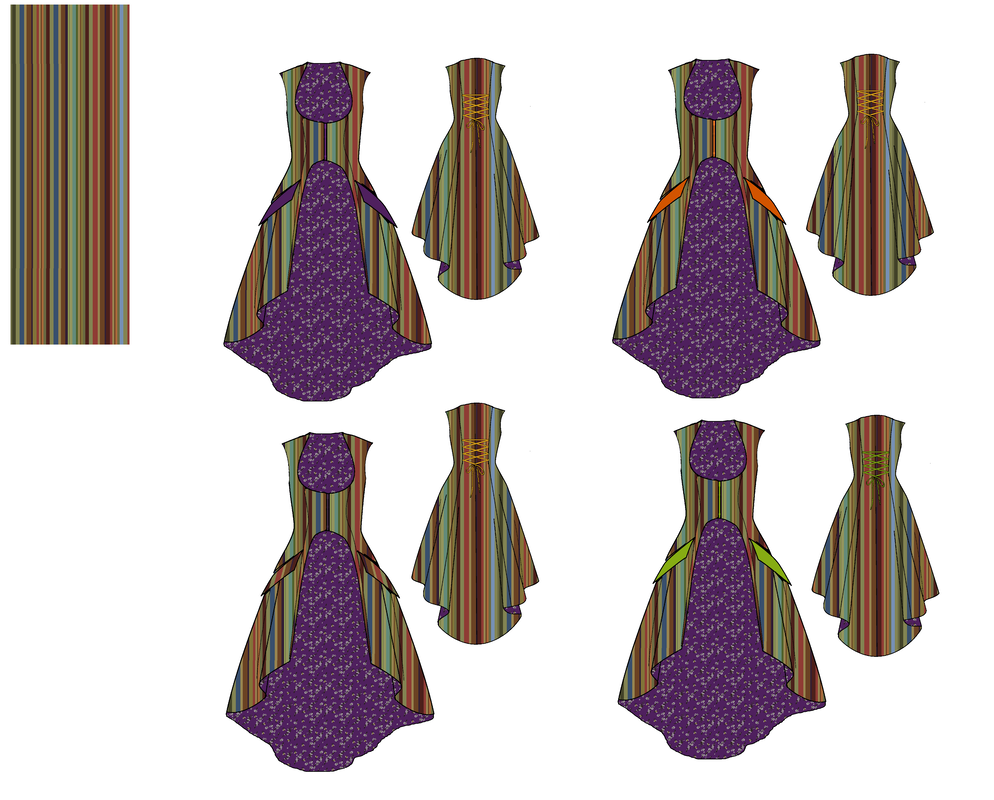
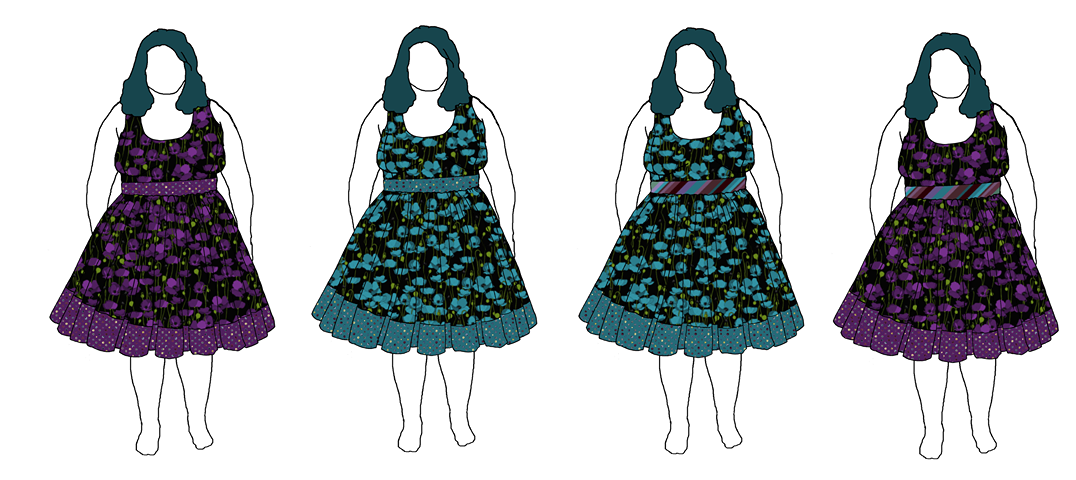
I thought it might help to mock up a few other options to help people visualise what they could do.

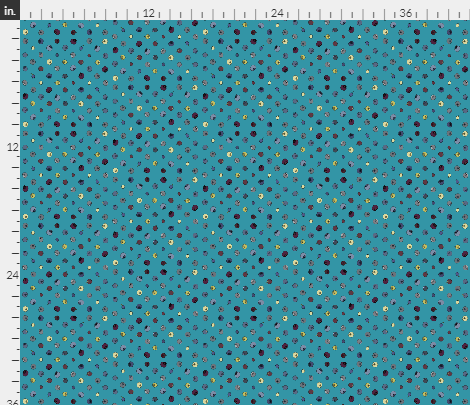
Example – Ladybird Togs – DIY swimming costume design

I have started by gathering together a few designs in related colourways and subject matter. This is a great way to help triage a large list of choices. You can make your own albums (create a collection as if you’re making a fill-a-yard) on Spoonflower to help you out. Here’s mine for this post:
https://www.spoonflower.com/collections/294005-ladybird-togs-options-by-coppercatkin
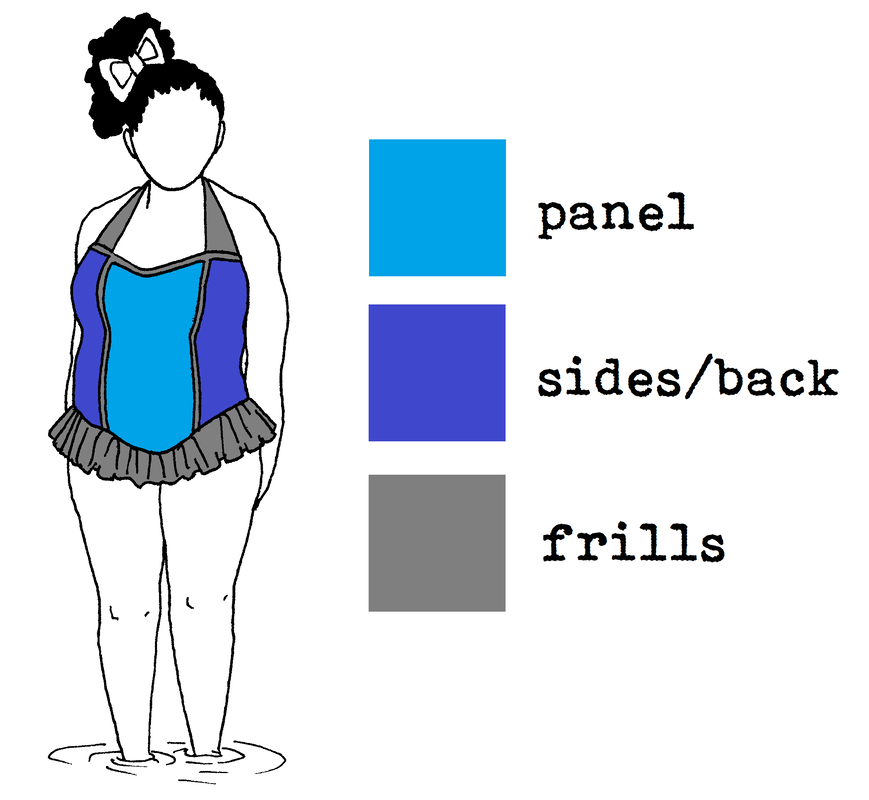
This design allows for up to three colour choices – the front feature panel, the sides and back panels, and the frills, straps, and trims. As you can see from the mock-up below, every variation can give a different feel – and all so quirky and fun! No one else will have the same look as you.
If you are still struggling with your choices, you can contact Swanwear for assistance as part of ordering your bespoke swimwear, or we can arrange a Copper Catkin design consultation (please note that this will not be free, as I do not receive any additional commission from Swanwear – only the small payment for the fabrics themselves from Spoonflower).

I hope you feel inspired and ready to tackle the big bad world of custom swimwear now!
Now, get out there, get in the water, and #WorkYourQuirk!
xx
​Cat

Posted on Leave a comment

Quirk Test Dummy

Waaaay back to the beginning

A comparatively long time ago, in the scale of “the life of Copper Catkin”, I decided that I wanted to give big people a better selection of work apparel. Those who present male can generally find something suitable, but for women? Ugh. It’s really hard to find something that isn’t just a sack made of discount fabric, because we are more expensive, and more complicated, to cover.

I wanted to join the movement that empowered people to feel great about themselves, by wearing things that boosted their mood, regardless of their size, and I started to investigate plus-size clothing – that’s how I started designing all these fabrics!

Tangent time

Now, before I get into the clothing stuff, I need to talk about size and how it matters. It really is important to love yourself and accept your body, but it is also important to take care of yourself. I am not, and will not, support any behaviour that encourages people to harm themselves – whether it be bullying causing mental anguish over failure to be thin, or enabling behaviours that encourage people to stay overweight and unhappy, instead of working to get to a healthy weight. 
Every single person is on their own journey, and every one of us is battling things daily. Some people can;t stand to see themselves in the mirror. Some people can’t shut up the voice in their heads that tells them how inadequate they are. We don’t know each other’s struggle, but we can know this:

​Happier people tend to be healthier.

So that’s my target – I want to contribute to people’s happiness quotient, by providing workable quirks for all shapes and sizes. 

Making it work

My first obstacle was immediate, though – I simply didn’t know enough about textiles to design either the repeats or the scale, and I didn’t know enough about clothes to make the designs sit correctly. I was stuck.
I consulted pattern makers, sewists, Project Runway, my friends and audience – it looked like the only option was to start somewhere, and see where it went. ​I decided to use myself as a test subject, and began trying to find the right way to get my clothes out there. 
In the meantime, I designed hundreds and hundreds of repeats. Only the best made it onto my Spoonflower page, and not all of those have made it beyond there and into fat quarters, but after more than two years of designing and selling my fabrics, I have improved beyond all expectation.

Kimble Designs

A year ago, I decided to try to find a dressmaker who could help me develop my designs, and after posting several ISO posts on Facebook, found Kimble. We met up in November 2017, and started looking at all the things I want to make. I pulled out a few items of clothing that I liked, and a pair of pants that I had made, and over the next few months, we developed a versatile blouse pattern and a trouser pattern from them. 

Steampunk Market Jacket

As many of you will know, my husband George and I have a strong connection with the Steampunk aesthetic, even if we have no time to actually indulge it. We had a Steampunk wedding, and it’s a style that flatters both of our shapes. 
With that in mind, I decided that it was time to try making my own market outfit, and I launched into Simplicity 2172, which was, to be fair, really quite ambitious. 

Spoiler alert – it was too warm

So I love layers, but I also feel the heat. On a cloudy day at around eighteen degrees Celsius, I am at my most comfortable, especially with a bit of a breeze. Stonking hot outdoor markets with full summer sun and extra layers of heavy waistcoat jacket are not really compatible. Back to the drawing board!
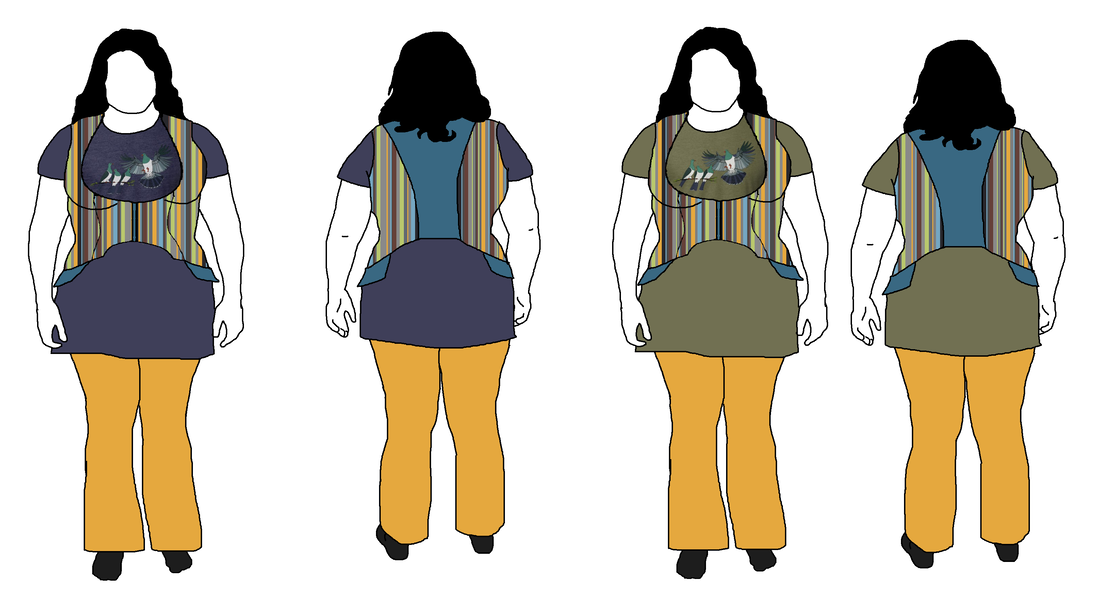
​The appeal of this design was that it would be like a simple jacket that emphasised the design on my Redbubble shirt, and connected my to my stall with the fabrics used.
I had the waistcoat remade and edited to fit me better by Kimble Designs, and it’s much more practical. 
Picture

I used “Bees on grey stripe” in Linen Cotton Canvas Ultra

The blouses

A major problem for me when working in an office is the air conditioning/heating situation. Everyone feels temperature differently, but I am almost always too warm. So my workwear needs to be both professional and cool enough that I am not a melted puddle on the floor by the end of the day. 
I like my blouses to be able to sit loose or be cinched by a belt or a waistcoat, and I like interesting collars and bows.
I decided to use three of my newest designs for my new blouses, and ordered the fabric in performance knit (now retired in favour of Performance Piqué, I believe).
And here are the finished pieces:

The Makeover

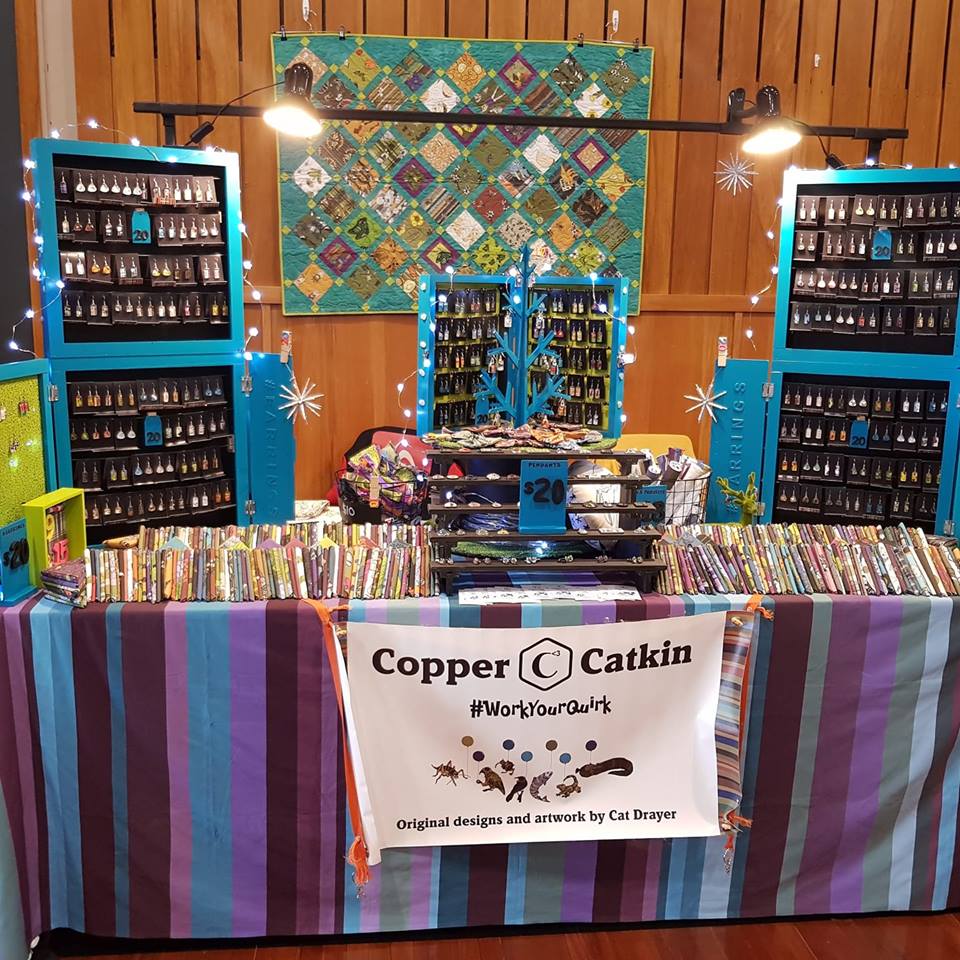
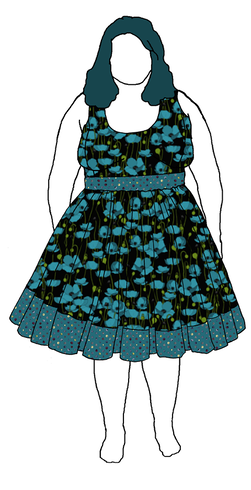
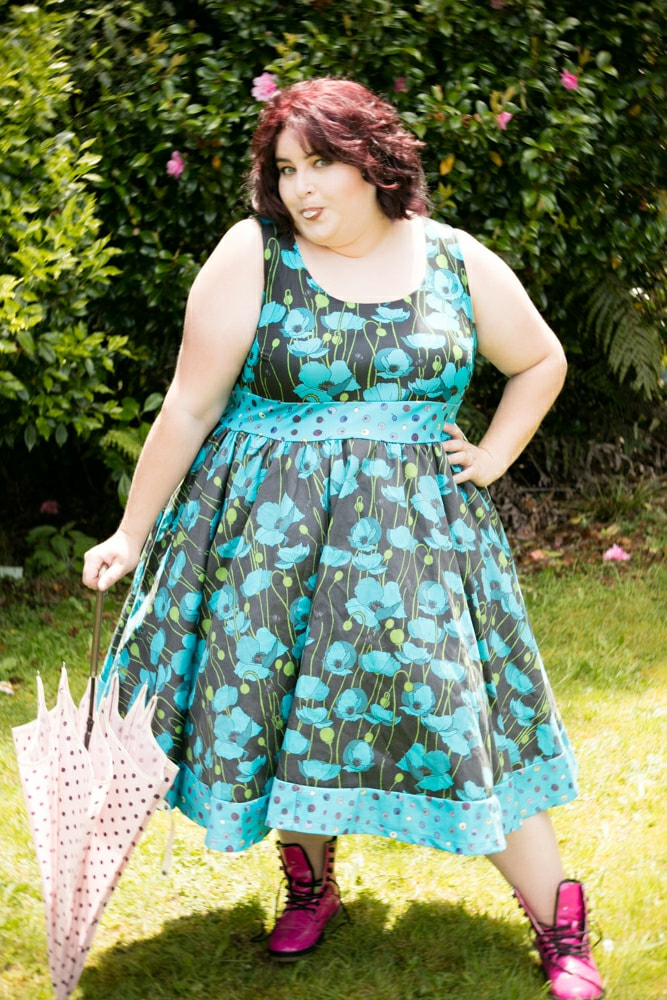
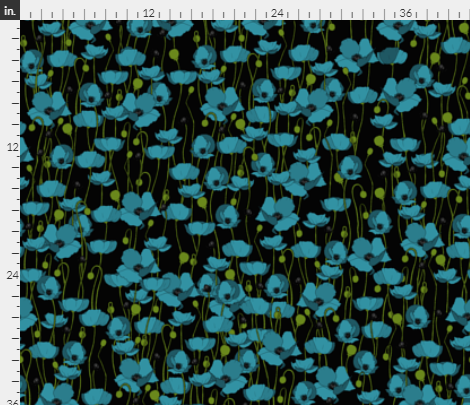
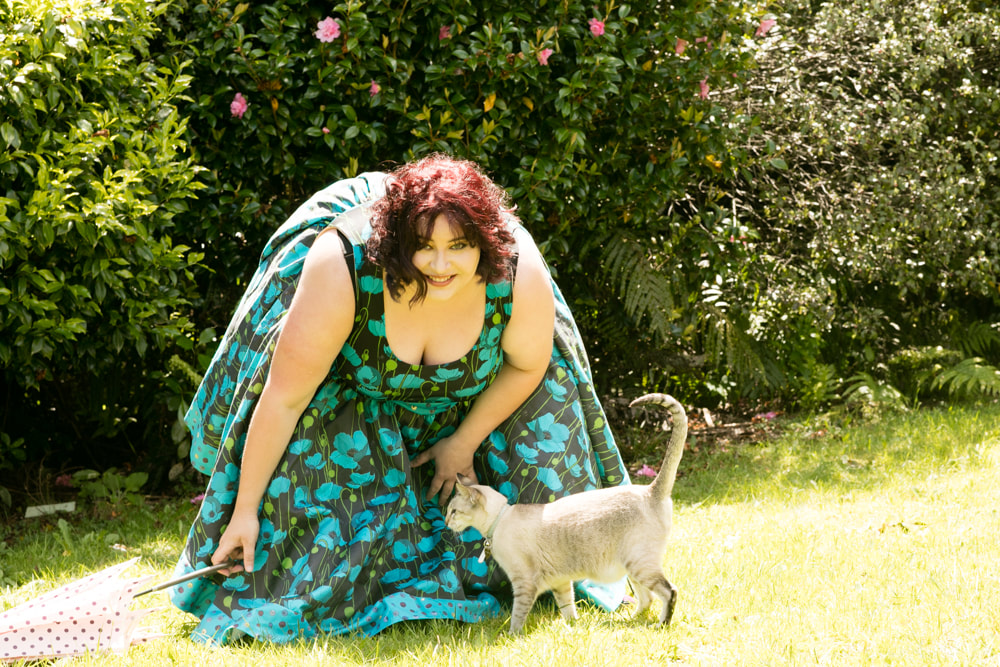
Fit-and-flare is a winner for my figure, so I decided it was time to celebrate my new stall makeover with a new swing dress to match. I knew that I was using my “Orchid Stripe” (developed when I made my “Orchids and Onions” design), and I knew I was using turquoise for my displays. I also knew that turquoise was going to be a winner for my new “Poppies” design.
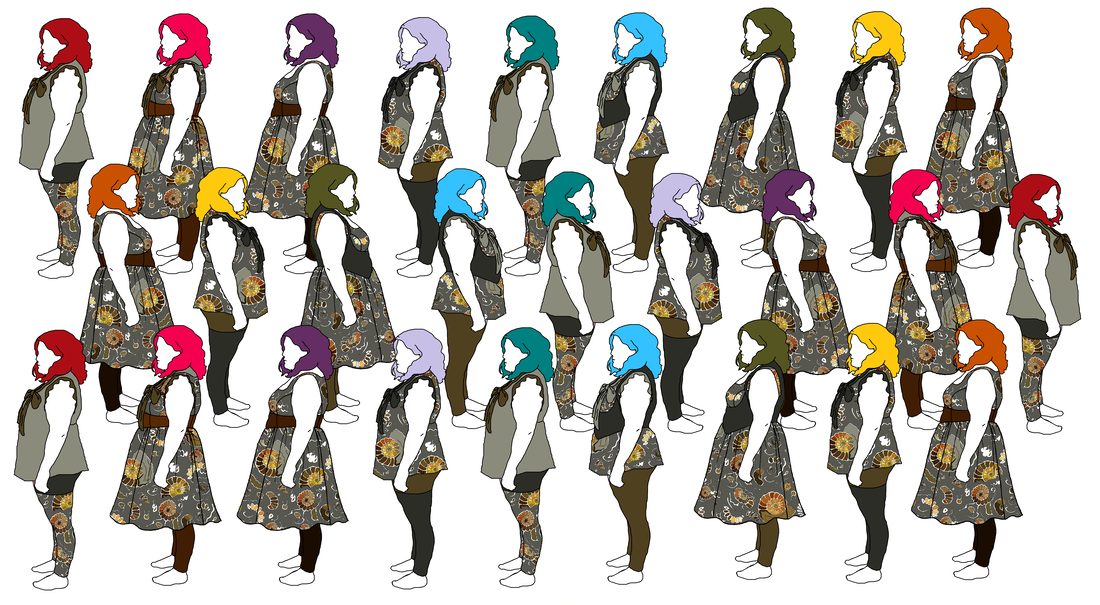
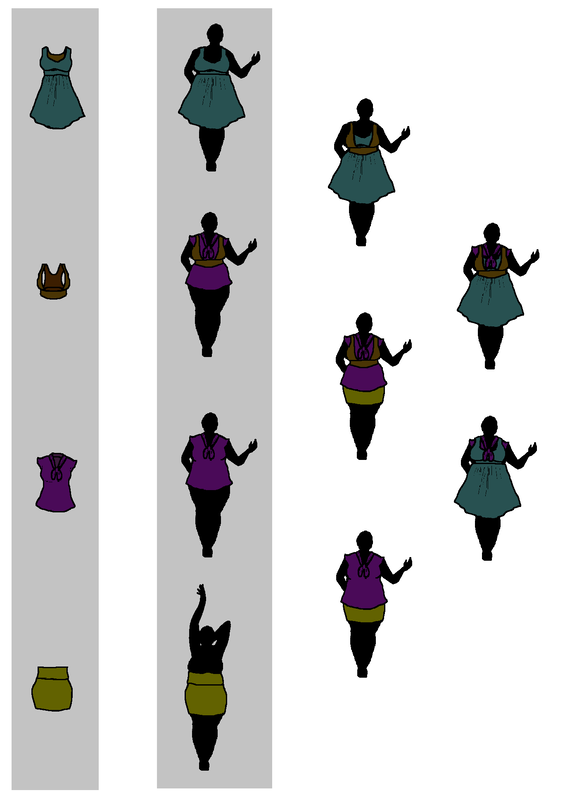
I tried out a few mock-ups to help others visualise and give me their opinions, and to give Kimble Designs her brief.
Picture

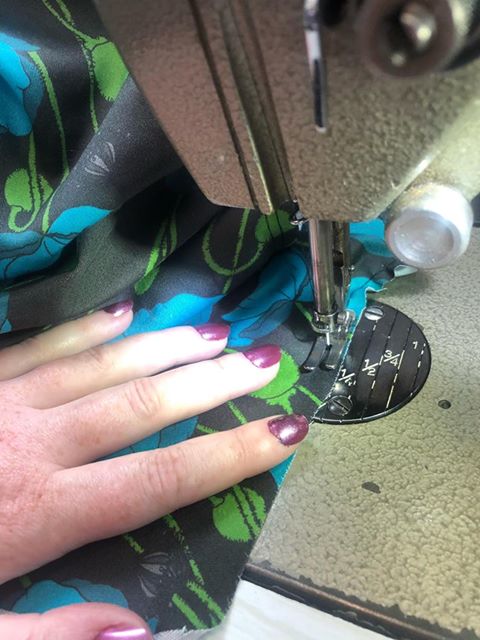
Kimble working her magic

Picture

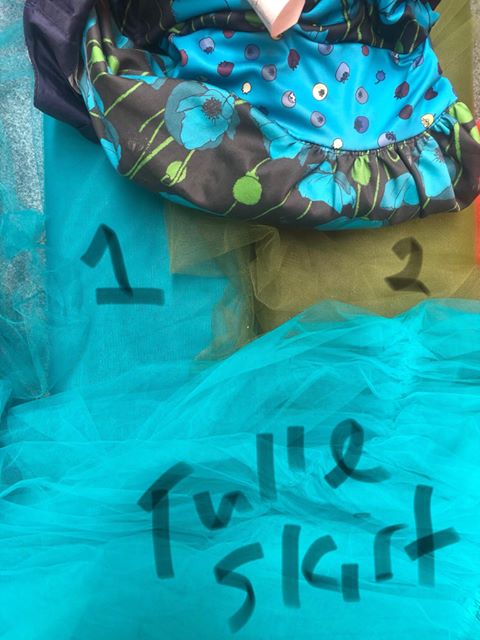
Choosing the tulle to extend my underskirt

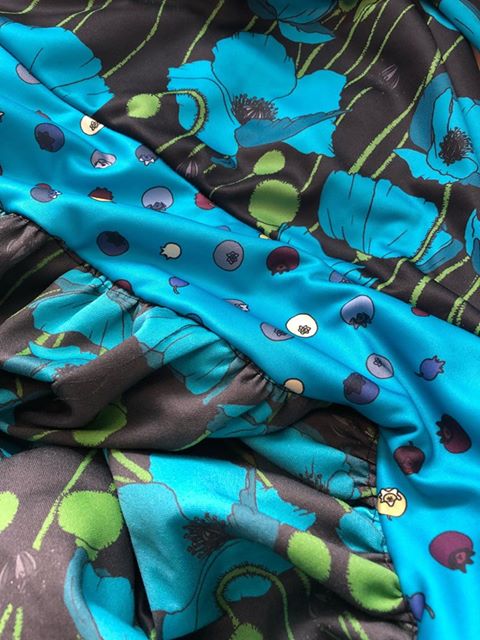
I love how vibrant these colours are! 
The skirt is heavy, and full, and made from Longleaf Sateen Grand – both the poppy and the polka-dot trim.
The belt is made from ​Retired Performance Knit, as is the bodice, so there’s a little more stretch.

Where to from here?

While it’s been fun having custom pieces made for me, the things that people really want are simple, comfy, and inexpensive in relation to their quality – which means that one-off, hand-made items are not going to be my direction for the future. 

My Redbubble shop is doing well, and there are lots of fun, print-on-demand options in there – we wear our t-shirts most days. My favourite is the tri-blend tee, and George’s favourite graphic tees have also been really popular.
Don’t worry, though – I will continue to make my ever-popular infinity scarves! keep an eye on the Facebook photo album – they are selling too fast to list. 
Posted on 1 Comment

A La Mojo Photoshoot

Sometimes, you need a boost

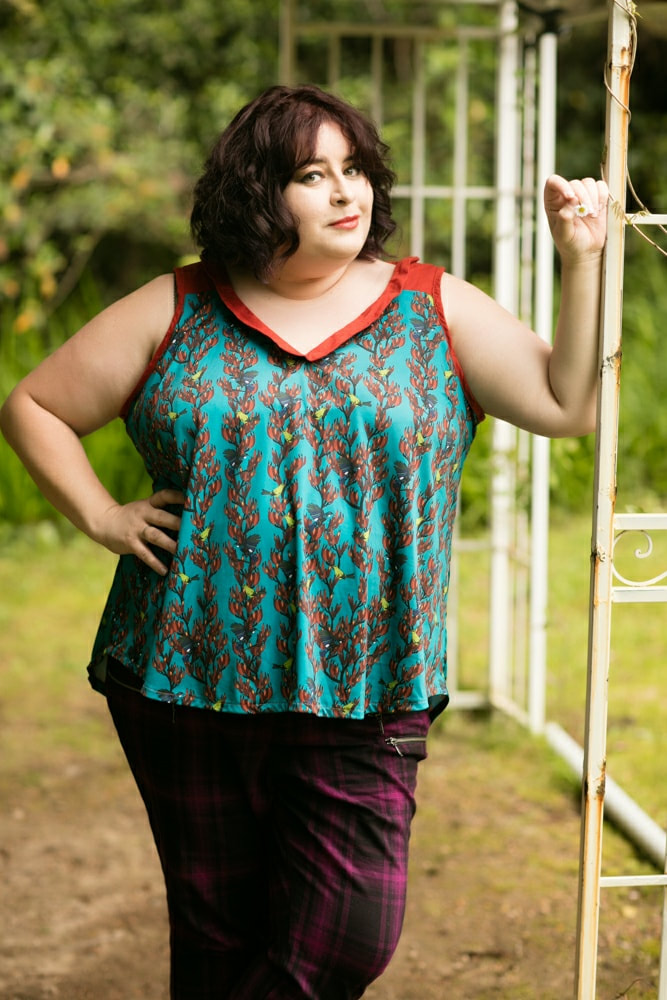
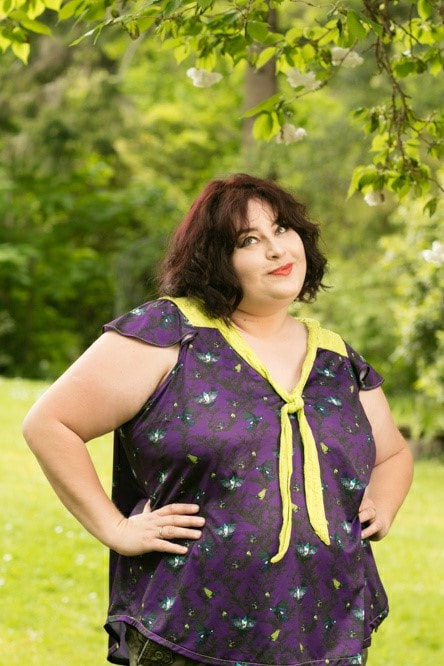
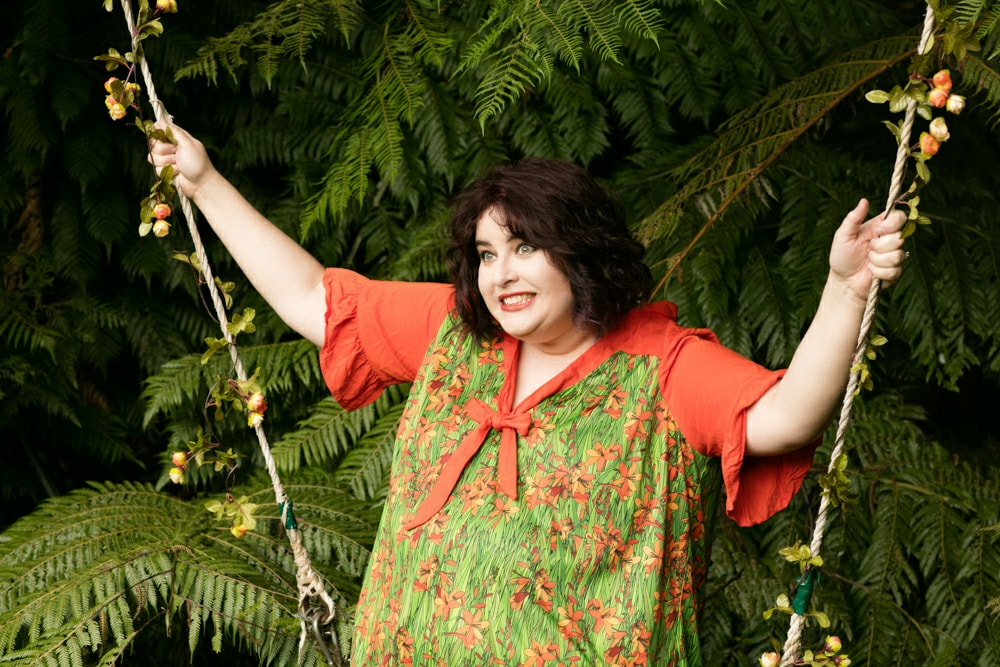
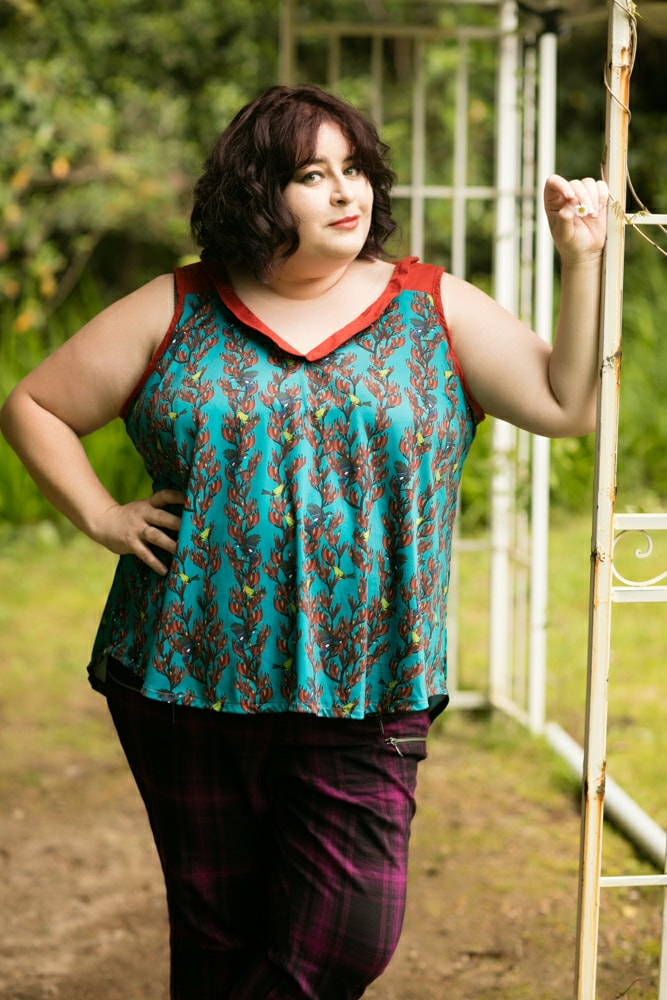
I have recently had custom swimming togs and several clothes made for me by local sewists, and I didn’t want to sell their hard work short by not having them photographed properly – plus, I am making some big changes in my life, so this was a great time to take a second and celebrate.

Body positivity

My weight has fluctuated over the years, with all kinds of causes – medication, mental illness, sports injuries, and simple lack of time getting in the way of permanent progress. These are all reasons – I have the choice whether or not to also use them as excuses.

Looking like a stranger

Picture

On my way to the photoshoot

Picture

During the photoshoot

Picture

At the end of the shoot

It’s been a minute since the actual photoshoot – almost a year, actually, looking at the date I started to write this post – it took me a while to adjust to how I looked in the photos. As many of you probably know, I don’t really “do” hair and make-up, so it was a bit of a shock to see pictures of me made up and styled in a way that I would never have done myself – but that was very much the point!

The process

It took me a frustratingly long time to settle into being photographed – I am just not a good model. I get awkward, and start acting out in weird ways. Eventually, I settle into it, but that’s usually at the end of the photoshoot – as was the case here.
(((((awkward smile)))))
It’s weird – I am not self-conscious in the usual way – I have no issue with public costume changes, or anything other than the part where I am the sole focus of attention.

Mandi did her best to manage my issues, and we got quite a few nice photos. The location is gorgeous, and gives you the best possible opportunity to look and feel great. 

​Eventually, I figured out how to remember that my body was a vehicle for my designs, and calmed down. Well, mainly.

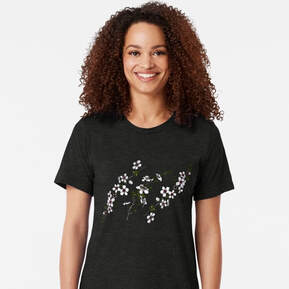
Click on the images below if you would like to purchase the fabric, or the shirt.

​I am wearing the black tri-blend tee in 2XL. 

I am absolutely incapable of blowing a bubble with gum.

The outfits

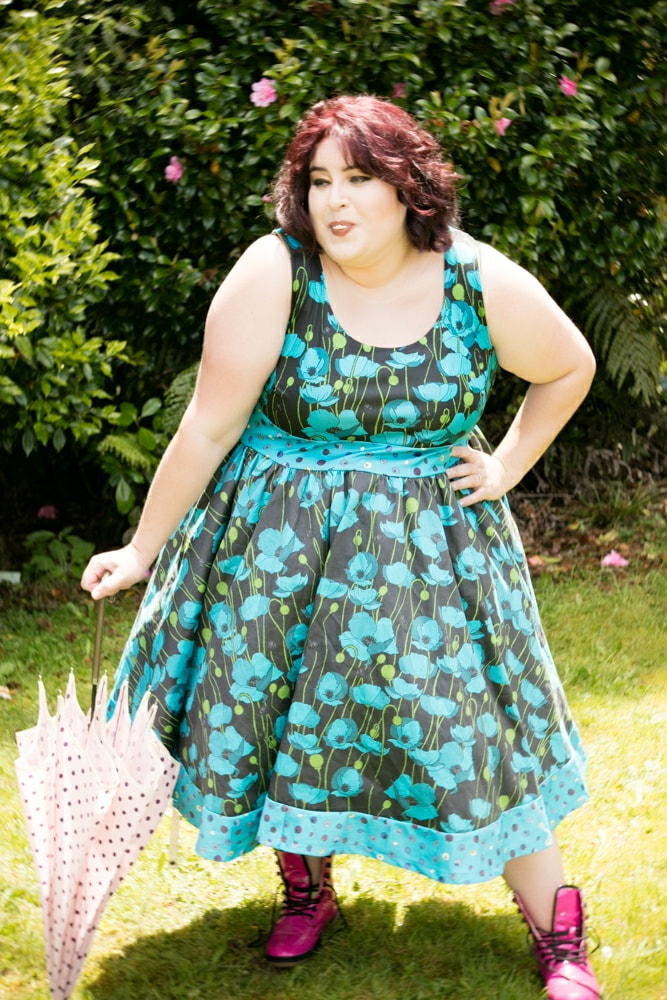
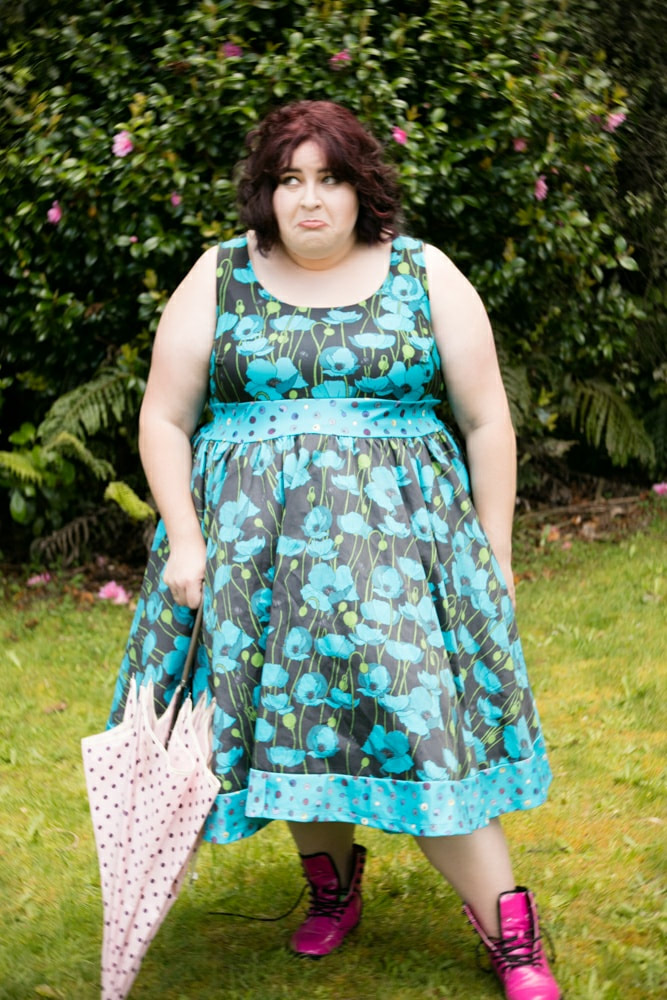
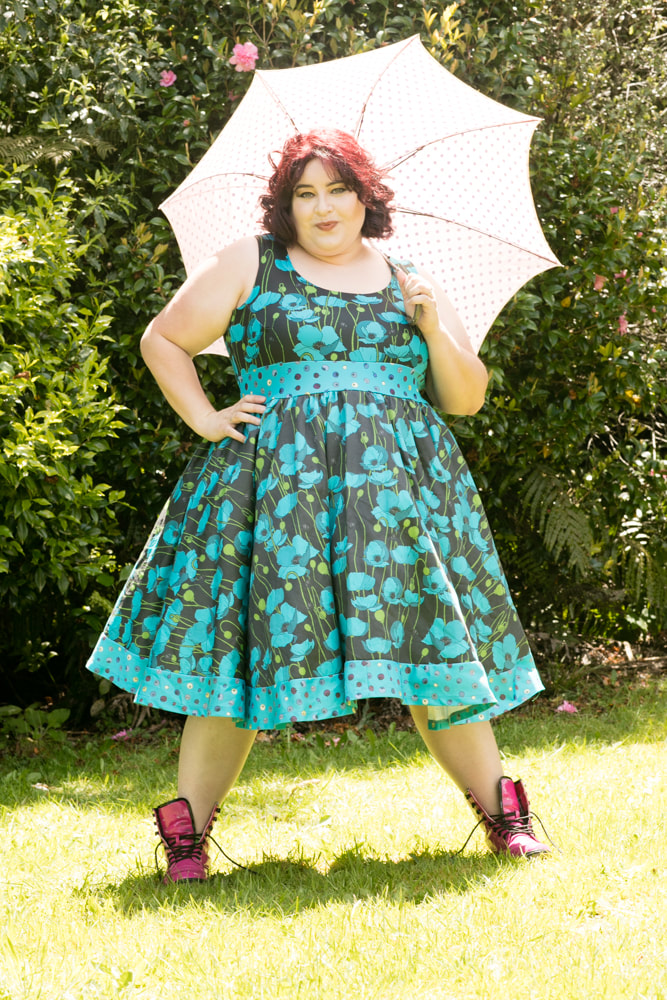
I worked with a local seamstress and designer, Kimble Designs, to try to turn my vision into clothes – some were more successful than others, but it was a great learning experience! 
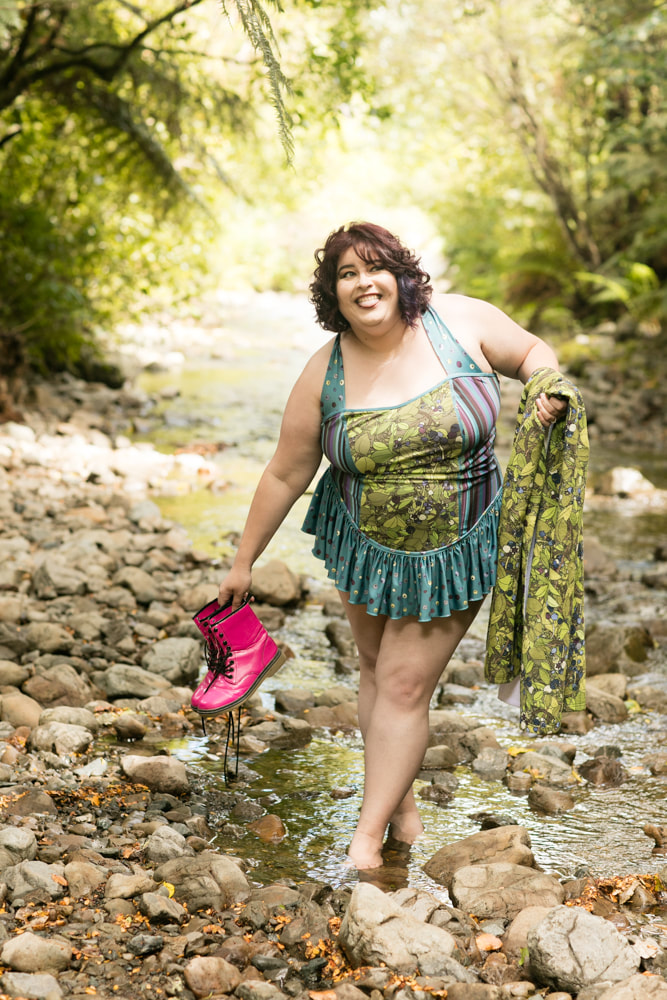
I also finally got to debut my new togs by Swanwear, which were just awesome. 
Visit this blog post for more about the fabric designs and choices for this piece:
fancy-new-togs.html
This dress features two of my most popular designs:
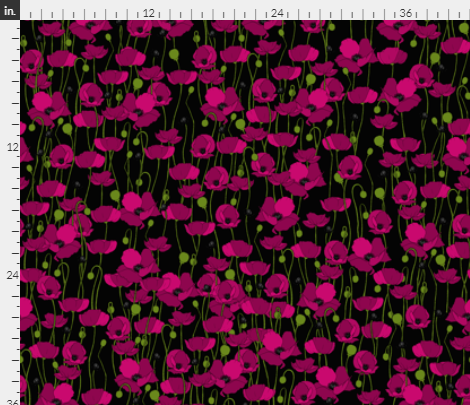
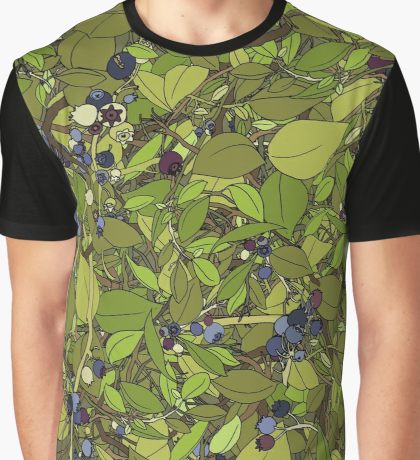
Blueberry Bushes, and Poppies.

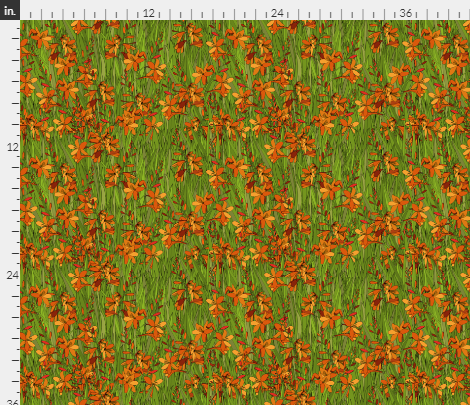
The exact designs are below; click on the image to purchase the fabric.

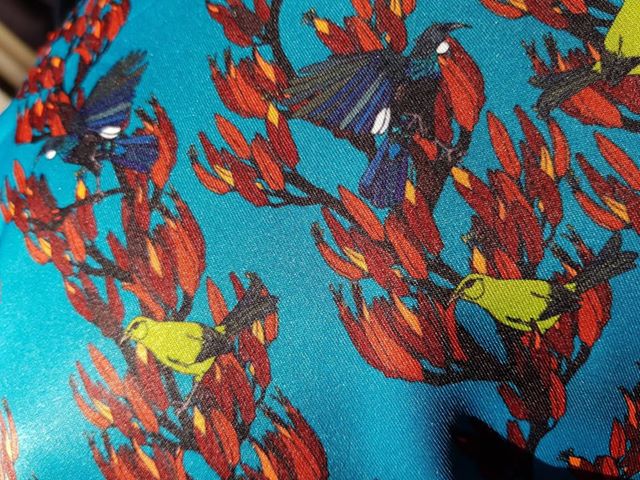
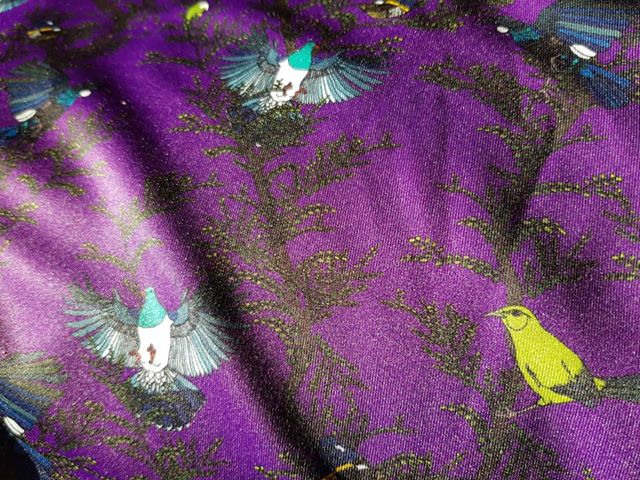
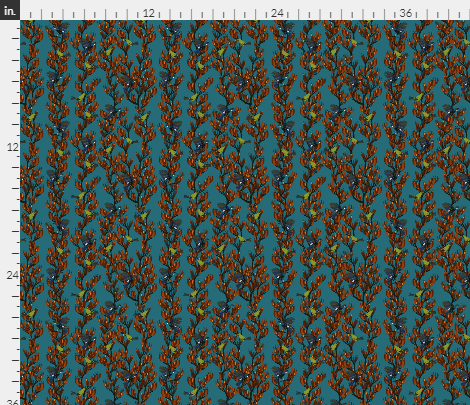
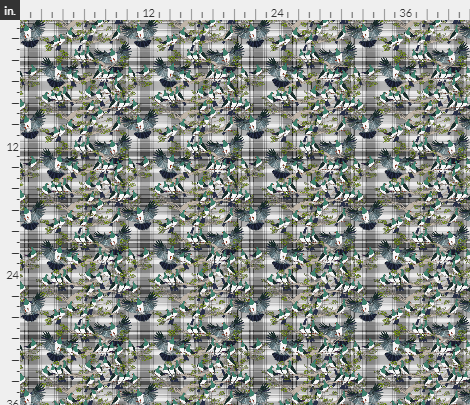
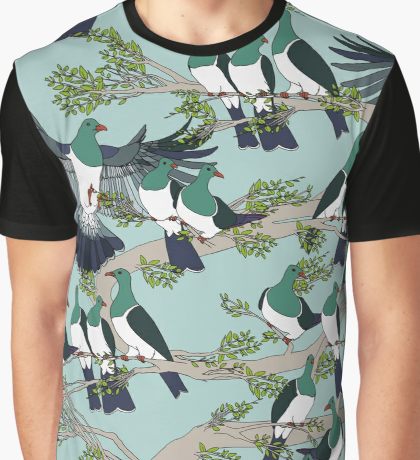
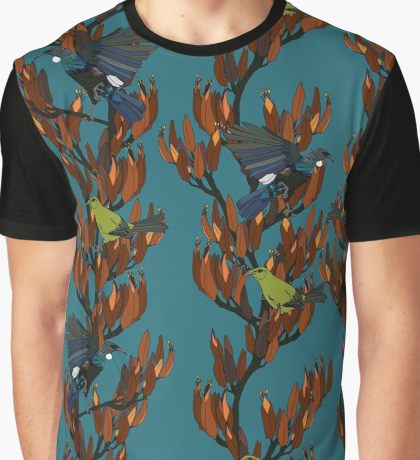
These designs feature native birds on harakeke (NZ flax) and kōwhai; both can be found in my native birds collection.

​The exact designs are below; click on the image to purchase the fabric.

Infinity Scarves

Every one of my scarves is unique – I never do the exact same combination twice. Both of these are sold, although you can still purchase the fabric designs on Spoonflower.

​The exact designs are below; click on the image to purchase the fabric.
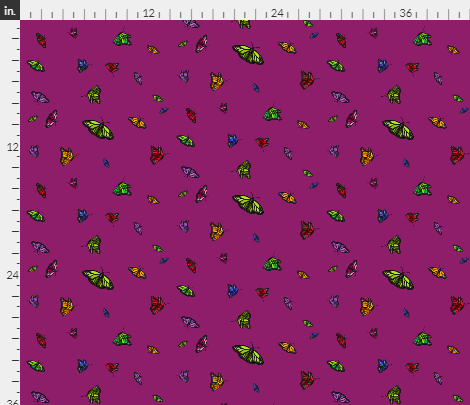
This scarf features poppies on one side, and butterflies on the other. 
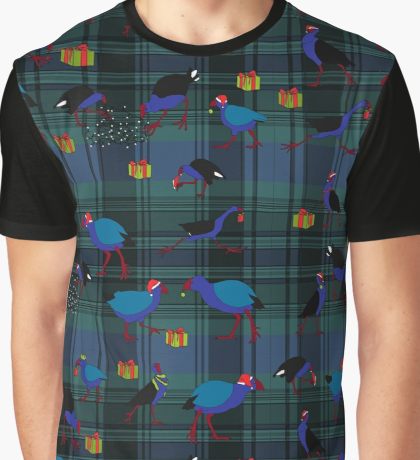
This scarf has ​kererū on plaid on one side, and blueberries on the other.

The verdict?

Modelling is HARD. IF you want to get your products looking their best, get a professional model AND a professional photographer, and trust them – they know how to get the job done. It was an important and valuable experience for me – I really enjoy looking at these photos, with a bit of distance. 

Contact A La Mojo

The A La Mojo website spiel is definitely appropriate for this blog post! It was hard work, but Mandi and Craig got me there 🙂

“​Designed specifically for women and girls who struggle to feel comfortable in front of the camera.
We take the time necessary to peel back the emotional layers that end up ruining your photos.   The awkward mask of self-doubt…we blow that out of the water, and turn your inner beauty into Art.”

Click on the photo to visit their website!

Posted on Leave a comment

PRO BONO FELIBUS

Or “The tale of the Petone Indoor Markets”

Let me tell you a story. Are you sitting comfortably? Good, then I’ll begin!
Picture

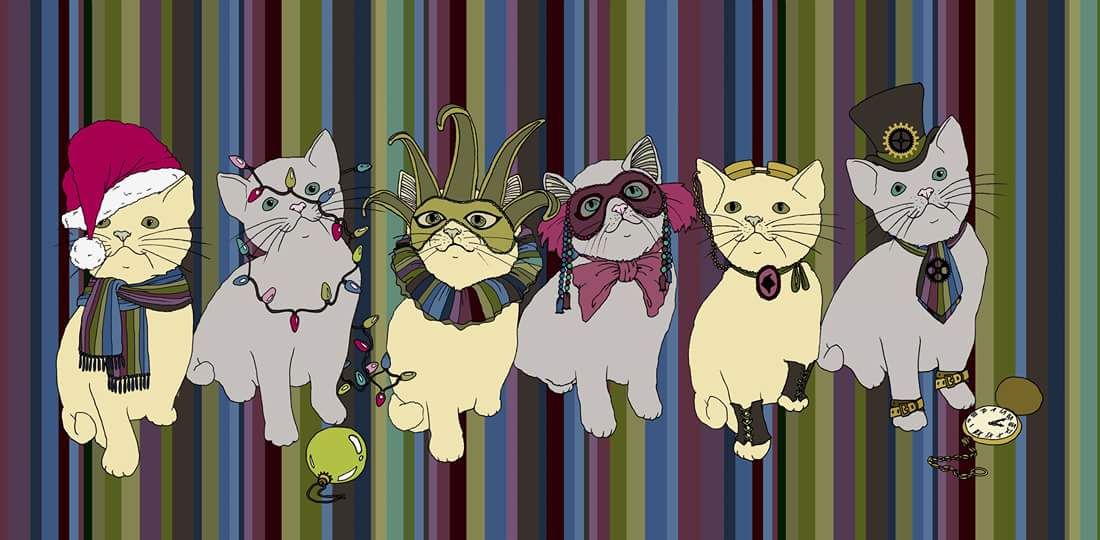
The 2017 Poster Kitties

​Planting the seed

An idea germinates; organisational therapy; a search for a venue; defining the market; what a response!
In early 2017, it came to my attention that there really weren’t any craft events in Lower Hutt, particularly in winter. It was, of course, essential for them to be indoors, and so the search for a suitable venue began. I made a call-out for interested stallholders, to gauge interest (which would influence the size of the venue), and began hunting.

Initially, I had intended the event to be something small, where I would offer coaching to my Copper Catkin Consulting students, and they would be able to have a go in a low-pressure market environment – but the idea blew up! The levels of interest were definitely high enough to justify the event, so I began to plan.

Picture

The 2018 poster kitties

​I was experiencing health issues which made me unable to work, and decided (with the help of my therapists) that trying to organise a market for low fees (rather than for profit) would be good therapy for me. As it turned out, my poor husband ended up doing a lot of the heavy lifting, but the outcome was still rather a good little market, so there was definitely an element of job satisfaction there!

I hunted around for suitable venues, hoping to find a warehouse owner willing to give me a short-term lease, but there was nothing suitable – no one even returned my calls most of the time. The council had nothing suitable on their books.

Eventually, it came down to church halls, school halls, wedding and sports venues, and pubs and clubs. I approached all the larger pubs and club houses, and they said no. I approached local wedding venues and sports clubs, but they were either unsuitable or too expensive – and none of them were close enough to Jackson Street!

After months of searching, I settled on the Petone Baptist Church hall, which also set the location – Petone.

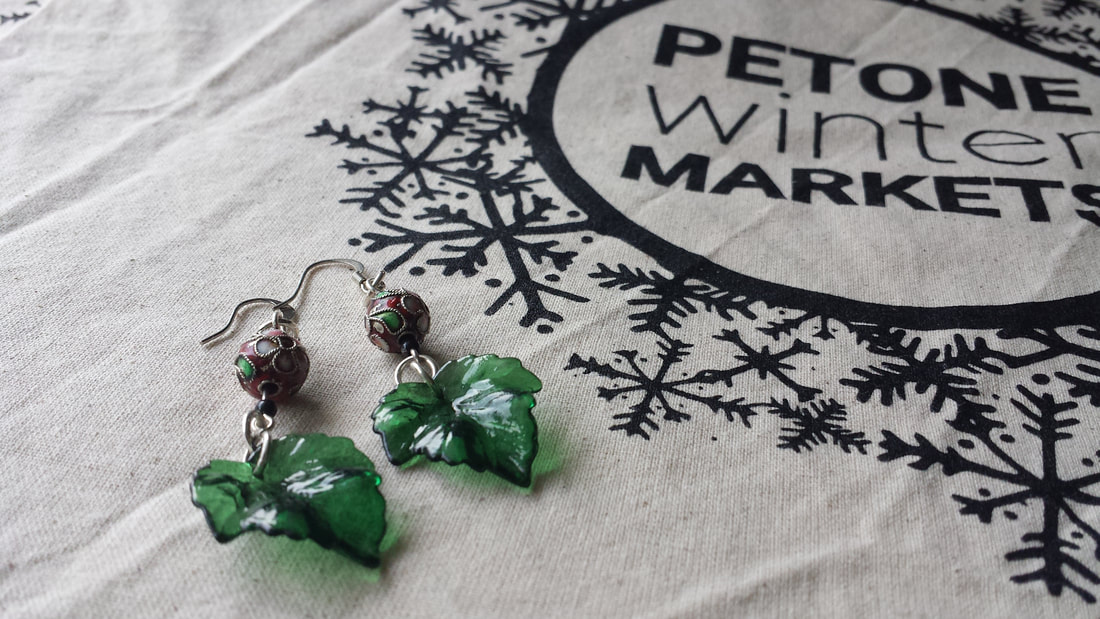
With the help of Cat from Byte Design, I developed the name (Petone Winter Markets) and logo, and in May 2017, began to advertise for stallholders in earnest.  As hoped, the interest was phenomenal, and before I knew it, I had a waiting list of over 80 stalls for my first event! The Petone Winter Markets 2017 were off with a bang!

Companion planting

A new partnership; the rule of three; feeding the troops
Another idea had been incubating in my mind since the previous year, where I had helped by organising a market event as part of the very successful fundraiser which I ran for the Wellington Rabbit Rescue – we raised over $2,000 to cover the printing costs for a range of merchandise that allowed WRR to keep every dollar of the profits from then onward.

I decided that I wanted to have a charity on board again, and decided to choose the Outpawed Rescue Trust this time around. It proved to be an excellent decision.

“The rule of three” is an essential part of my aesthetic, and I stayed true to it when I set the trial number of markets for 2017: July, August, and September. I designed the poster artwork from a photo that Outpawed shared on their Facebook page, and from what I hear, that artwork was a big part of the initial interest.
 
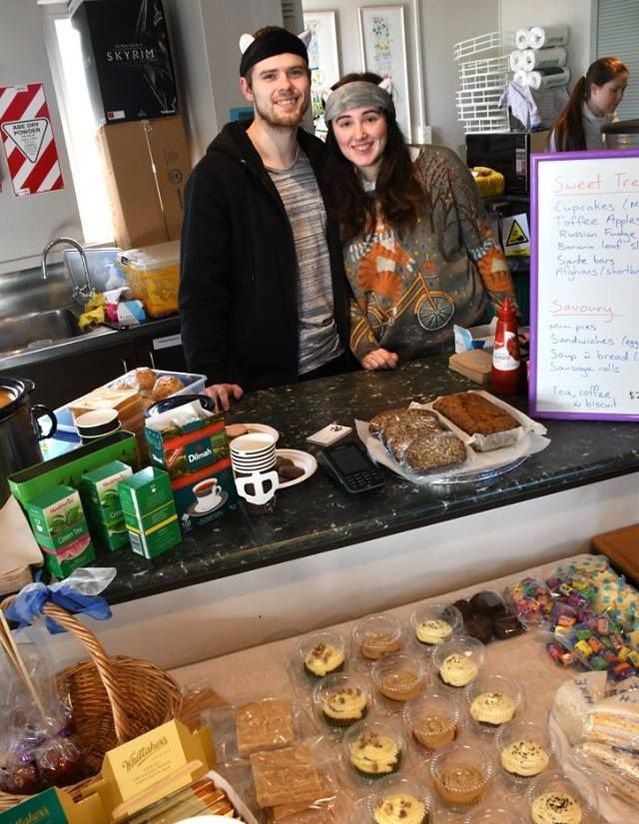
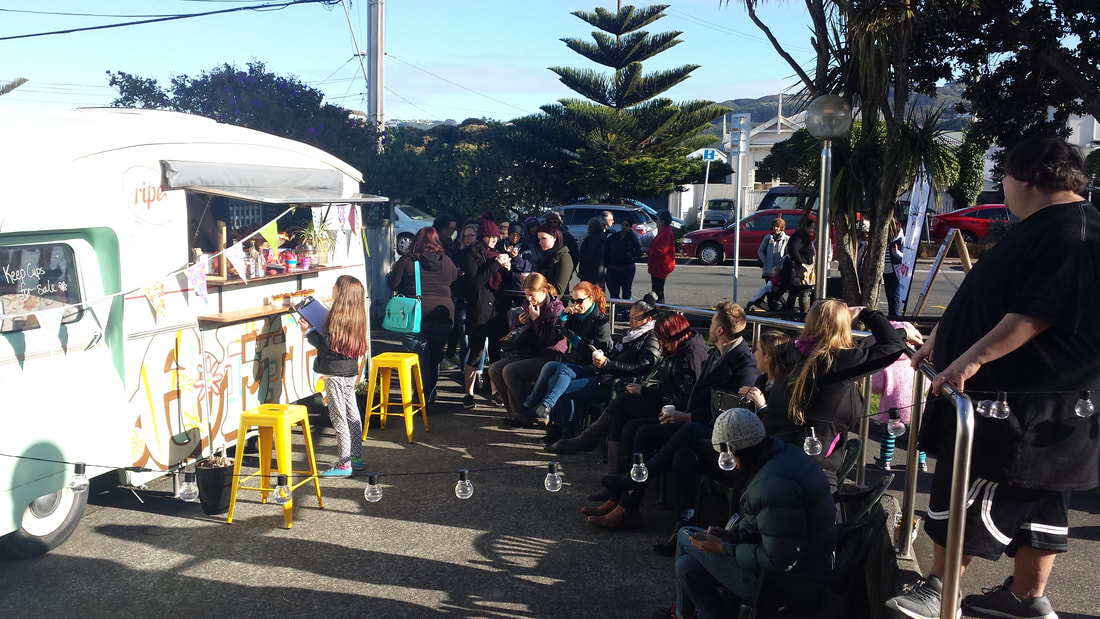
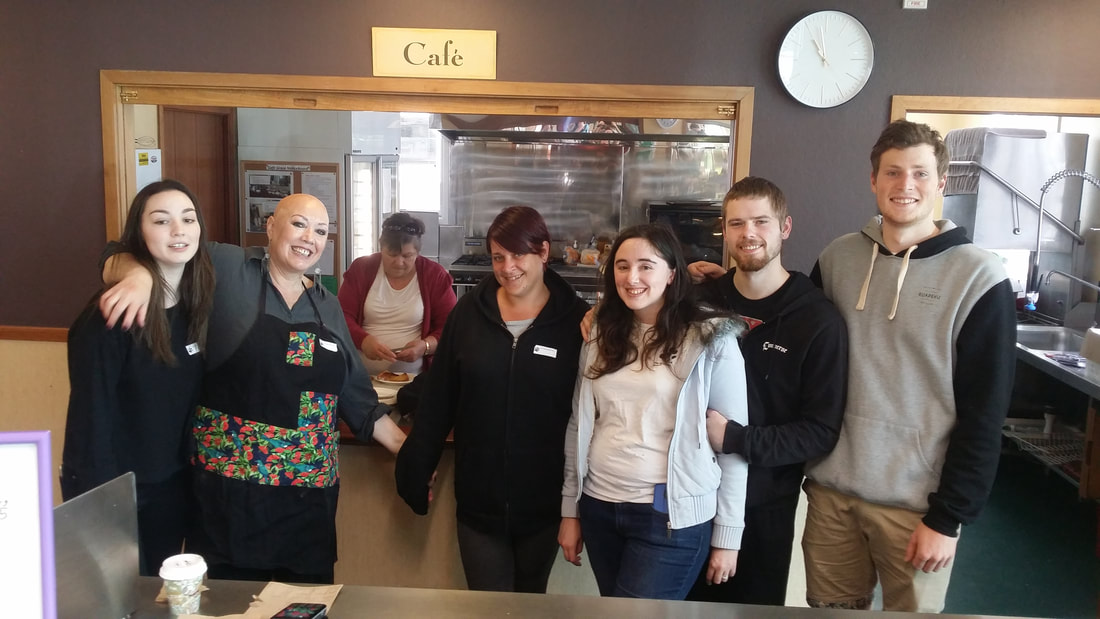
I brought in Betsy and the team from Ripe to make our coffee, and Outpawed ran a charity bake sale from the kitchen, providing essential nourishment for our stallholders and customers alike. I was thrilled to hear that Outpawed made good sales – I had found a way to help pay their vet bills, as I had hoped!
Picture

Betsy and Ripe keeping the queue caffeinated outside the Petone Winter Markets

​From this mighty acorn a tiny oak

Wrought means made; a parent for the markets; we trial a new venue; Outpawed to the rescue!
After the successful first set of markets in Petone, the pressure to find a larger venue to accommodate more sellers increased, and I searched further afield – but of course, these venues were not in Petone, so a new name would be required. I played with the idea of “craft” – my important criterion is that the person behind the stall was the instigator of the creations for sale, but did they have to have made every bit of it themselves? Was I going to exclude myself, as a fabric designer, because my digital art was printed professionally onto the cotton I was selling? How could I keep that maker-made ethos but not exclude makers who used machines, or other tools to create their work? I also wanted to include more customers in scope. The traditional “craft market” atmosphere is dominated by “women of a certain age”, and the products reflect that – jewellery, yarn art, soaps, candles, and frilly things. And of course, lots of things for kids, because many of the customers are mothers and grandmothers. I wanted to keep this creative vibe going, but push it out into the sphere of the “hard” crafts – wrought iron, woodwork, sculpture, glass art, ceramics, 3D printing, acrylics, laser-cutting, and all the new technologies. These are still creative pursuits, they just aren’t commonly found at the markets – and this was the niche I wanted to fill. “Wrought Makers’ Market” was born.

​At first, I planned to replace the Petone Winter Markets brand with Wrought. After some thought, I decided to have a series of regional events under the Wrought umbrella, once it became more established, so Petone Winter Markets got a stay of execution. 

Repeating the pattern of three events in each location, we booked for three markets at the Knox Church hall, in October, November, and December of 2017. At the last minute, I had to replace the professional caterer who was going to run the café, but had to leave for personal reasons – and this is where Outpawed really shone. They came galloping in and filled the gap, and even though these markets were less busy than the Petone Winter Markets by far (great venue, terrible location for walk-ins), they were still able to feed my stallholders and customers, and make a decent profit to help the kitties.
Picture

The Outpawed team at Wrought

​A difficult season

In which we almost give up; the Dowse saves the day; renovations are psychic vampires.
The day after our last market at the Know venue, I began looking for the next option.

​At around this time, my health problems increased, and I was worried that I might not be able to do the Petone Winter Markets the next year, especially in the smaller venue. We spent some considerable time in negotiations with a possible alternative venue for both markets, but a combination of difficult terms and less-than-ideal access left us with no choice but to cancel the Petone Winter Markets plans for 2018. 

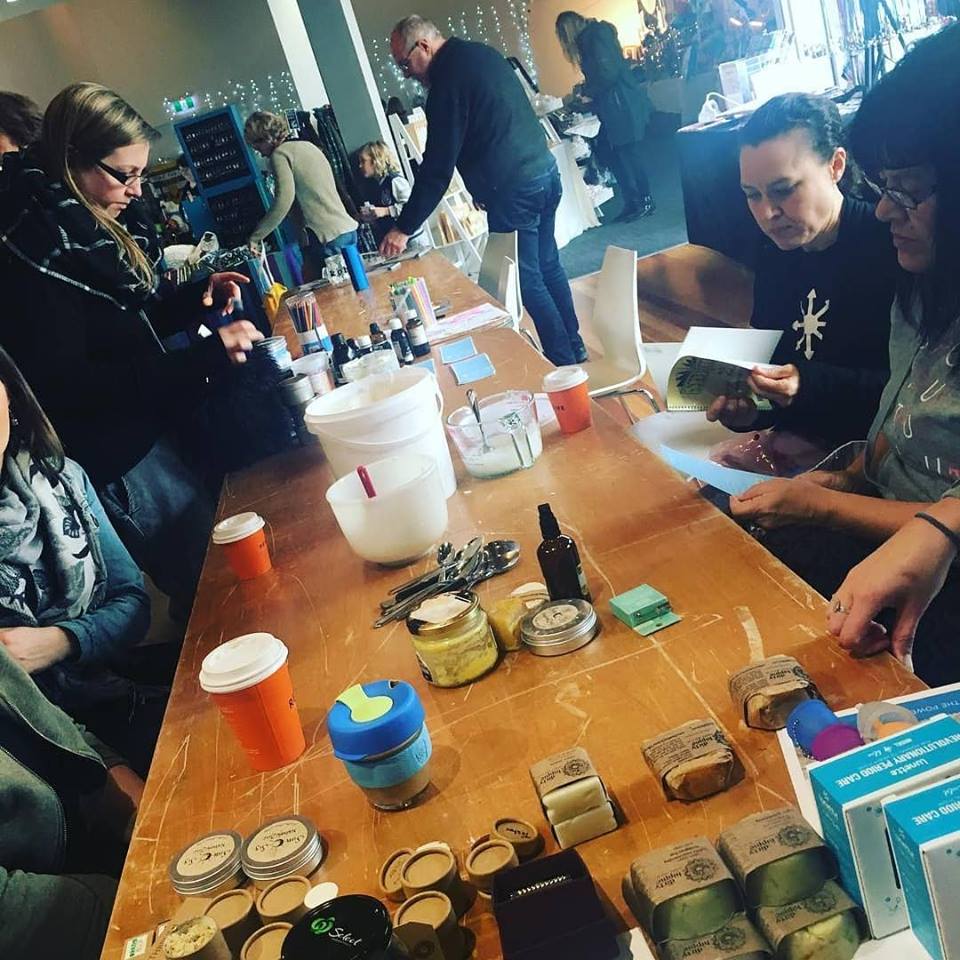
We were lucky enough to secure the Dowse for the planned date for Wrought April, so we booked our usual three dates there – April, July, and October – and started some home renovations, which, combined, took up all of my time and energy.
Picture

The Waste-Ed workshop at Wrought July

​Change is in the air

PIM, take two; another idea germinates.
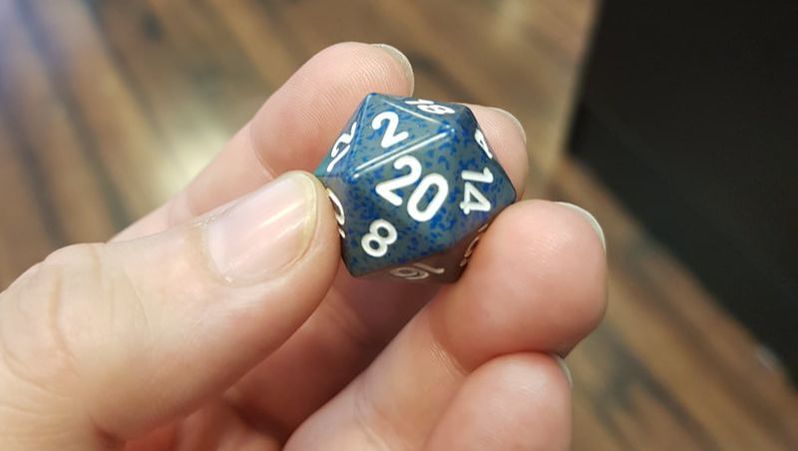
​At Wrought July, the Outpawed team mentioned that they were really relying on the income from the Petone markets, so I put the idea back on the table. We were able to secure dates in August, October, and November, with a gap in September for our long-planned overseas holiday.

At the August market, we discovered that, with their help to manage the arduous set-up and pack-down of the venue, the task went from 2.5 hours before and after each market to less than an hour – the power of a team of volunteers should never be underestimated! 

This started another idea-seed in my head, but we needed to get back from the holiday before I could be certain. 
Picture

Roll D20 for decisions

The big move

Portland adventures; a big decision; the end of an era.
Our September trip was to scout out the city of Portland, Oregon.
We had hoped that it could be something like a giant Newtown, crossed with a giant Cuba Street, with a bit of Jackson Street, too, and it didn’t let us down – Portland ticked every box for us. My American husband and I had been considering a move there for quite a while already, and the visit sealed the deal – we are moving to Portland in 2019!

​But… what to do with the markets? 

Wrought Makers’ Market is a brand designed to be portable, so it will be staying with us, and maybe one day, you will hear about Wrought Oregon – but of course, the Petone Markets had to stay where they were.

​We were already considering a change of name to allow for the October and November dates (not exactly winter!), and we had planned 9 more events the next year, so we changed to the “Petone Indoor Markets”.

​With the move to Oregon confirmed, and the market dates for 2019 already booked in, the next decision was – what to do with the Petone Indoor Markets once we left NZ? 

​Changing of the guard

The gift that takes; splitting personalities; a call for help.
​We knew that Outpawed relied on the income, and we knew that Outpawed were reliable helpers – but would they want the additional responsibility and thankless task of running a market?

​I spend over 150 hours a market on social media, admin, invoicing, managing the website, and fielding enquiries, and at all hours – creative people think nothing of messaging a page at 2am, and in order to avoid impacts to your page response time, you have to be ready to reply.

​Would they be able to manage? Would all my hard work peter out into nothing? Would they be able to maintain the level of engagement that sees over a thousand people interested in my events through organic reach alone, before I even pay to promote them? 

The answer from Outpawed was a resounding “yes”! 

​I have begun the process of donating the Petone Indoor Markets brand to Outpawed by announcing our departure and the projected change of ownership to my stallholders. 

There are currently 4 brands within my Copper Catkin business: Copper Catkin, Copper Catkin Consulting, Wrought Makers’ Markets, and Petone Indoor Markets. In order to donate PIM to Outpawed, the next step is to separate them out from the rest of my business. And for that, we need help.

“Pro Bono Felibus”

For the kitties; an appeal to accountants, valuers, and lawyers.
​In order to pay for the accounting, valuation, legal transfer of ownership, and any other expenses, I will have to use the funds from the business, as I am still not able to work, which puts me in a quandary. Petone Indoor Markets was never designed for profit – it was always intended primarily to fill a gap, and as a way to promote creativity in the Wellington region. My fees are as low as I can reasonably make them and still cover venue hire and advertising costs (apart from my own labour) – which means that I have very little available to cover the costs for the valuation and legal requirements to make my donation – so I am putting the call out for help. 

Please, help me transfer the ownership of the Petone Indoor Markets to Outpawed as a donation to them – it would be so greatly appreciated. 
Posted on Leave a comment

THE STRUGGLE IS REAL

WHY ARE MY SALES TERRIBLE?

With Copper Catkin, we attend a great many markets and fairs throughout the year, and we  consistently sell several hundred dollars of stock at every market, even the very quiet ones. If there are people at the market, we give them every opportunity to take home some Copper Catkin goodness, and many of them take us up on the offer.
Picture

Ready to trade at the Wrought Makers’ Market earlier in 2018

We look around us and see that many other makers are struggling to do the same, so here are a few quick tips. 

Am I doing something wrong?

Is it me? Is it my display? Is it my products? Is it my prices? Is it this market? 
It could be any of these, all of these, or none of these.
Let’s work through and see what could be happening.

The times, they are a-changing

Well, first of all, times have changed. Back in the halcyon days of Wellington markets, there wasn’t much competition – there weren’t as many markets, there weren’t as many quality makers, and there were a lot of people who loved supporting local crafters.

Wellington is suffering from market fatigue – we have lots more regular markets, and they take the shine off the excitement of the event.

Market organisers are also letting quality makers down by allowing imports and low-quality stalls to undercut their handmade prices, and customers are no longer educated about the cost of handmade. Add that to the proliferation of small events splitting the skilled maker-base across too many locations, and adding opportunity for the lower-quality products to find spaces, and the experience as a whole becomes very diluted and same-same.

Add that to the fact that we simply don’t have enough people in New Zealand, let alone Wellington, to support the number of events, and you can see why sales are slipping.
If only we could support events the size of the Oregon State Fair, for example!

Everyone is “making to sell”

There is a huge fashion at the moment for people, especially stay-at-home parents, to “make a little something” to help with household costs and alleviate the tedium of being stuck at home with the kids – “I have so much time now that I’m not working (of course this is tongue-in-cheek)”… And there are so many kits out there that people think it’s much easier to make things with skill than it really is. Who hasn’t heard “oh I could make that!” at a market?

This fashion for making low-quality goods and selling them cheaply because “it’s just a hobby” hurts those who make quality goods, because everyday customers can’t tell if you used $2 essential oils or made your own from the plants and flowers you grow – and they don’t care. They just look at the prices and go for the cheapest. 

MLMs are also major culprits – when a maker is competing against a reseller, who not only has to make very little effort to create their products, but who also receives training in professional stall display and sales, the winner is generally the MLM seller. Customers also gravitate towards recognised brands, so if “Lucy’s handmade lotions” is competing against Nutrimetics, for example, most customers will choose Nutrimetics. 

Wallflower sales techniques

Do you sit behind your stall mournfully, and hope that someone will notice and like your creations?
Are you embarrassed to tell people about what you have made?
Do you take along something to make so that you have an excuse to avoid eye-contact with customers?

This simply does not work. If you believe in your work enough to try and sell it, then SELL it. Engage, with customers, give them an excuse to spend money with you! Sitting and hoping will only work with a very few customers – most of us need help massaging the money out of our hands and into your pocket. Help us buy the thing we like by asking for the sale! We will actually be grateful, most of the time, because we want it but, in this economic climate, we need to justify it. Make the justification for us, and we will do the rest.

Picture

Repping the brand

Attitude

What’s your number one product?

If you said anything other than “me”, you are wrong. Why would I buy from you, when I can get it from Jenny next door, or online, or… BECAUSE I AM BUYING THE EXPERIENCE. Art is a package, and you have crafted something that will uplift me – because I am supporting a local maker, because I am buying something handmade, because what I buy is a part of a person who is telling me all about how it was created. When I look at that bowl, or I use that bath bomb, or I wrap that painting as a gift, I am thinking about you, the maker, and I am enjoying the extra buzz of connecting with the creator of this beautiful, practical, helpful, magical thing.
So don’t slouch grumpily behind your stall if it’s a low day, work harder! Project your joy that someone might want to buy something you have made! DO NOT COUNT YOUR TAKINGS, count the compliments and positive reactions. While you are at the market, you are NOT here to make money, you are here to spread joy. Change your mindset, push the energy to max, turn up that smile to 11. Really make people feel like they are the reason you are here – you want to share this thing with them, specifically, because they are important to you, and you are so happy that they are there. 

This is called the “opening night” principle. For every theatrical show, the opening night is the most important – everyone puts all their energy into it. The second night is always flat, as a result. Every single customer should experience opening night with you – so by the time the market it over, you should be exhausted. That means you did it!
Picture

We use photos to help tweak the details – the missing safety pin, the bunched-up tablecloth…

First impressions MATTER

We have talked about having a positive attitude already – body language is a major way to communicate with your potential customers. Be sure that you are always open and positive.

Even more important than that – have an amazing stall display. Your display should have elements to bait your customer over to check out your products, and hooks to keep them there. 

People shouldn’t have to interact with you in order to understand the basics of what you are selling, so make sure that they can easily identify:

  • Who – what is your brand name? Who makes it?
  • What – what are you selling? 
  • Why – why should they buy from you? Tell them your story!

“But I have to update social media!”

If a customer catches you on your phone, be human about it! 
Just tell them that you have to keep up with your social media – BUT THAT CAN WAIT, because they are more important. Gauge your customer’s reaction – if they look like they want time to browse, simply say that you will go ahead and finish your post, so that you’re not hovering. let them know that they can ask questions any time, and make sure that, if they do, you put your phone down immediately and focus entirely on them!

Is it my prices?

It definitely could be.

  • Have you followed the rule of price-setting, to make sure that materials, labour, skill, and profit are included in your price?
  • Have you checked your pricing against other similar products on the market?
  • Have you done your market research to ensure that there is a need for your products, and that it is not already adequately met?

If yes, and your pricing sits at a reasonable level in relation to other makers (ignore commercial pricing, and imports), then it’s probably not your prices. 

“This market sucks”

​You need at least 3 data points to plot a trend, so you need to attend at least three of those events before you can draw a conclusion.
If you have poor sales three markets in a row, ask yourself these questions:

  • Did the organisers advertise appropriately for my fee level? 

A quick way to estimate that is to count the number of stalls, multiply it by the stall fee, and see what around a quarter of the fees is worth. A cheap poster campaign costs around $2,000 in Wellington, and an entry-level radio campaign is around $5,000. The venue hire can vary wildly from under $100 to thousands. Is it a fancy venue? Expect that a lot of your fees have gone towards hire. Was there much left for advertising, and if not, what did they do to work around that? Social media is one of the best ways to advertise these days, and costs the least.  

  • Did I participate fully in promoting the event myself?

Did you share posters, flyers, social media posts? Did you add the event to your Facebook page and invite your friends? Did you engage with their posts and encourage others to do so? 

Picture

Words of wisdom from Fi at Rematerialise.co.nz

  • Was I present and engaged throughout the day?

Were you on your “A” game, full of energy (and, ideally, standing up)? Did your stall look amazing, were your greetings “opening night” quality for every single person? Did you ask for every sale? Did your customers look happy to meet you? 

  • Did I have the right kind of products and the right kind of prices for the event?

Did you do your research well and place yourself at the right kind of market? Look at the stallholder lists, visit events before booking, and check whether your products are too similar, or too different. If your prices and/or quality were too high, then this might not be the right type of market or demographic for your stall. If your prices were too low, why? Have you underpriced yourself, or were you outclassed? If your products are not commonly sold at markets, allow at least 6 events for customers to get used to you. If they are fairly common, you should start seeing progress after around 3 events.

  • Did I display my products appropriately?

Was your stall display at the same level as the other stalls? Were you too polished, or too basic? How can you adapt to fit in better (you can always find ways to improve ). Did I have the right kind of signage and product labelling?

​If you have attended at least 3 events, and all of the above were done well, then think about the location, the skill of the organisers, and whether the audience was appropriate for you. 

  • If lots of people come through, but they never stop for anyone, or no one comes through. then the location is unsuitable. This also applies if all the customers make excuses about not being able to afford things (and you hear this from other sellers).
  • If the organisers have a good reputation and you can see that they make every effort to make your day go well, think about the time or year, other clashes, and whether you were really doing your best that day.
  • If there were plenty of people through, and they were buying from others but not from you, think about all the things above, plus demographics. If you sell edgy products and the area is very conservative, for example, you might not be the best fit for that market.

If all of the above are good, then there is one other thing to consider – it’s because, as we said above, times, they are a-changing. 
People simply aren’t spending the way they used to, and it’s the luck of the draw whether or not you are the lucky person who snags their cash today. In that case, just keep trying – use the markets as free research – ask people what they like, give out surveys, talk to your customer base, and keep improving. If you really want to succeed, you will, but it’s hard, hard work.

It comes down to:

  • Product
  • Pricing
  • Brand
  • Sales Skills
  • Display Skills
  • Finding your audience
  • Hard work

But… I don’t know how to do these things…

That’s ok, Copper Catkin Consulting can help – keep reading!

Product
Finding the right product lines can be challenging – experiment, but be wary of having too many product lines. It looks messy, confuses the customer, and makes it hard to deliver a clear message to potential buyers. “I make a whole lot of jumbled chaos” is never a good message, and regardless of the quality of those items, they will end up looking like a junk stall if you don’t edit. Find and refine your products and deliver a clear and punchy brand message, and you will do well.

Pricing
If you won’t price your products so that you are not undercutting other makers (“it’s only a hobby” is a terrible excuse, don’t do it), stop selling. Seriously, it’s not ok to price that low – and it makes everything at the market suspect, because why is your stuff so cheap?
Likewise, if you have to price yourself out of the market to pay yourself appropriately for the work, you need to find a different product, or change your approach to making it.

Brand
​Once you have your product and pricing down, you need to work on your brand – which is YOU.

This is where Copper Catkin Consulting comes in. 

Brand, display, and sales are firmly inter-connected, and you will not be successful as a seller unless you find a good combination of the three.

Start with our free mini market makeover email series:

​We offer a variety of services to help develop and crystallise your brand, so that you know who you are and what you are selling. Your brand is a part of you, and so is its personality. Make sure that your logo, colour choices, branding, display, and products reflect that.

Upcoming classes are in the events tab of our Facebook page – message us to book!

Get in touch so we can tailor a package that suits you!

    Enquire about Copper Catkin Consulting services

Posted on Leave a comment

Montbretia

Flowers of my childhood

As a child, growing up, plants and flowers were a big part of my surroundings. As far back as I can remember, there was someone gently pointing out something to me in the garden, “this is the rhubarb, and those are courgettes”, or on a walk in the woods, “this is an acorn, and this is a horse chestnut”. 
My grandfather maintained two gardens, one at his house and one at our family holiday home. We enjoyed banana passionfruit (back before it was illegal) in Christchurch, and harvested all our veges for Christmas meals from the garden at the Rakaia river mouth. My childhood is filled with memories of forsythias, gerberas, fruit blossoms, wheat fields, and general greenery – which is why it never ceases to amuse me how terrible I am at gardening! 
​Even the name of my business, Copper Catkin, comes from my love of the furry pussy willow catkins that I first encountered in our Geneva garden, down by the stream, before I was even 5 years old. 

Roadside colour

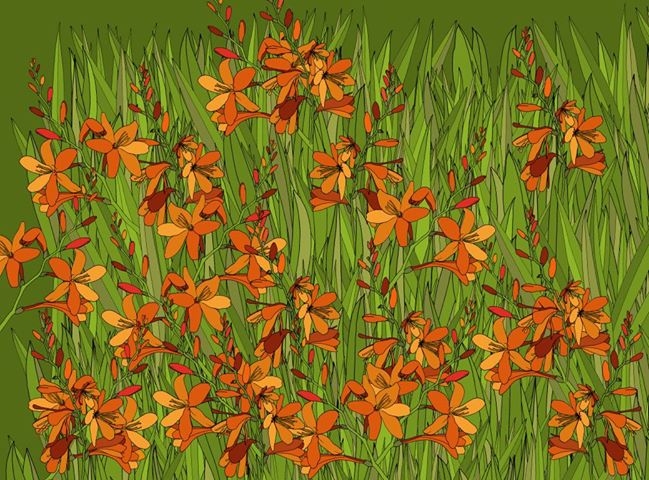
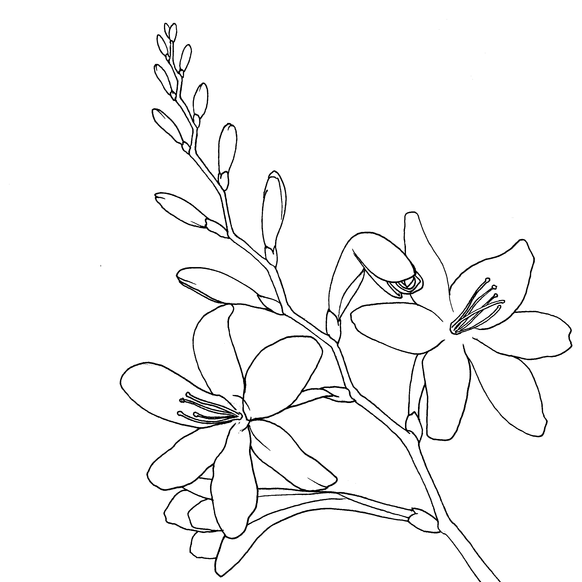
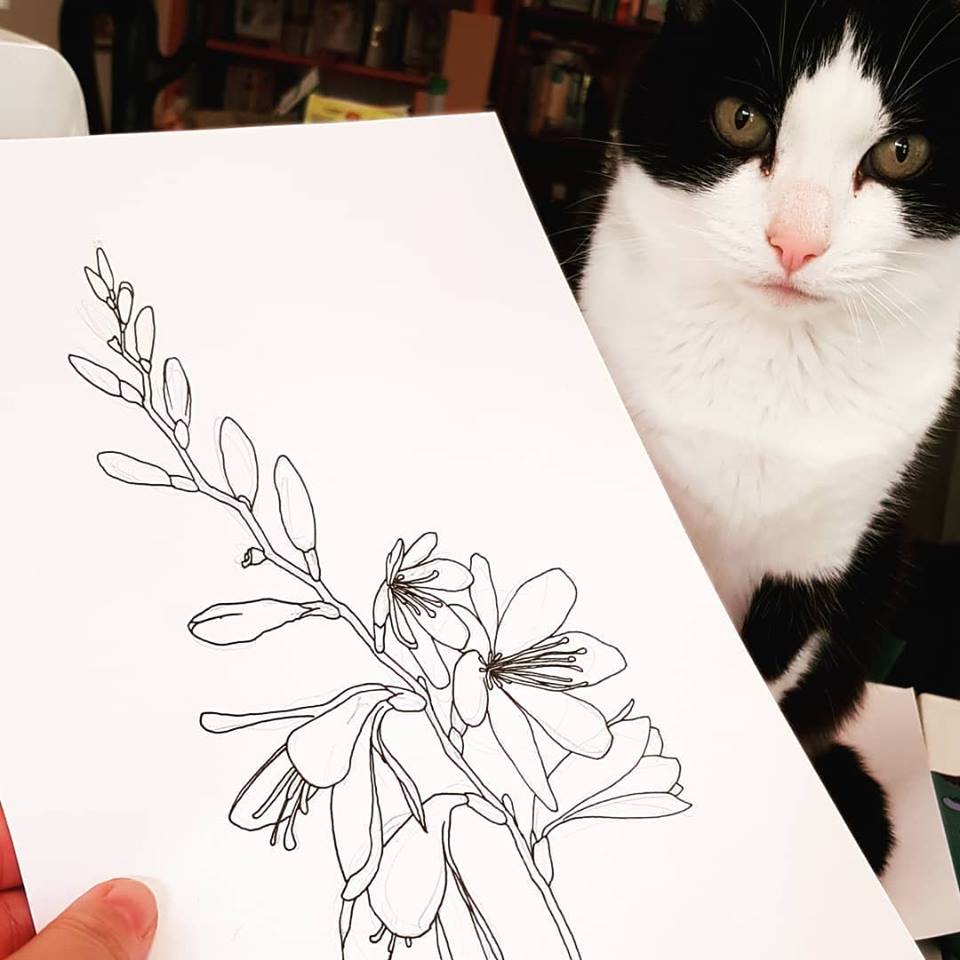
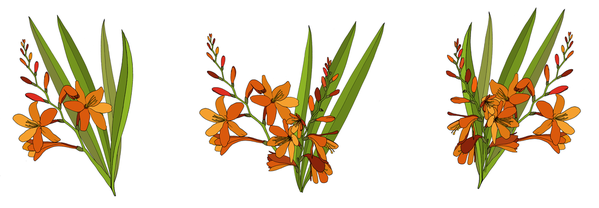
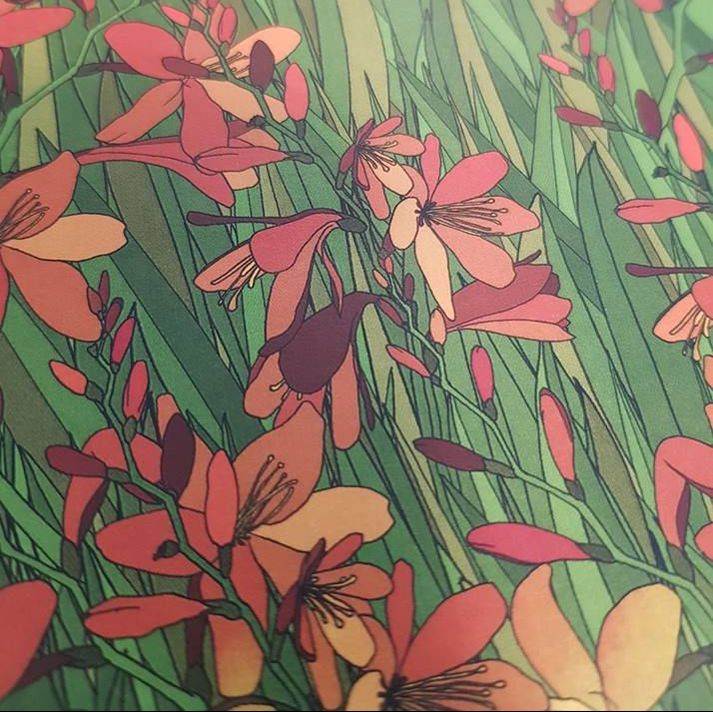
In New Zealand, I smile every year when the montbretia, or crocosmia × crocosmiiflora, start to appear. It makes me sad that they are considered a pest species, just like the beloved banana passionfruit of my childhood. I only found this out recently, when I tried to buy them online to add to our garden – so I decided to draw them, instead. 

Creating designs

I use my designs in several different ways – in jewellery, in fabric, and in print-to-order items like t-shirts and phone cases on Redbubble. 
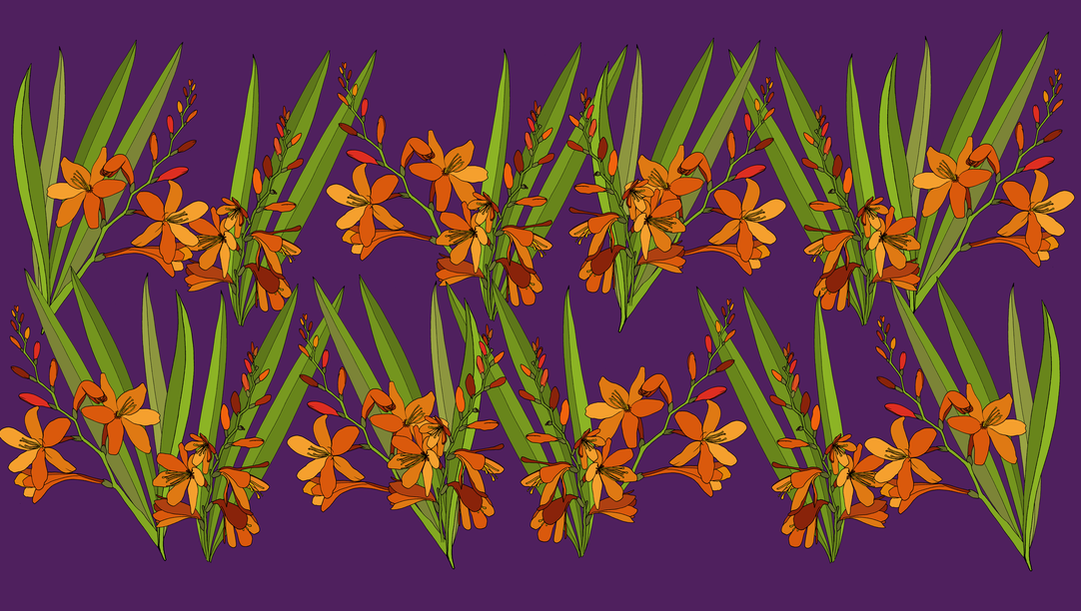
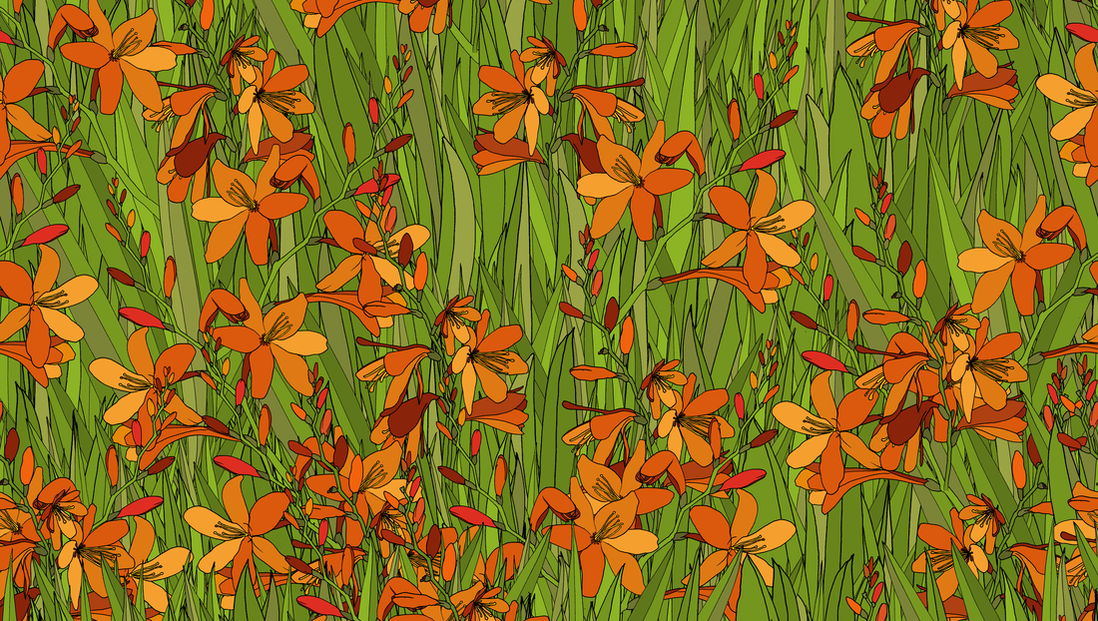
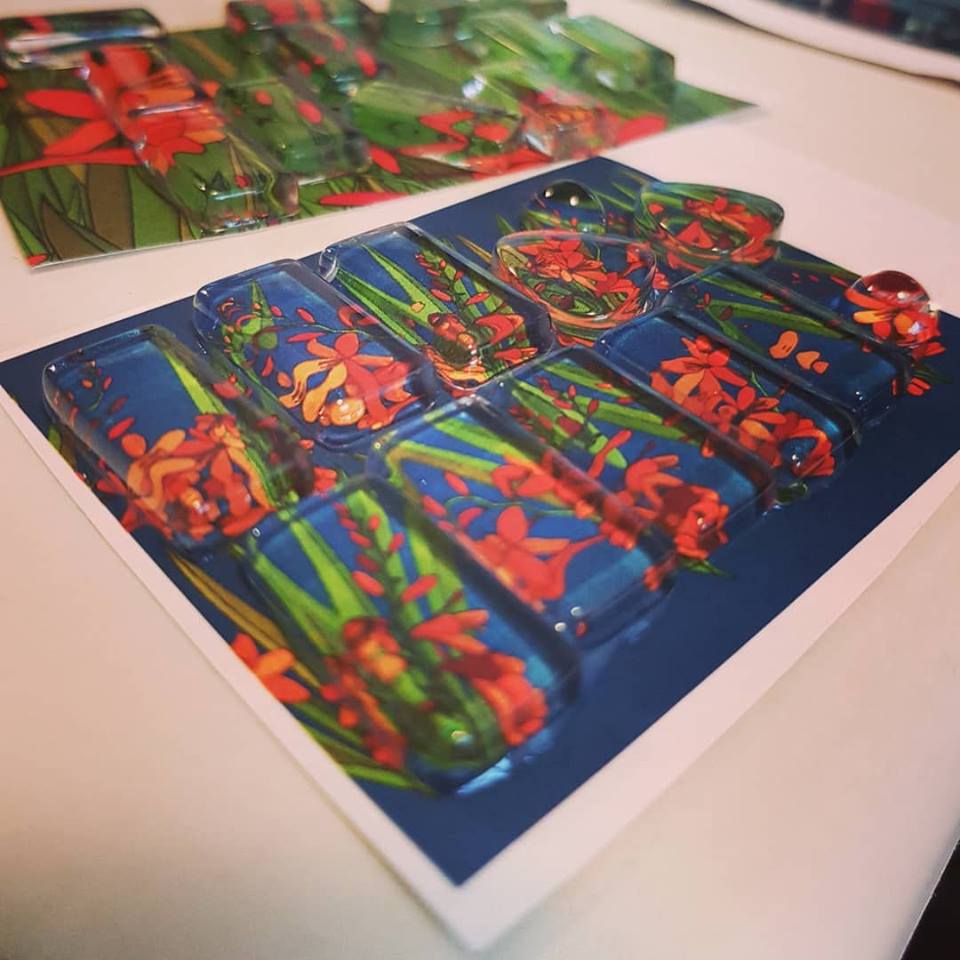
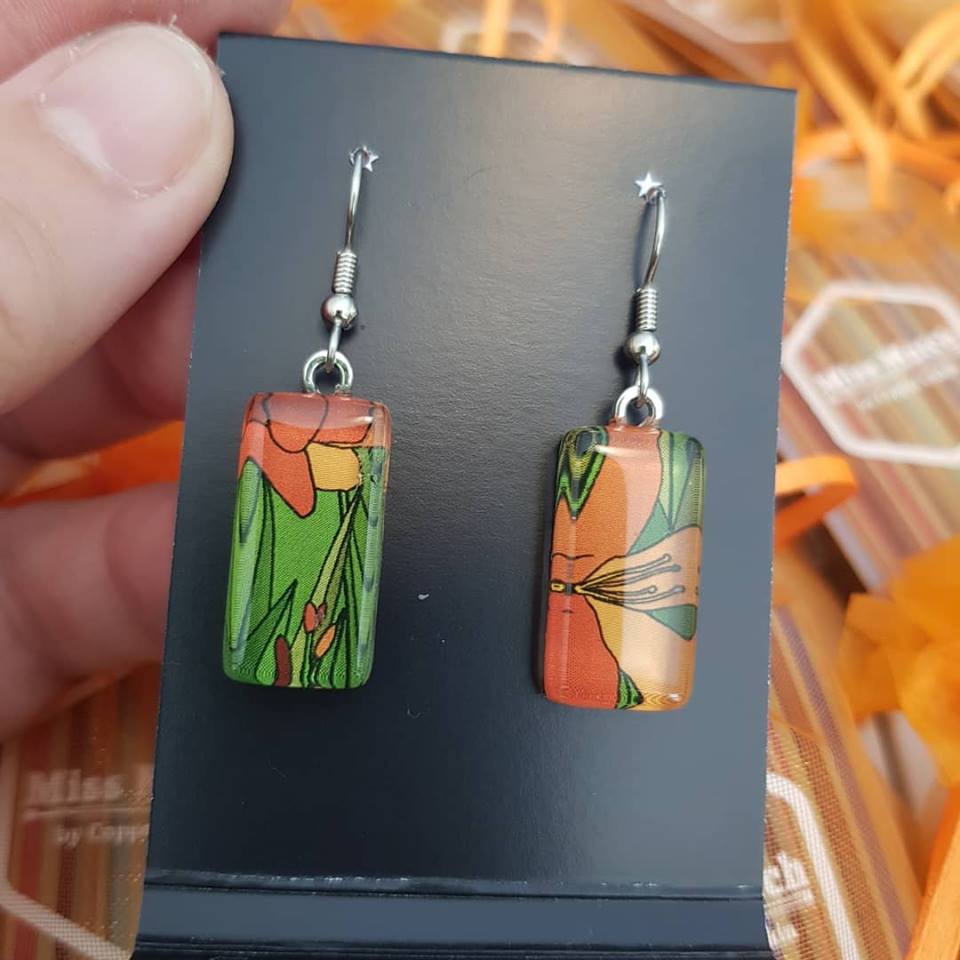
What this means is that one simple drawing has to be manipulated in about 20 different ways in order to create a suitable pattern for each application. Here is the difference between a design for earrings, fabric, and a selection of options for a t-shirt, to give you an example.
And here are some photos of earrings being made!
Posted on Leave a comment

First Time Jitters

Feel the fear and do it anyway

“Eek! I think I’m ready to have a stall at a market… But how on earth do I start?”

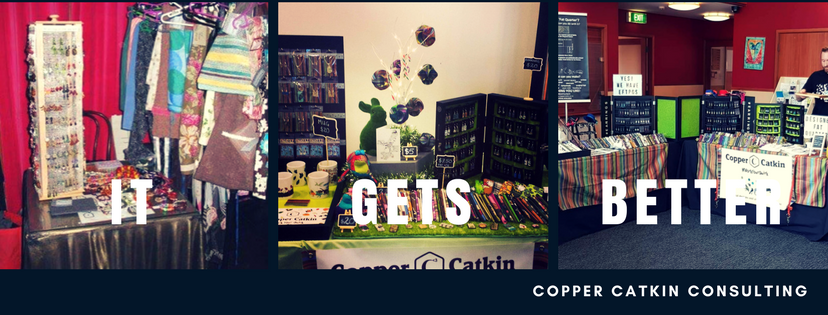
I think we have all been there with something or other – that feeling of nervousness, wondering if you’ll make the grade, is anyone besides your mum going to like what you do…? It’s nerve-wracking.  I’m still nervous the night before a market after over a decade!​ ​But it gets better.

​So, how do you get past that and into your first stall?

Let’s look at the 5 principles of Copper Catkin stall display – Dress, Fresh, Layers, Flavour, and Hook. Choose the easiest one, and work from there, until you have the whole thing covered. 
Dress

​Dress is actually quite an easy one, and most people have already thought a bit about how they want to set up their stall – tablecloth, price tags, business cards, a sign with your name on it… But how about you?

  • How will you present yourself?
  • How does your personal presentation integrate with your stall display ideas?
  • Will you match? Do you want to?

Fresh

Well, you’re new to the scene, so you automatically tick the ‘fresh’ box. But how do you make people say “WOW – I’ve never seen that before, I have to have one!”

What’s your point of difference? Why are you doing this market stall, and why should people come and see you?

Does that sound like an intimidating place to start?

It IS.

Selling yourself and your work is HARD.

So, start with this statement: “I am awesome, because not only am I brave enough to bring my work to this market for your to see and buy, but also…”

​Write yourself 6 or 7 sentences like this. Bring them to the markets with you as comforting reminders that you are awesome. Try to incorporate them into your patter when you talk to customers.

Layers

This one is an easy one to overlook. You brought your beautiful creations, right? That should be enough for anyone, right? It’s your first go, they won’t expect anything fancy, they should just be happy to look at what you made, right?

Well, no. Not really.

Here’s a secret: people don’t want to hear about the bad stuff, they want to celebrate the good stuff with you. So, they want to see your brand-new creations displayed to their best advantage, not excuses about it being your first time. Think about that new waiter who got your order wrong – you might have been nice to him about it at the time, but you still felt like your experience was changed by his inexperience.

So… Use shoeboxes, mug stands, bookcases, cushions, drying racks, ladders, folding screens… what have you got around the house that you can cover with a sheet and make pretty, to give your stall more height? What interesting fabrics can you drape it with, to give visual interest? Do you have some cool props? Driftwood, soft toys, home decor, stones, a vase of flowers…

Dress your stall like a window display or a house you want to sell.

​Show your love for your product through your pride in your display. Make it special and inviting and visually textured – colours, shapes, height, and depth. You owe it to yourself and your products to make every market the best you have ever done 🙂

Flavour

All our principles are interlinked, and Flavour ties back to Fresh and Dress in particular.

What makes you, you?

What makes your stall stand out from the rest?

It’s tempting to go with the current decor trends at Kmart or wherever and simply use them as they are to decorate your stall… but you will look like a mini Kmart, the same as 100 other stalls.

Paint things, use interesting fabrics, build your own displays, use a vibrant hero colour, dye your hair – stand out. People should go home after the market and talk about your coolness.

So… what’s your favourite colour? How can you express yourself with a pattern, or a slogan, that people will go WOW about?

Hook

So when you combine all of the above, there’s one thing missing – the element that ties it all together and makes people stop and shop with you. The hook – the bit that catches and holds their attention long enough to look at your products and buy. 
This could be the colour of your hair, a clever catchphrase, a stunning display cabinet, a clever company name, an interesting material… But it needs to be something about you, your display, or your product, that grabs them. Do your thumbnail test and see if you can get their attention from afar. 

Need more help?

Start with my free email courses, and then book for a one-on-one session where we can help you get where you’re going, or join a caterpillar workshop.
Posted on Leave a comment

Quilting Bees (and other bugs)

Picture

A seed is sown

Back in December, I was asked if I spoke at quilting groups. I replied that I hadn’t really thought about it, but… sure? And then I got home and fretted about what I would actually say at such an event! So I asked the Facebook, because that’s what one does these days.
Picture

Picture

Picture

Picture

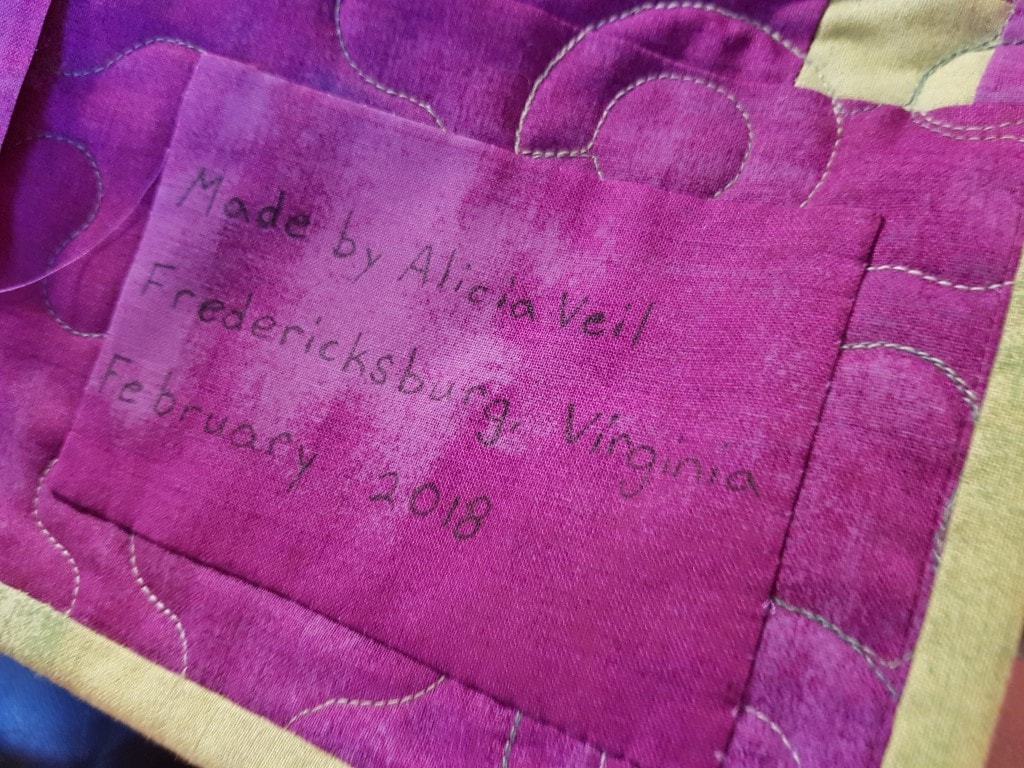
Shortly afterwards, I received a message request from a lady called Alicia:
I saw your post about samples. I have made a few samples for a friend using her own published pattern, but using a fabric line to benefit the fabric designer and the pattern designer. I would be interested in working with you if you need samples made. Let me know if you are interested! Good luck with your business!!
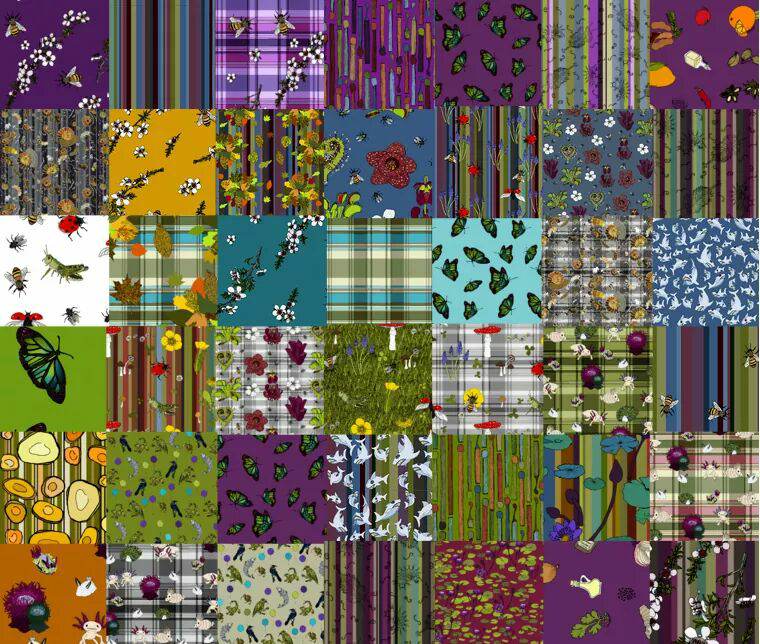
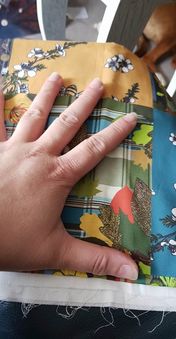
We started chatting, and I explained that I wanted to showcase my fabric designs. I sent her the link to my Spoonflower store, and an example of the Spoonflower Fill-A-Yard “cheater quilt” layout – and a photo of my hand with the one I had printed, for scale!
Picture

Picture

Her response was very positive: “OMG! These are genius! I’m getting the chills looking at them and I’ve only seen about 15 so far!!

Well, this is a great start, I thought! So we began throwing ideas around, and I discovered how very little I know about quilt top designs, and how very many options there are out there!

I decided that what I really wanted was to let a skilled maker make the quilt she felt was right – so we agreed to make it a surprise.

Just to be clear – these are designed to be materials for you to cut up and turn into a quilt, using your quilter’s eye – so I am not making any design decisions, just giving you the equivalent of a jelly roll pack or something to get you started 🙂

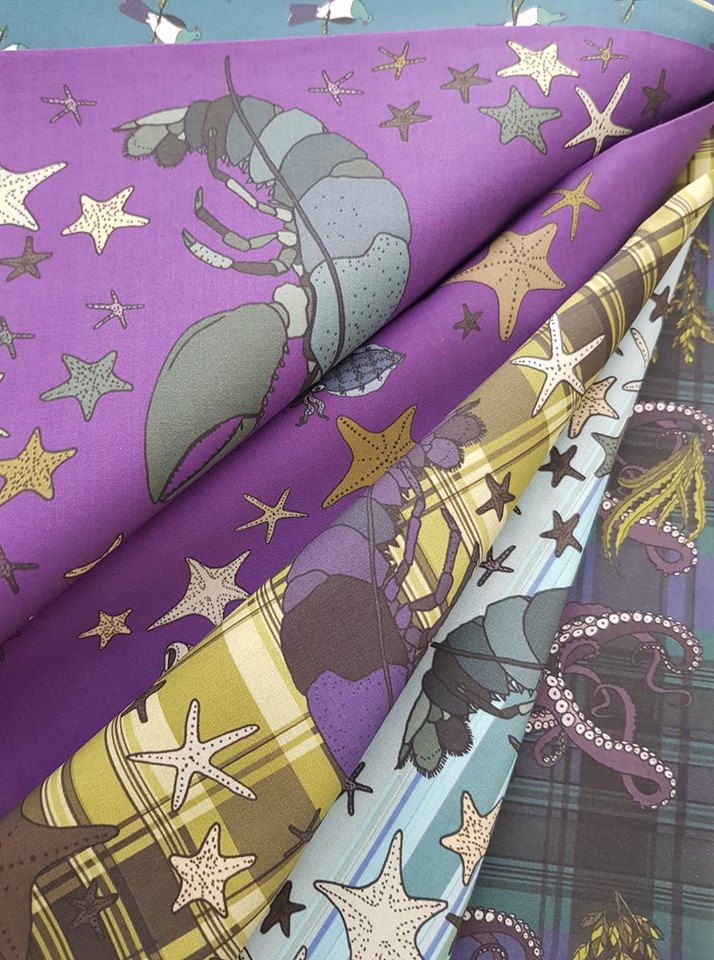
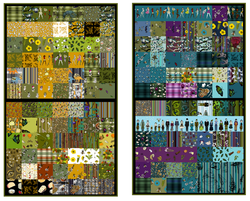
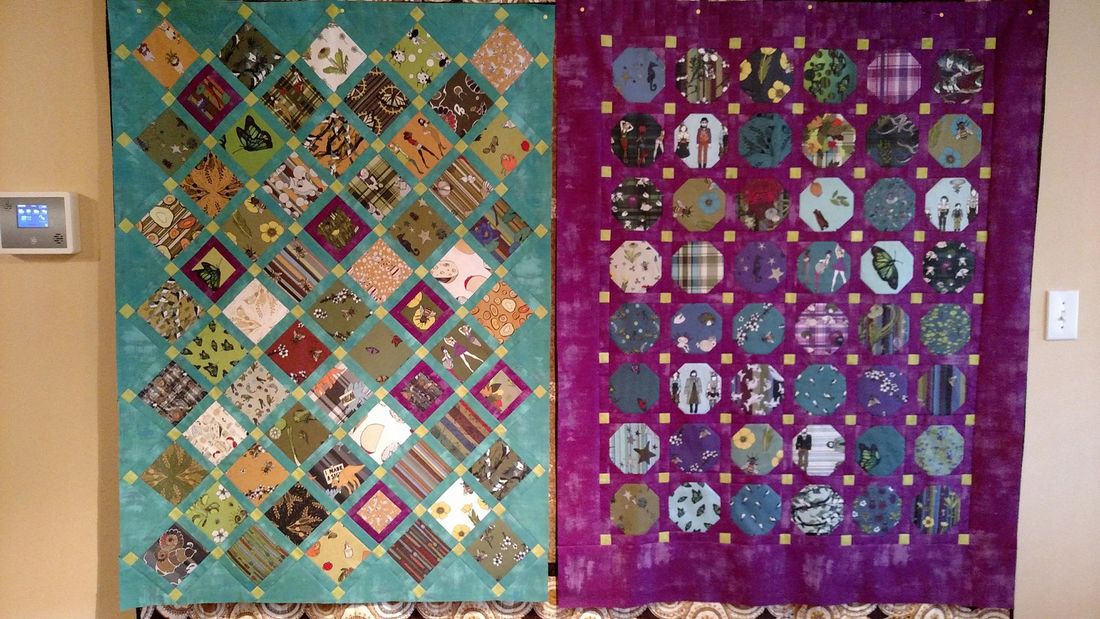
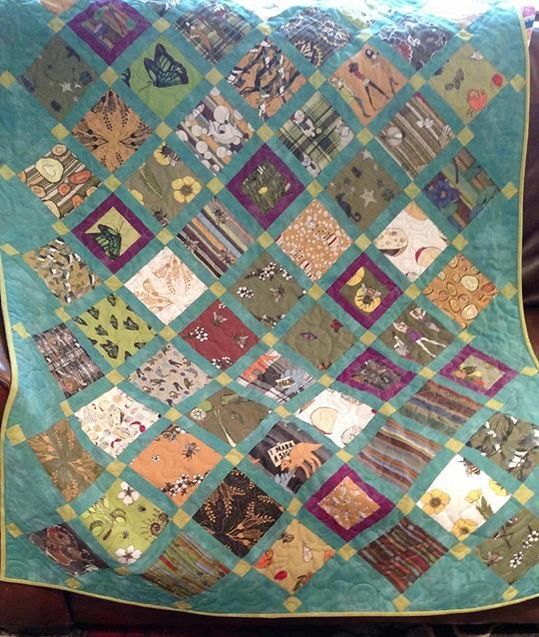
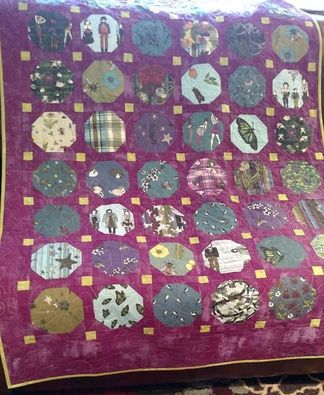
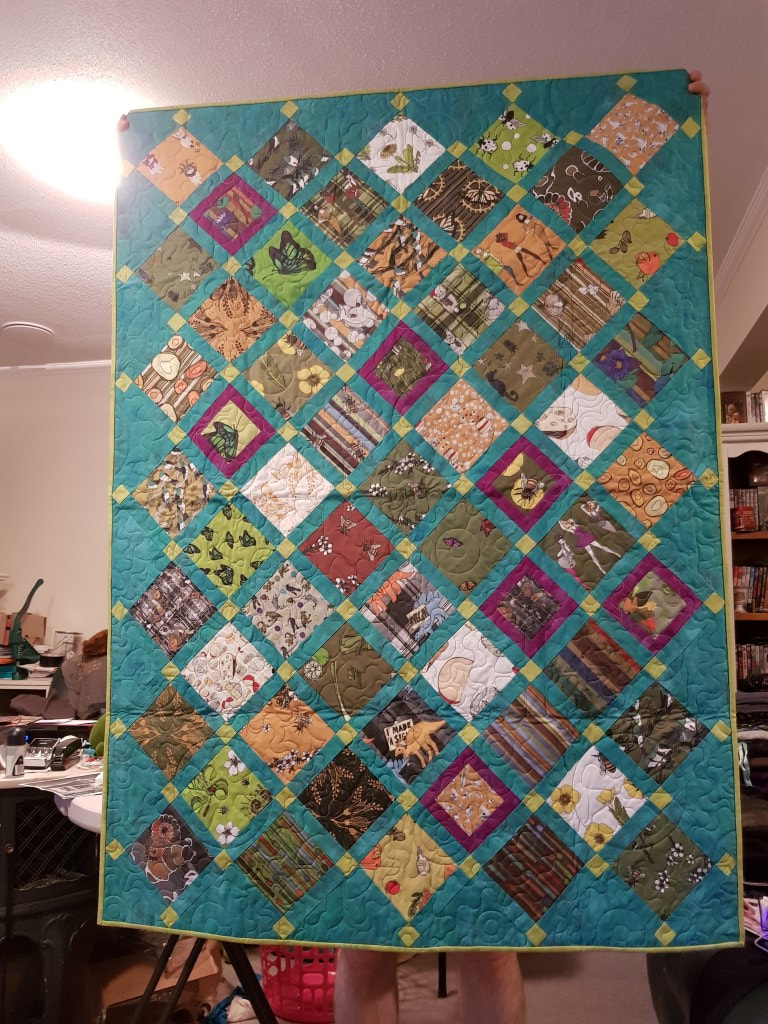
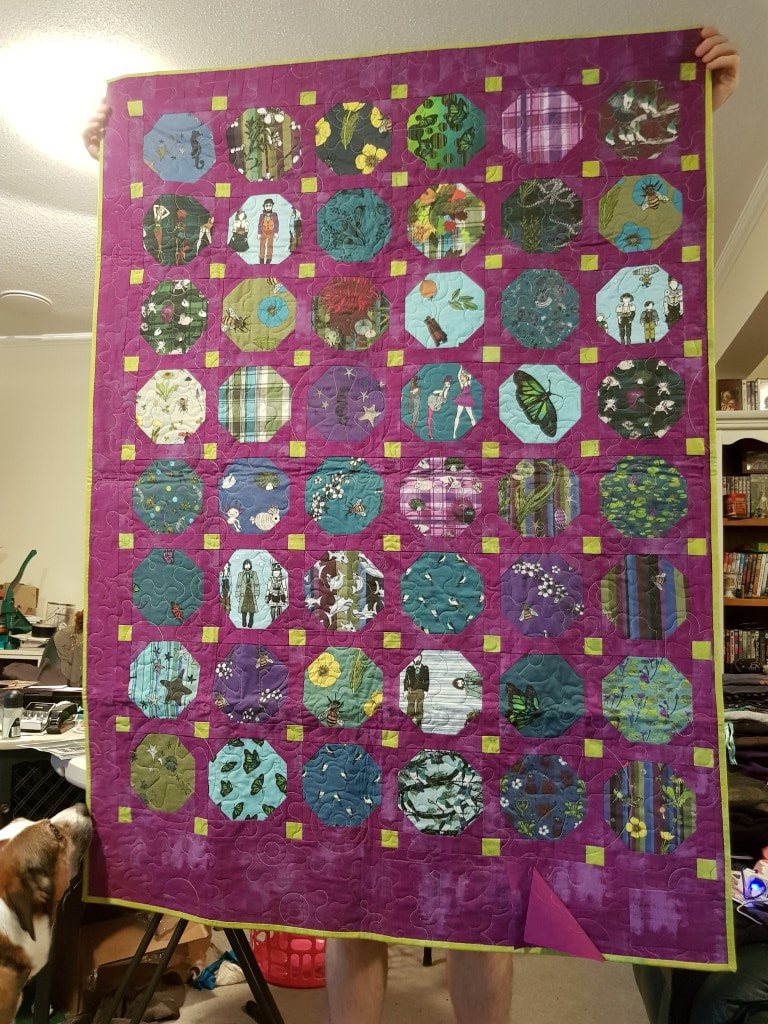
I made four 1-yard cheater quilts – two in greens and mustards, and two in teals and purples – and sent them off to become Proper Quilts.

Picture

In the meantime, I concentrated on learning how to use my new camera set-up to make time-lapses of my drawing process.

Picture

Picture

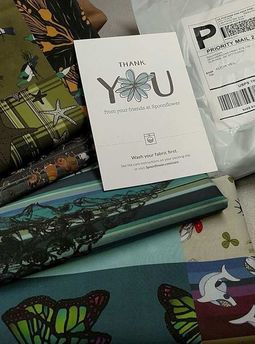
I ordered the fabric on the 9th (NZ time) and it arrived on the 18th – inconceivably fast for me! Orders usually take around a month, if not longer, to reach NZ – and then another week or more getting through Customs (sigh).

The making of the quilt

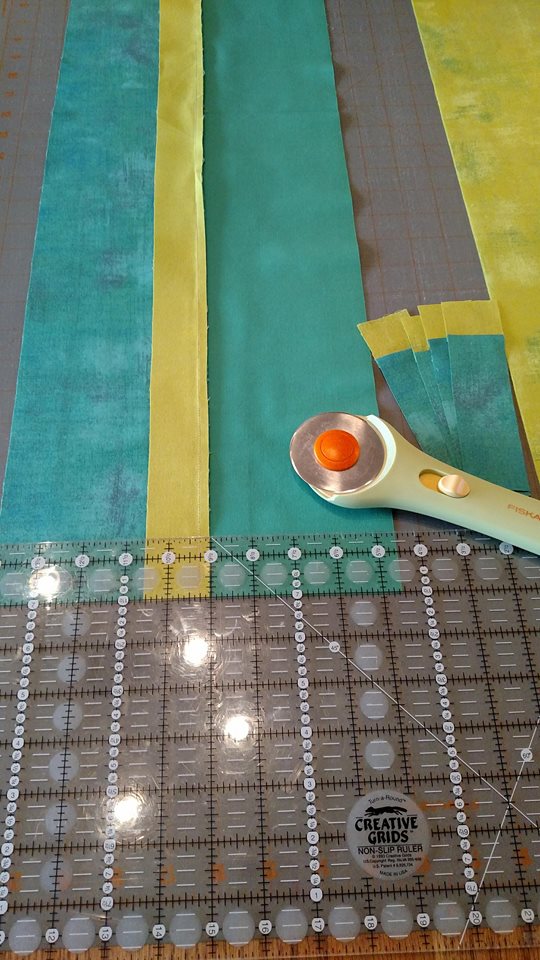
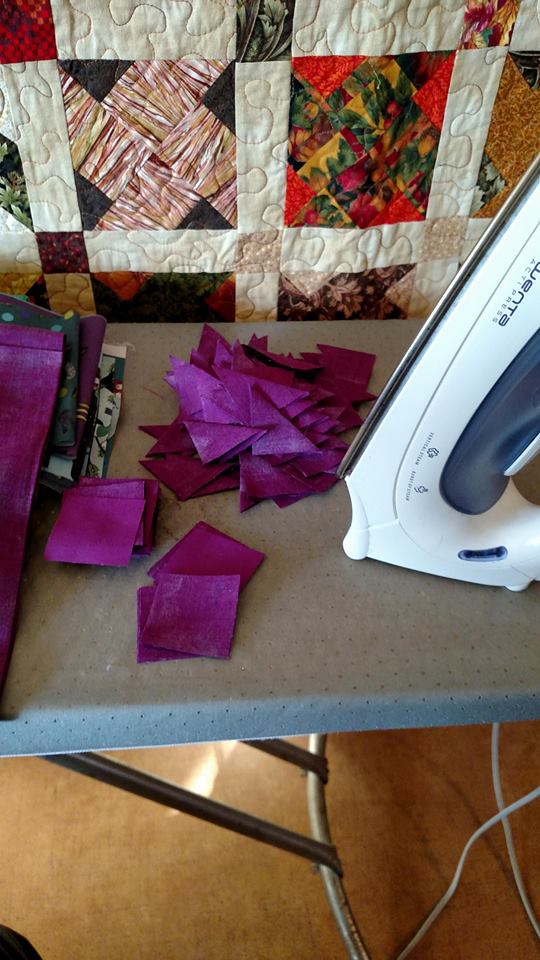
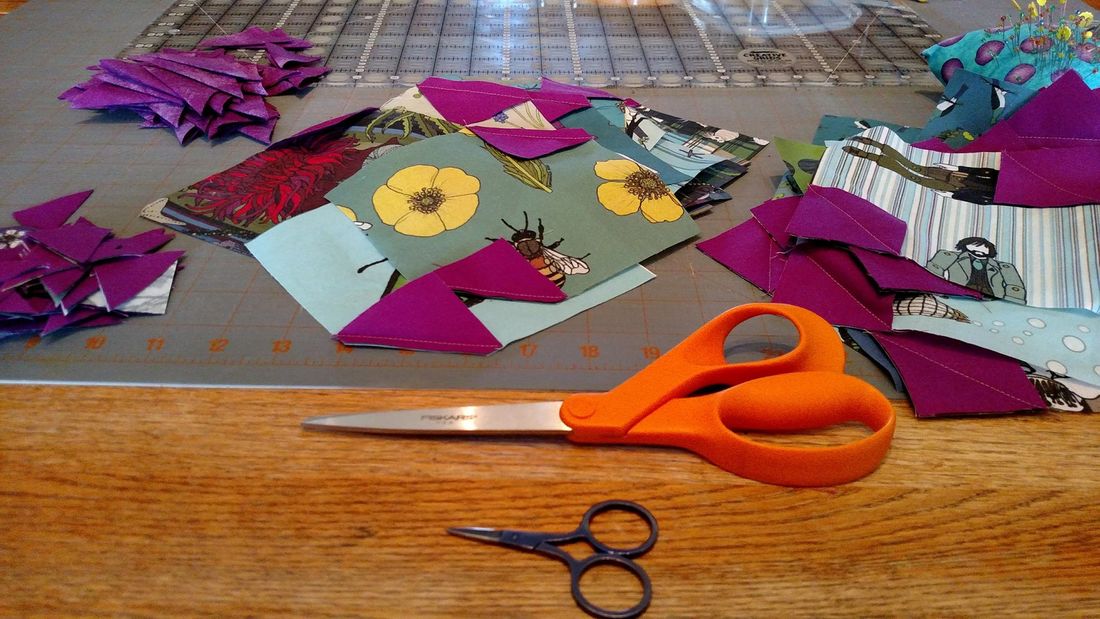
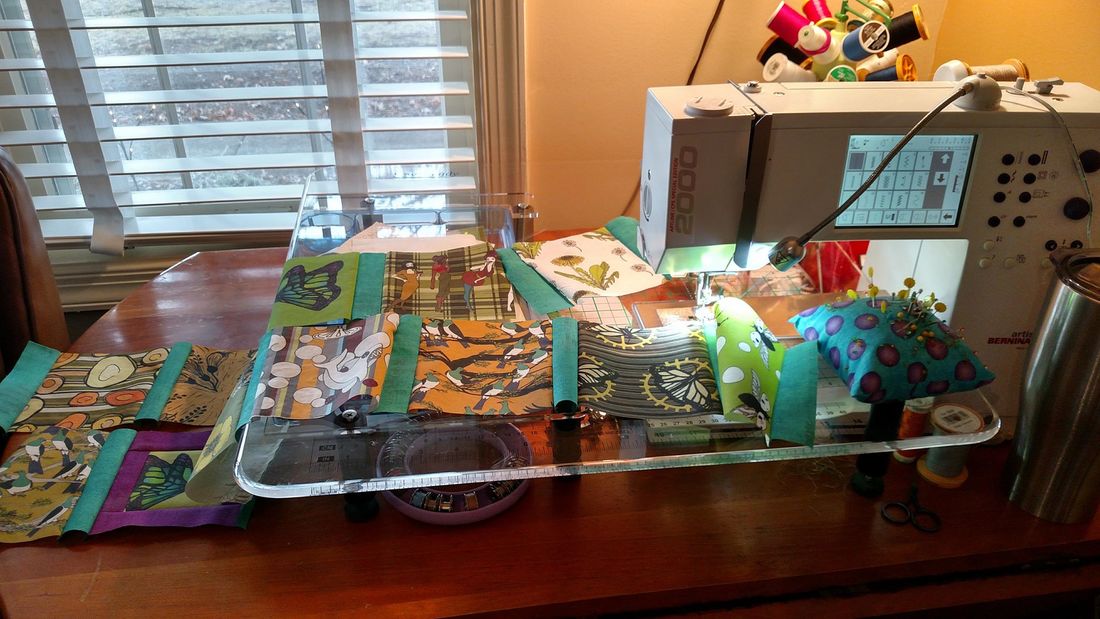
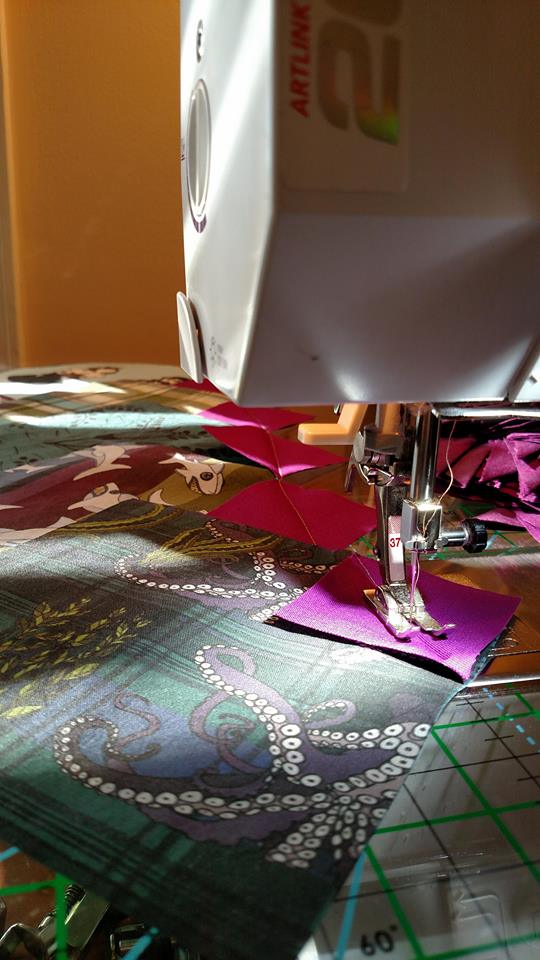
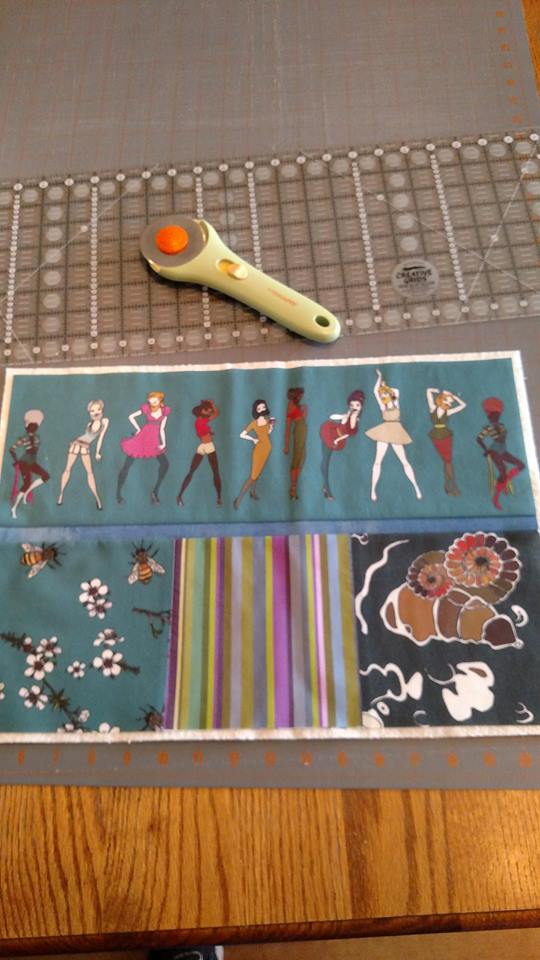
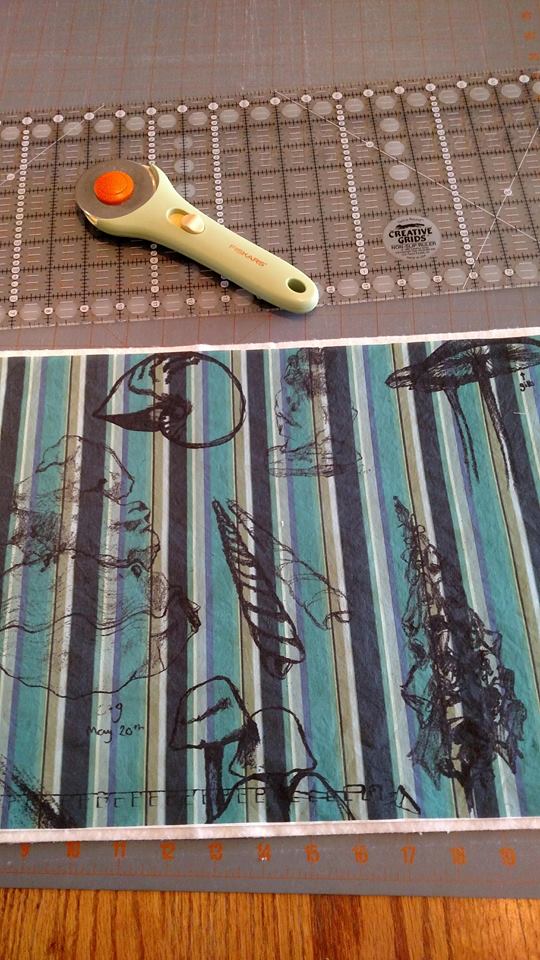
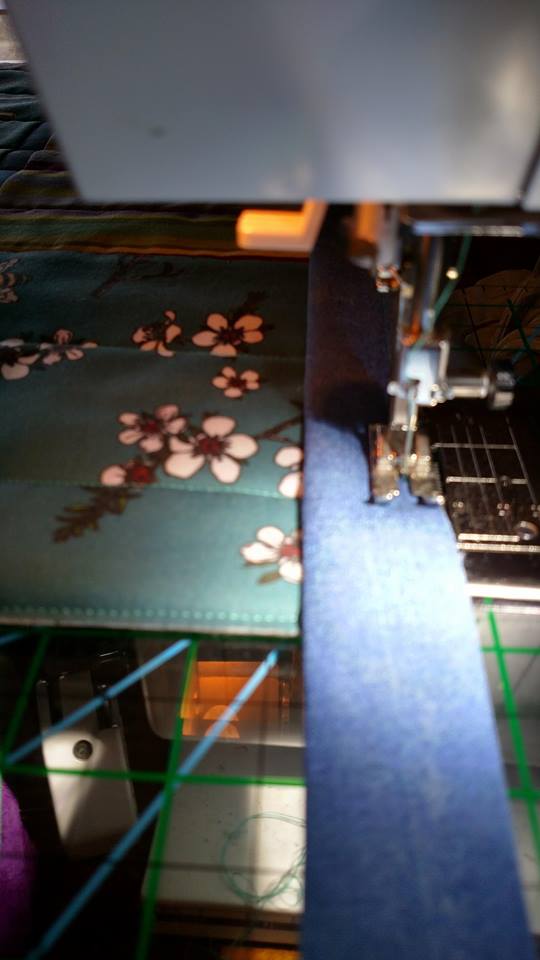
The process of making a quilt involves a lot of planning, a lot of cutting, a lot of pressing, and then painstakingly sewing ‘blocks’ together. 
Picture

The cutting board
Picture

Pressing many tiny pieces of fabric
Picture

Assembling a ‘block’
Picture

Sewing a strip of blocks together
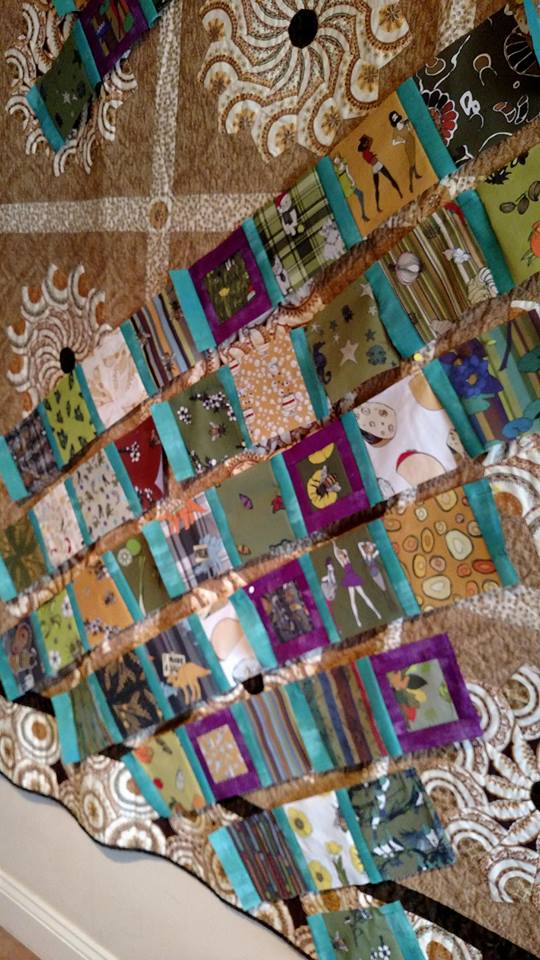
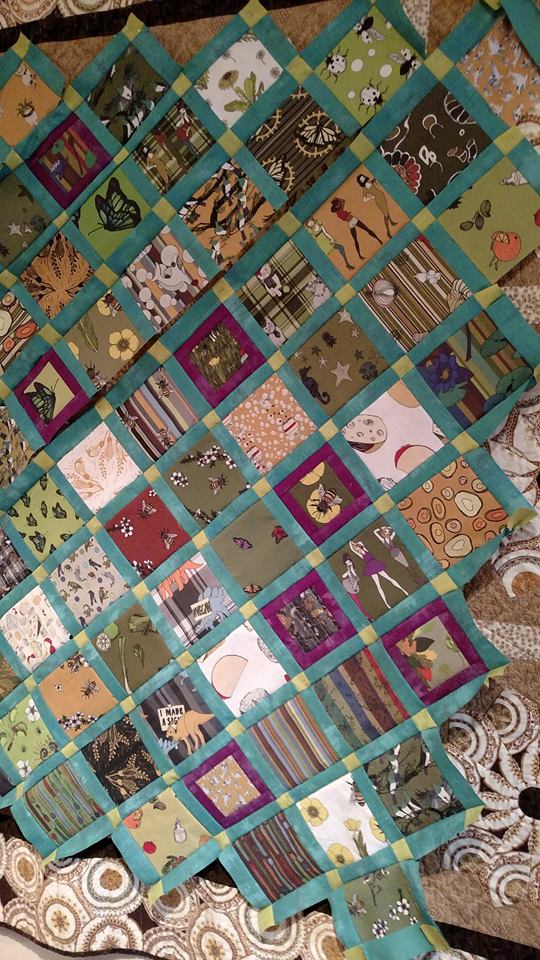
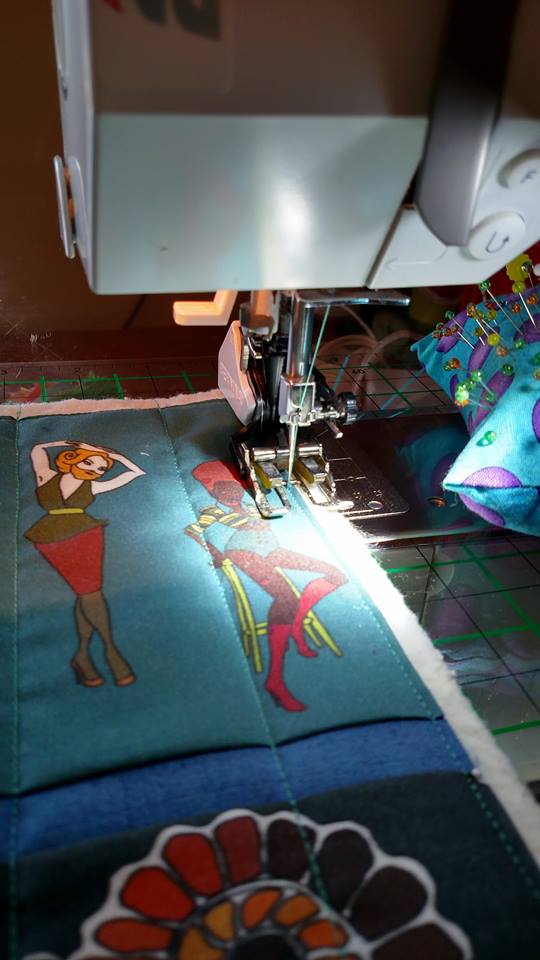
​Each block is then combined into a quilt top, which is then layered with batting, and in this case, a second top (as this quilt is double-sided), and then quilted. The quilting part is the part where everything is sewn together, through all the layers. That can be a very simple diamond pattern of diagonal lines, or a more complex and whimsical design. Finally, the edges are bound (with bias binding), and the quilt is finished! 
​Here are some photos of the process!
Picture

Picture

Picture

Picture

Picture

The two quilt tops, all sewn together and ready for quilting, already look quite amazing. I’m not sure if I would have the courage to let them out of my hands for someone else to quilt, but Alicia has worked with her longarmer, Joyce, enough times that she felt confident to send them off to be quilted – and they came back even more amazing!
Picture

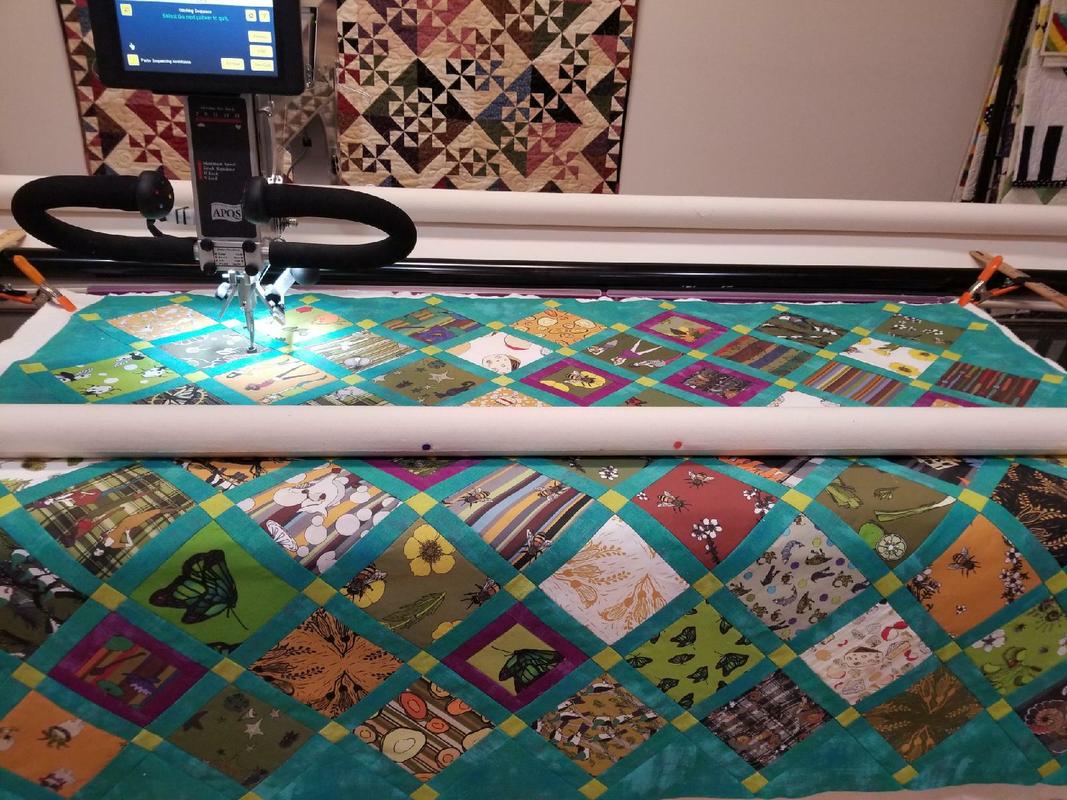
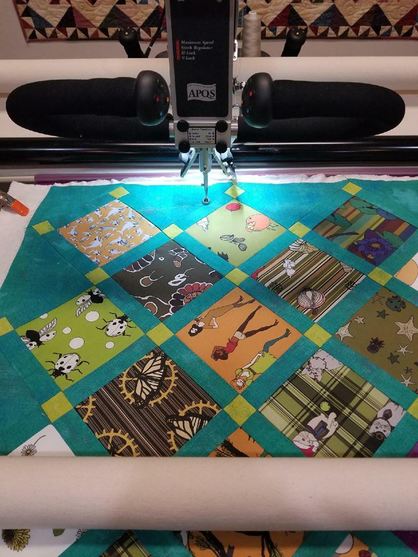
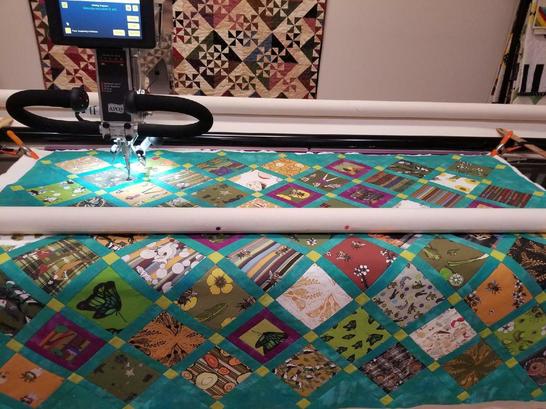
Caution – quilting in progress!
Picture

Picture

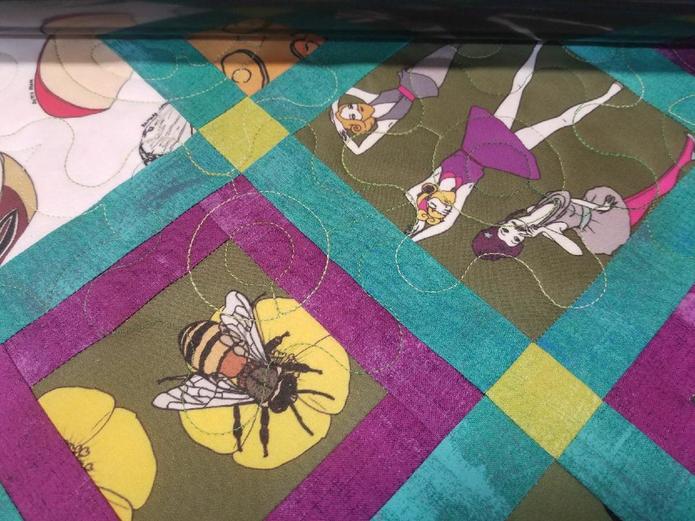
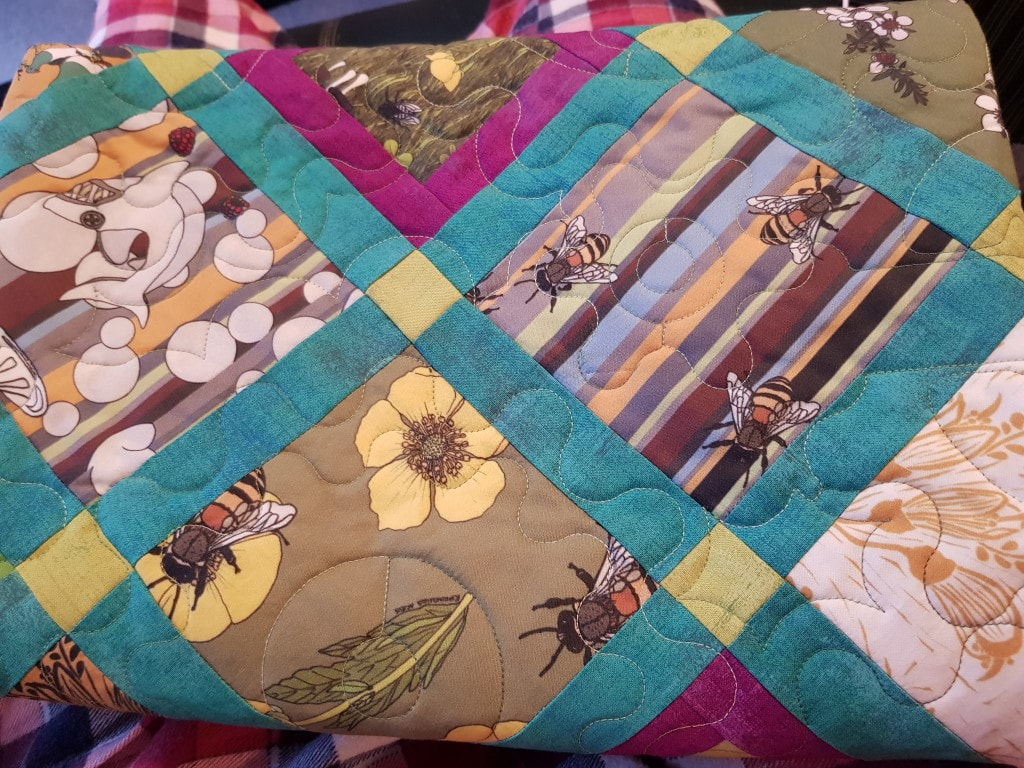
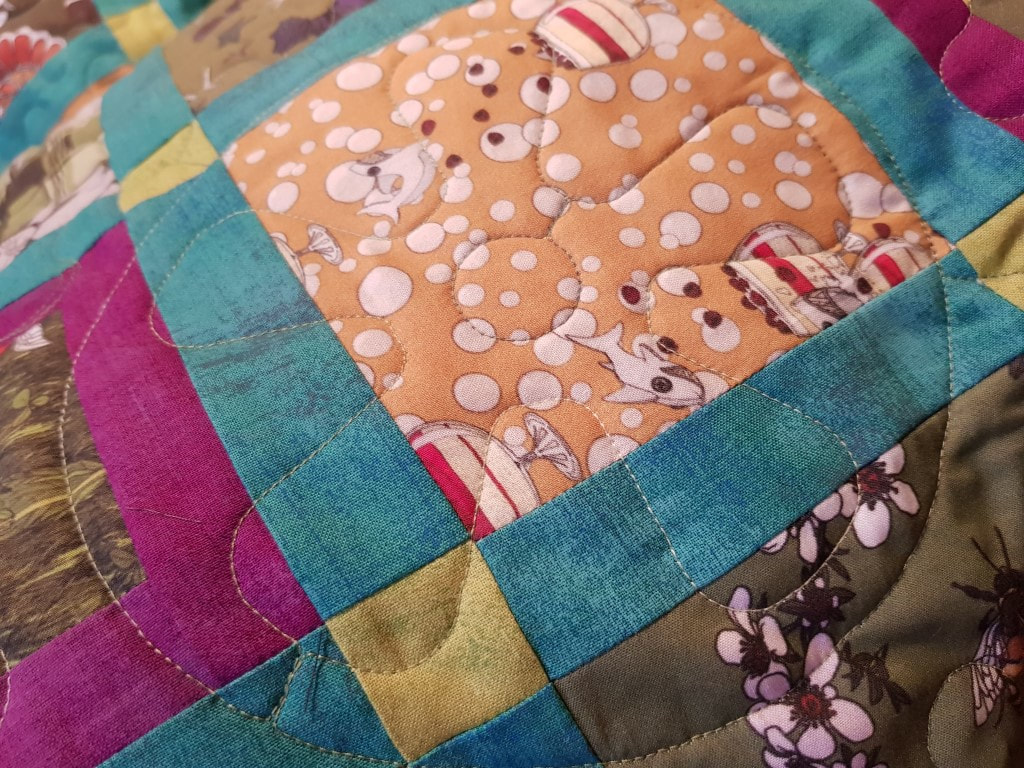
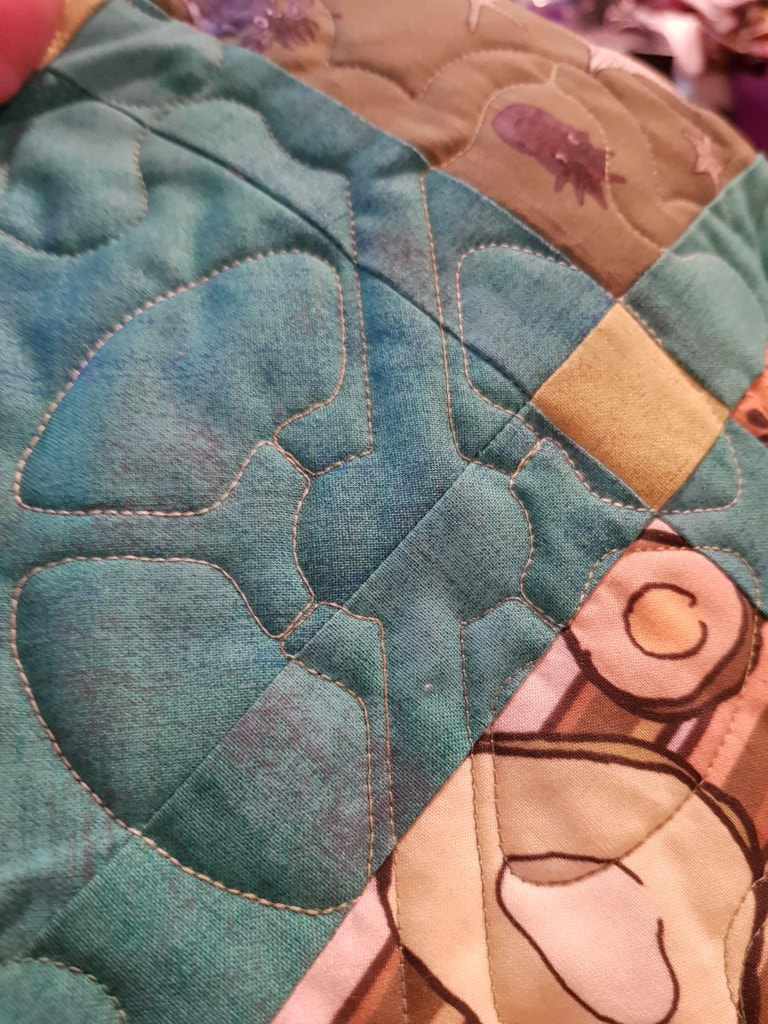
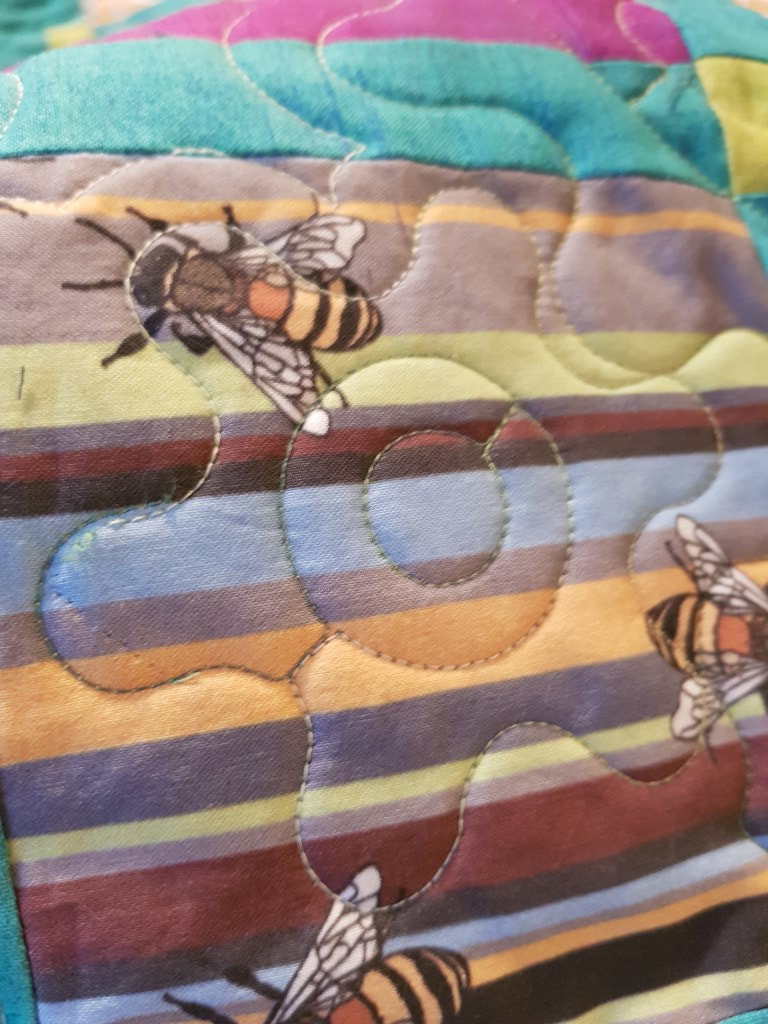
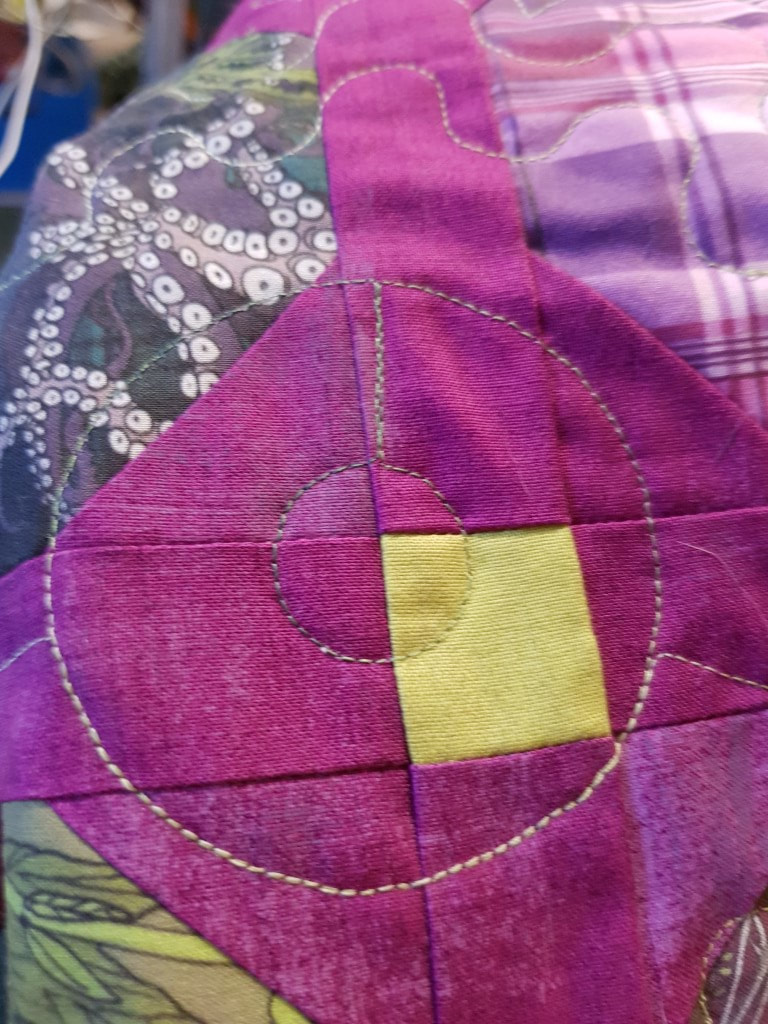
The quilted patterns are Steampunk-inspired gears and cogs!
The final masterpiece, quilted and bound and ready to head to New Zealand!
Picture

Picture

The surprise bonus

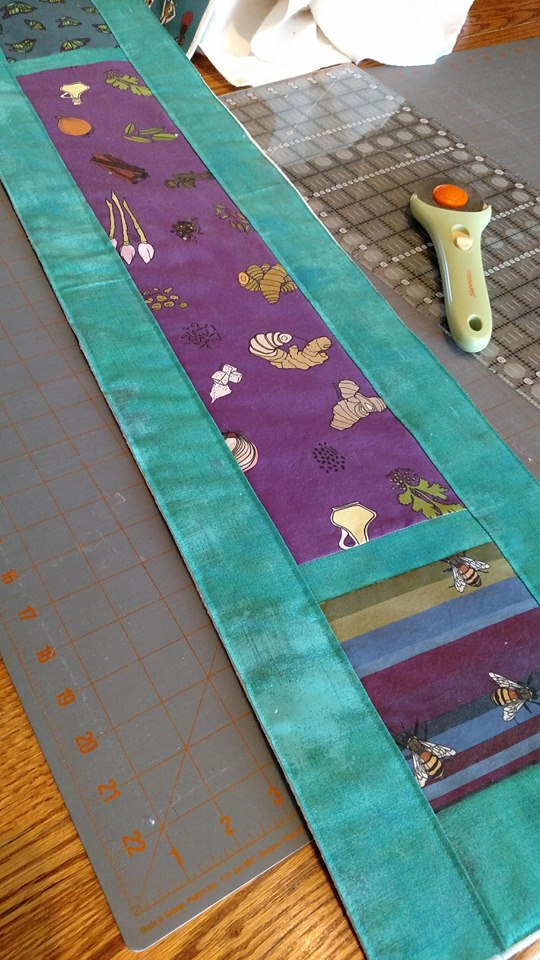
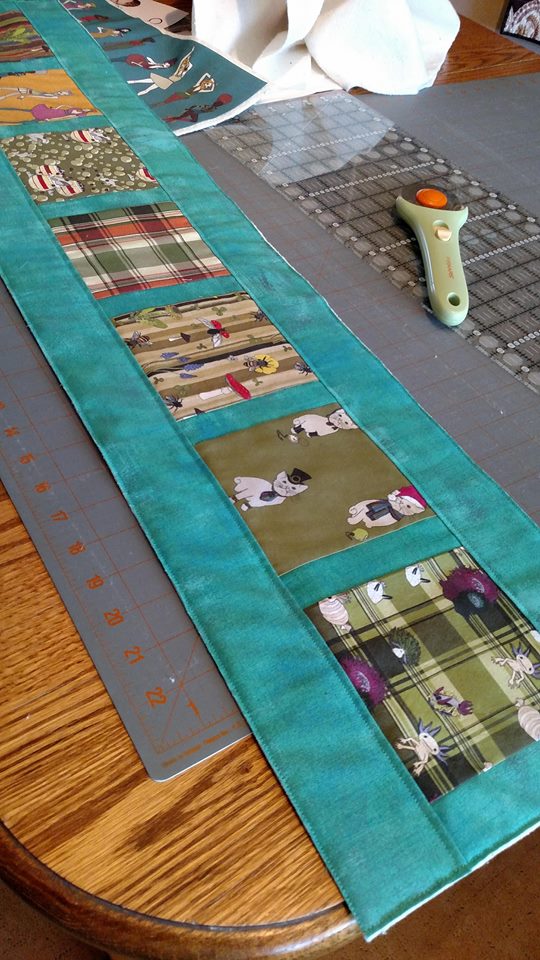
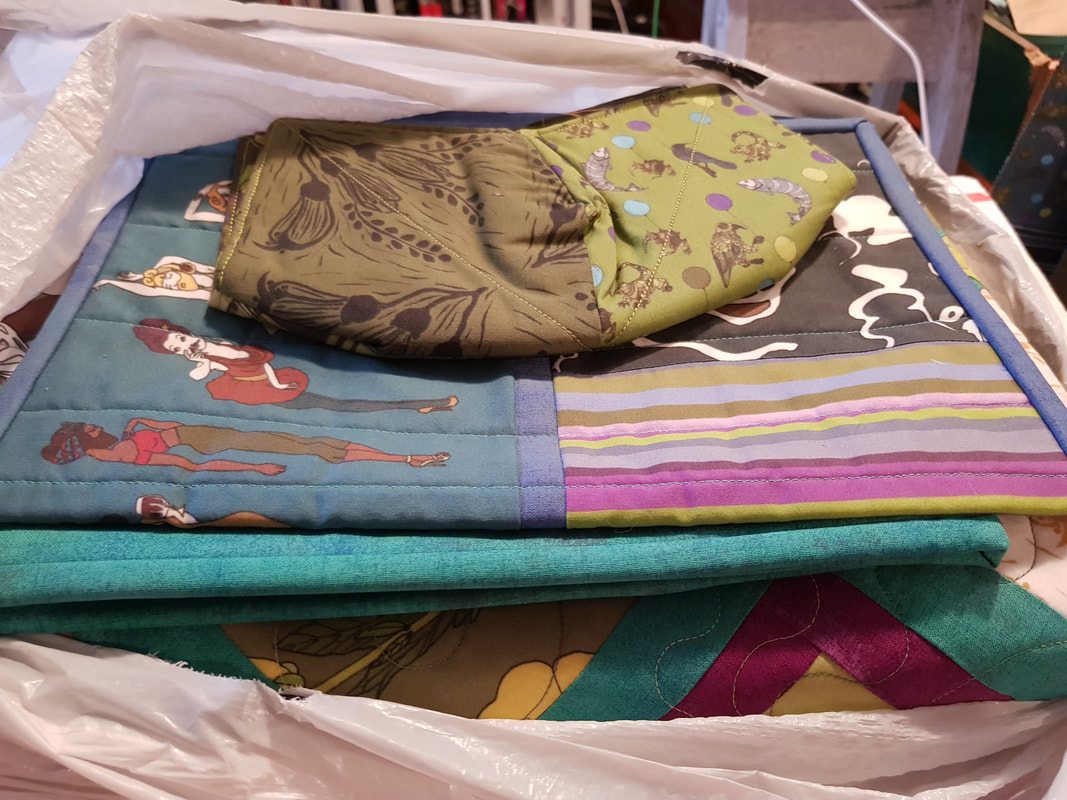
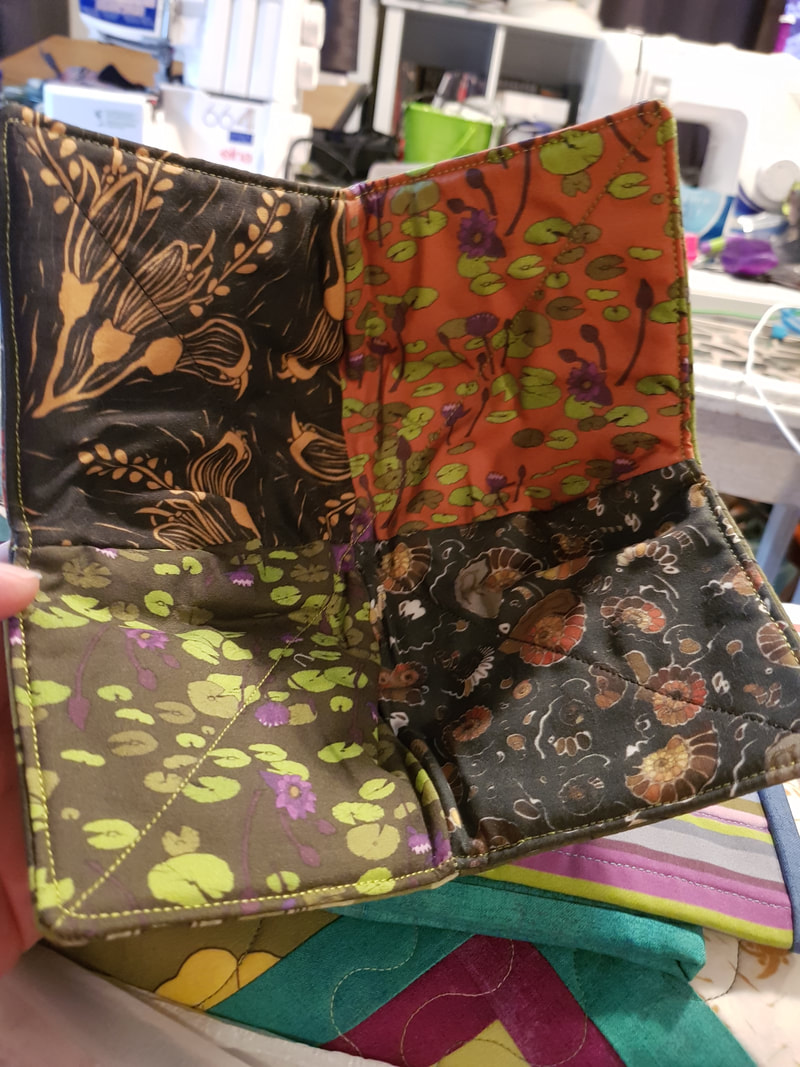
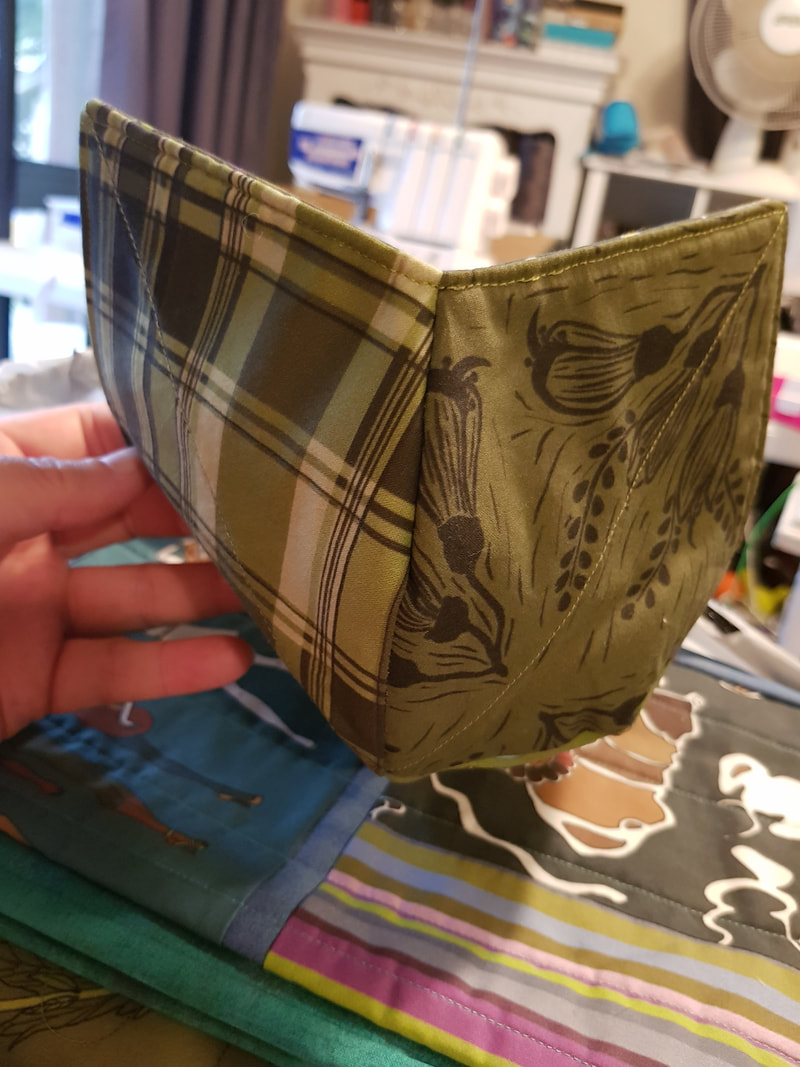
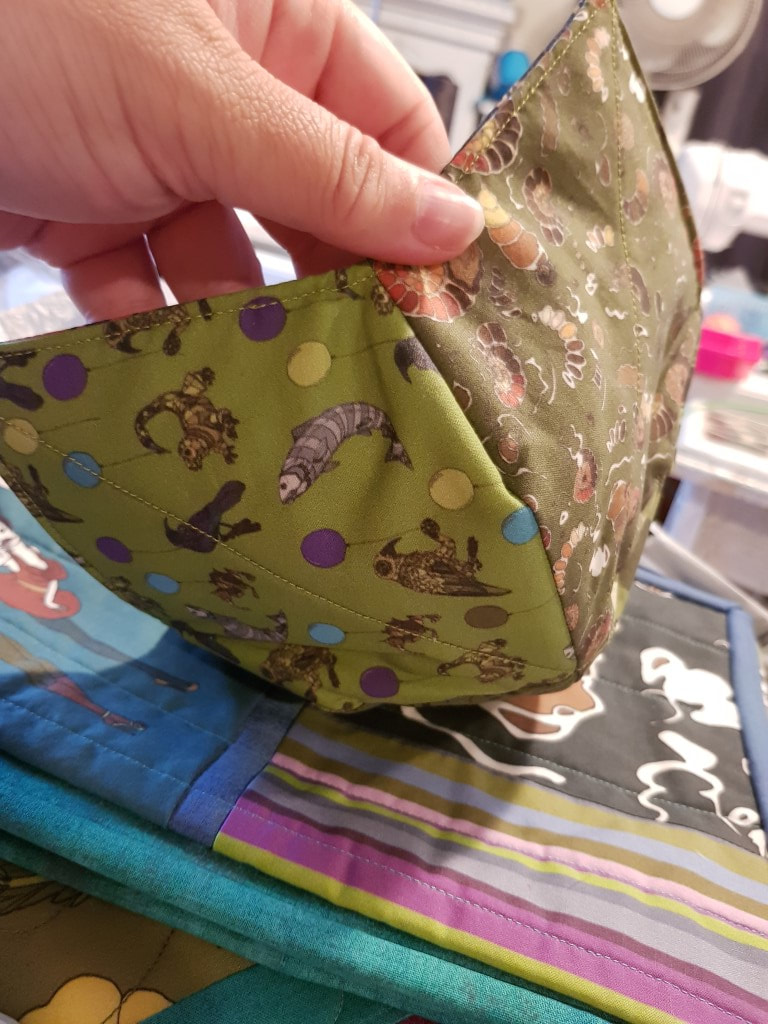
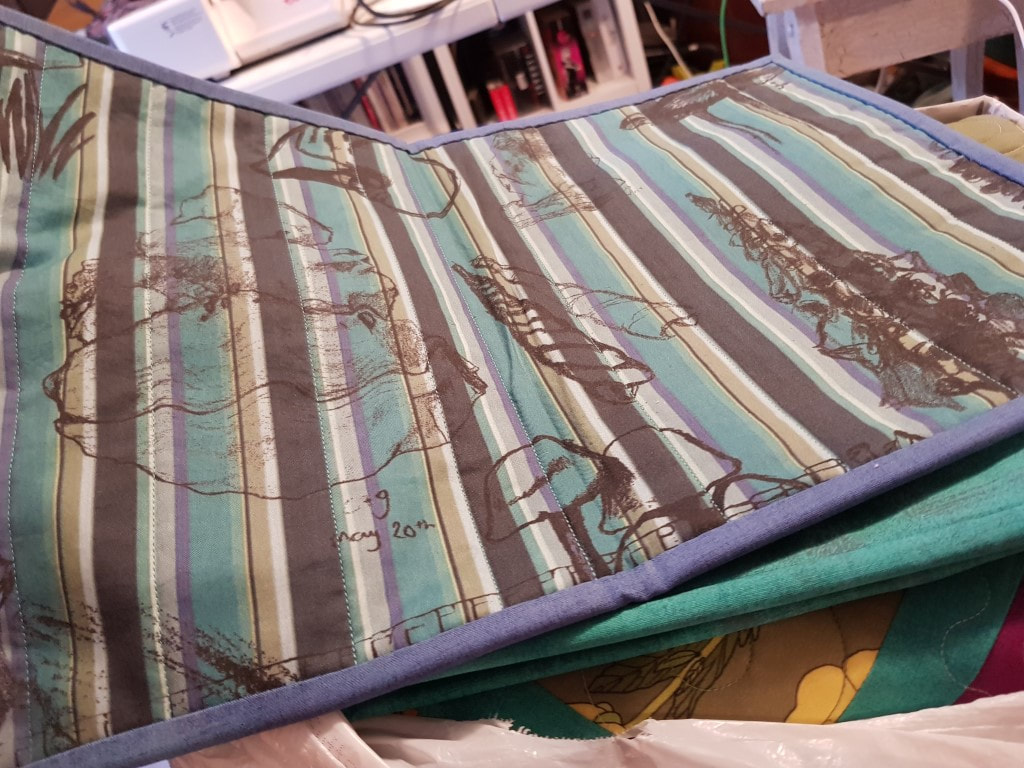
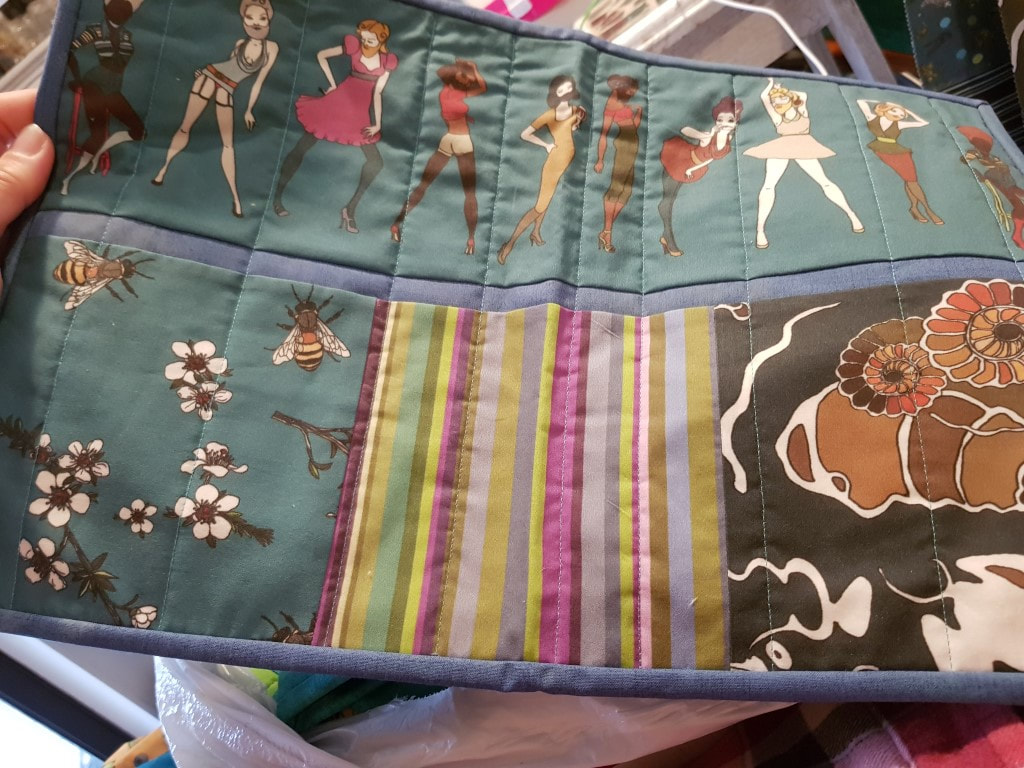
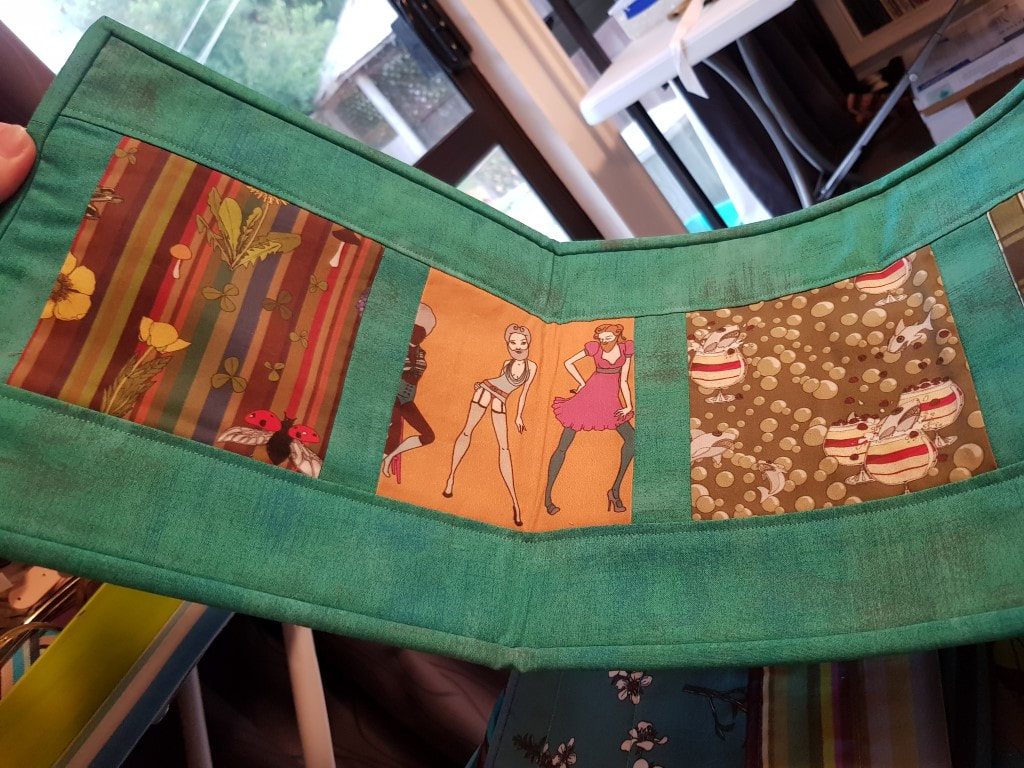
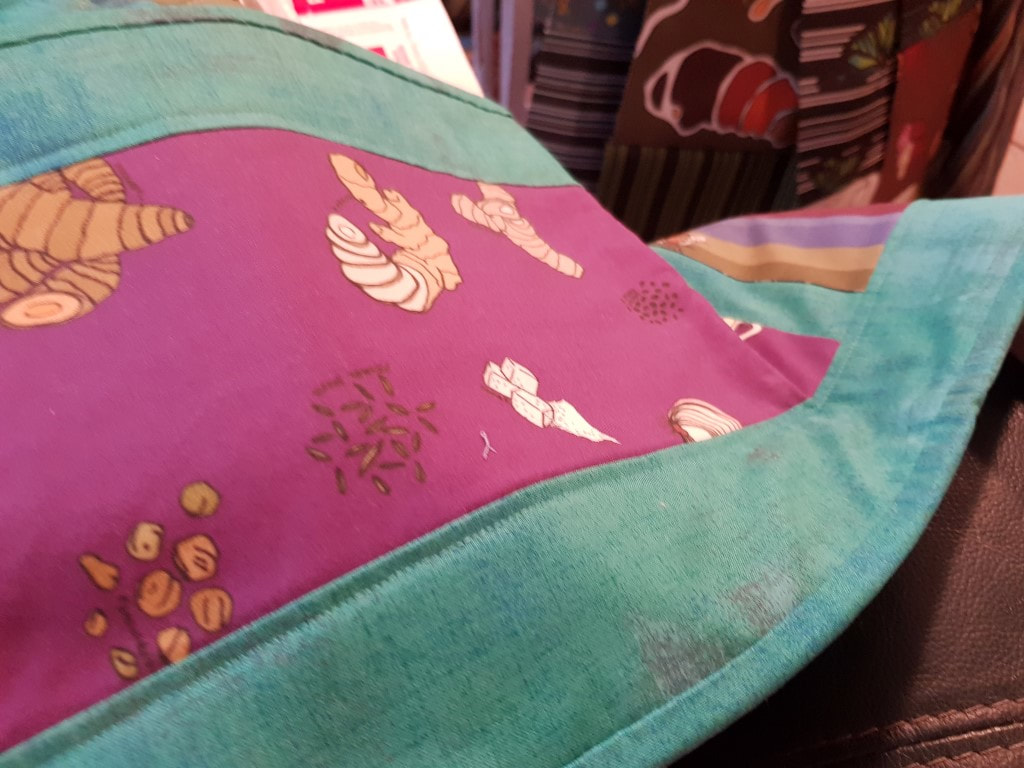
As well as my lovely lap quilt, Alicia included some amazing bonus pieces – a place-mat, table runner, and bowl cosy – to use up the remaining fabric. Amazing! I had no clue, so it was such a treat to find these extra items in the box!
Picture

Picture

Picture

Picture

Picture

Picture

The epic journey home

February 11th: “Hello, hello, Catherine! Your quilt is completely done. I picked it up yesterday from Joyce’s house and I finished putting the binding on today. Yay!” 
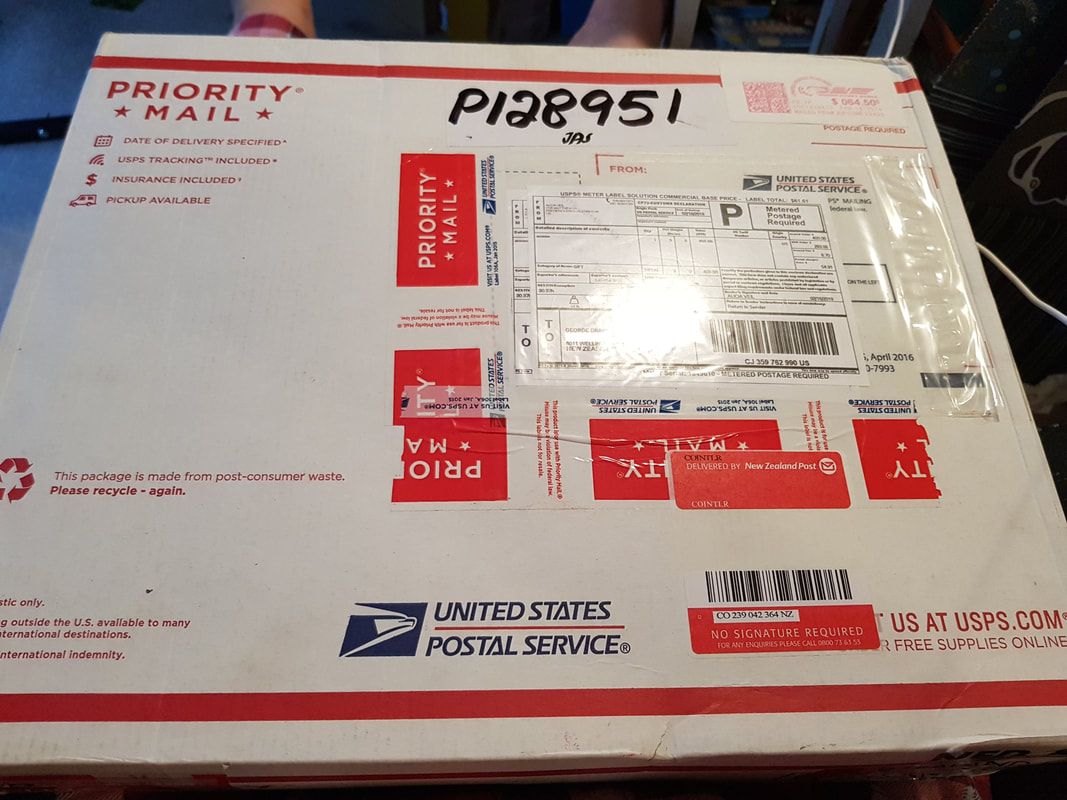
February 17th – we finish figuring out the complexities of shipping, and my quilt begins its journey.
Picture

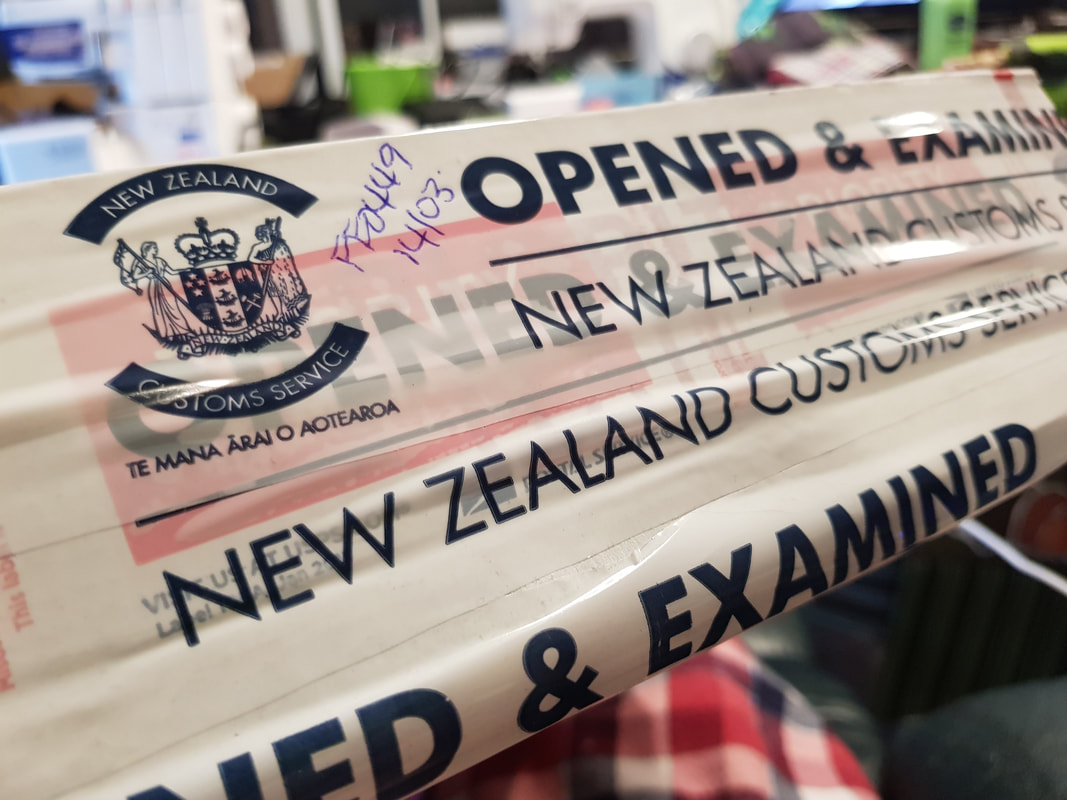
February 23rd: “The quilt has made it to NZ, yay! It’s being held by customs though...”
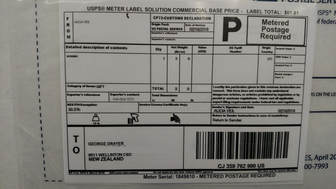
​After weeks of trying to figure out what was required, we finally got the package released from Customs… and it arrived on Friday, March 16th. Woo!

The Great Unboxing

Picture

Picture

So my quilt has finally arrived, and it’s time to see it for the very first time! I’m excited, but I also like to savour the anticipation – so I stop to take lots of photos 🙂
Picture

Picture

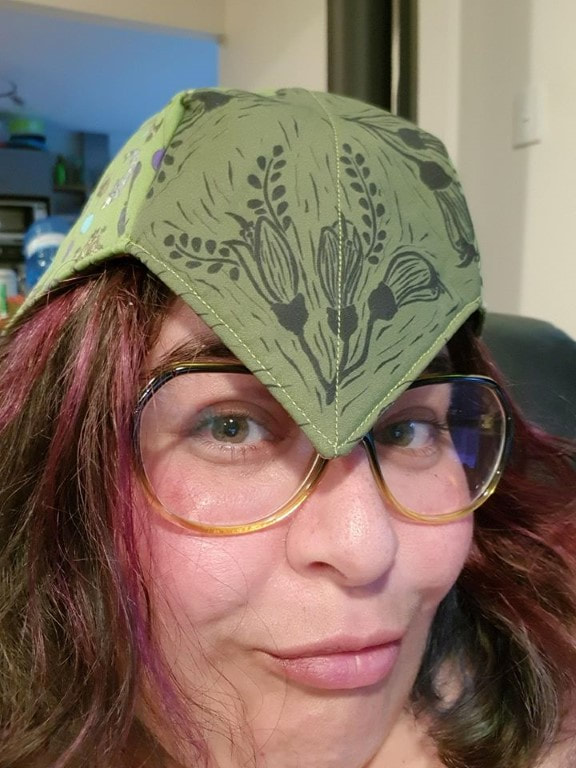
Wow, extra things! What is this? Is it a hat? Oh, I see! It’s a bowl cosy 🙂
Picture

Picture

Picture

Picture

Ooh, and a lovely placemat, and a table runner! What on earth!? How amazing!
Picture

Picture

Picture

Picture

Picture

Picture

Picture

Picture

THE QUILT

And finally, it’s time to see my QUILT.
First impressions – it’s colourful, beautifully made, feels sturdy and snuggly – and it’s HUGE. I had no idea how large a lap quilt was! But I was so overwhelmed at seeing something so amazing made with my own fabrics that it took George to point out the fact that the quilting was all Steampunk designs – what a thoughtful touch! We were genuinely moved. How lovely, to take the time to add a touch of steam to our gorgeous quilt!
Picture

Picture

George holds the quilt up at full stretch
Picture

Lizzie-dog inspects our new acquisition
Picture

Picture

Picture

Picture

Picture

The soft-launch

I was far too excited to leave my quilt at home, so it came with us to this year’s March Madness fair, even though we hadn’t come up with a hanging solution for it yet. Check out our little clip of Alicia’s beautiful creations at the Copper Catkin stall!
Posted on Leave a comment

Caterpillar, Chrysalis, Butterfly

The Very Crafty Caterpillar

 As a market event organiser, and a stallholder with a few years’ experience under my belt, I often get asked for advice by people considering giving markets a go themselves. 
I have watched small businesses come and go over the years, and had several first-timers at my own events.
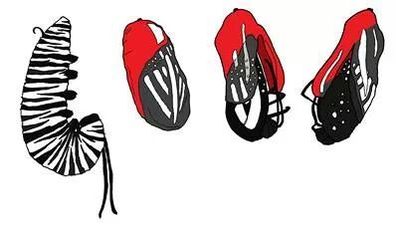
I like to use the life cycle of a butterfly as a good example of how things can work out for a nascent business – as long as the caterpillar stallholder stocks up on plenty of knowledge, planning, and products before taking its shot at butterflydom, they have a reasonable shot at success.

To help identify levels of experience, we classify our makers according to the following criteria:

Level 0 – Caterpillar – not approved to sell at Wrought but has potential
Level A – Chrysalis or other new sellers – approved to sell on half-sized stalls
Level B – Butterfly – Standard approved sellers
Level C – Sellers approved for showcase spots – experienced makers who have the capability to stock and fill a showcase stall space professionally and attractively, and who can demonstrate a skill or give workshops onsite.

​Some of the questions I hear a lot as an organiser are:

  • Will I have enough stock?
  • How do I choose my price point?
  • Can I be sure that I will cover my costs?
  • How do I set up my stall?
  • How should I interact with my customers?

​We can help you with all of these questions and more through the Copper Catkin Consulting Caterpillar Courses. 

​These courses are bite-sized online classes, delivered in a 5-day email series, that culminate in a quiz and two physical workshops where you can try out your stall design and fine-tune your sales skills before your very first market.

​BONUS

Stallholders whose displays meet requirements will also receive their Wrought Chrysalis ticket, which gives access to the 3-market Chrysalis package.  Stallholders who complete their goals and then meet requirements will also be eligible for the Chrysalis ticket upon completion. Please note that putative stallholders who do not complete the course (including meeting their goals), or who do not pass the assessments, will not be eligible for the Chrysalis package, and may not be approved as Wrought sellers.

Posted on Leave a comment

​Wrought Chrysalis

Wrought was launched to bring a new flavour to makers’ markets in the Wellington region, and a big part of that is to encourage new artists and creatives to join to market scene – but it can be daunting!

Rather than simply refuse to have stallholders on board until they have done the hard yards and proven their quality, at Wrought, we have decided to embrace our emerging artists and new makers with the ​Wrought Chrysalis package.

​But what do you get? 

Firstly, eligible stallholders are able to book spaces a Wrought events at the Chrysalis price – $10 off the price of a half table (not available for larger spaces, limited numbers available).
As well as the discounted table, Chrysalis stallholders will also receive group pre- and post-market coaching and debrief, and goal-setting.

The package offering is valid for up to 3 markets. 

The Chrysalis Package must be booked all together in a single transaction.

How do you become eligible for Wrought Chrysalis?

​In order to be eligible for the Chrysalis package, a stallholder must complete the 5-day free online “Very Crafty Caterpillar” course; the 5-day mini market makeover course; pass the online quiz; and at least one of the two paid in-person Caterpillar courses (including meeting goals set at the course).
​​The 3 Chrysalis markets do not need to be consecutive, but must be booked within 6 months of completion of the Caterpillar workshops. Discounts are non-transferable. As with all Wrought spaces, stalls may not be shared with other makers without approval. If sharing a table with another approved maker, the discount will only apply to the Chrysalis half of the table, and makers will be approved and invoiced separately.

​Chrysalis stallholders who choose to move up to a standard stall before their 3 market Chrysalis “ticket” has been used up forfeit future discounts.
For example, if, after 2 markets at the Chrysalis price, a stallholder wishes to upgrade stall size to a full standard table, they will need to pay the difference of $40. They will still receive the coaching if desired for that event.

Upon completion of 3 Chrysalis markets, makers may wish to attend a Butterfly course.